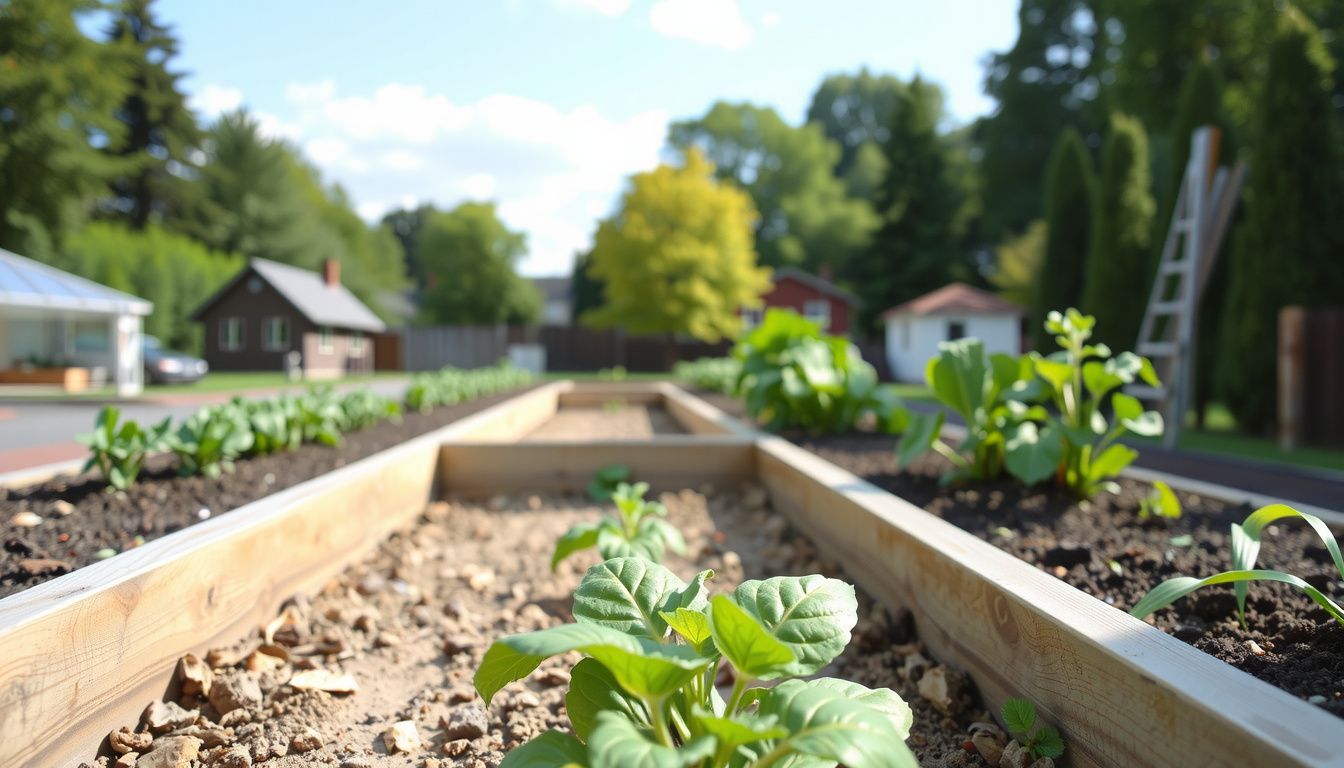
How High to Fill Raised Garden Bed for Healthy Root Growth
The distance between your soil surface and the top edge of a raised bed shapes almost everything that follows: how well water moves through, how deep roots can travel, and whether your soil stays put during a heavy soak. Fill too low and shallow-rooted crops dry out between waterings. Fill too high and soil, compost, and mulch spill over the sides after the first rain.
A reliable raised bed isn’t filled to an exact universal line. It’s filled to a working height that accounts for bed depth, crop type, soil mix, and the settling that always happens in the first few weeks. In practice, gardeners get the best results when they treat the fill as a two-stage process: set the initial height generously, then top off after the profile stabilizes. You can also read our guide on how deep should a planter box be for flowers.
This guide gives you a straight answer to how high to fill raised garden bed for healthy root growth, along with crop-specific adjustments, bottom-layer decisions, and a fast pre-planting checklist.
Why Fill Height Controls Root Health, Drainage, and Long-Term Bed Performance
Fill height acts as a quiet regulator. The top few inches of a raised bed are where moisture swings fastest, and the space between soil and rim determines how much water stays in the system before draining away.
Drainage improves when the soil profile has enough depth for water to move down and spread laterally. A very shallow fill can stay soggy after irrigation because there isn’t enough vertical distance for excess moisture to leave the root zone. Overfilled beds create the opposite problem: water and loose soil run off the edges, especially if the surface crowns above the frame.
Rooting depth is the second reason fill height matters. Leaf lettuce may survive in 5 inches of mix, but tomatoes, peppers, and root crops perform far better when roots can extend, branch, and reach a more stable moisture layer. Shallow fills often force roots to circle near the surface, leading to wilting during heat and stunted growth even when the bed is fertilized.
Settling is the factor most new gardeners forget. Fresh soil blends contain air pockets, fluffy compost, and loosely packed organic particles. Watering collapses those pockets as organisms begin breaking down the organic fraction. It is normal for a new fill to drop 10–25% in height during the first month. If you plan for that drop, you avoid the common pattern of planting at the rim, then watching the soil sink into a low, crusted bowl by midseason.
A simple way to visualize the system: fill height is not cosmetic. It sets the ceiling for root volume, determines how much mulch and compost you can add later, and keeps irrigation water moving through the profile instead of sheeting off. University extension guidance on garden soil consistently emphasizes structure and moisture movement rather than just volume, which is the same principle behind a well-managed raised bed.
Fill Height by Bed Depth: 6, 12, 18, and 24 Inches
Different bed depths call for different fill targets. The goal is to maximize usable root space while leaving a small lip for watering, top-dressing, and mulch. A bed packed to the very top may look tidy on day one, but it becomes messy and difficult to maintain.
 Leave a shallow lip so water, compost, and mulch stay contained.
Use these depth-based starting points as your baseline:
| Bed depth | Recommended initial fill | Best uses |
|---|---|---|
| 6 inches | Fill to about 5 inches | Salad greens, shallow herbs, fast crops |
| 12 inches | Fill to 10–11 inches | Most vegetables, flowers, general kitchen gardens |
| 18 inches | Fill to 16–17 inches | Tomatoes, peppers, deep-rooted annuals |
| 24 inches | Fill to 22–23 inches | Root crops, perennials, drought-prone sites |
The 1–2 inches of headspace isn’t wasted space. It acts as a watering lip, keeps loose mulch from washing over the edge, and gives you room to add a seasonal compost reset without burying plant crowns. In a 6-inch bed, that leftover inch is proportionally larger, but it’s still worth keeping because shallow beds are more prone to overflow during hand watering.
For a 12-inch cedar bed on a patio, filling to 11 inches gives you a workable surface that can later accept a 1-inch compost top-dressing without spilling. In an 18-inch bed for indeterminate tomatoes, stopping at 17 inches provides nearly maximum root depth while keeping the soil easy to contain.
Crop-Specific Fill Adjustments: Vegetables, Herbs, and Flowers
Once bed depth is set, the plants you want to grow fine-tune the final fill height. Different root systems use soil volume in different ways, and matching fill height to crop needs prevents wasted mix and root-related stress.
Vegetables generally perform best when the fill height is close to the depth-based maximum. Fruiting crops such as tomatoes, peppers, squash, and cucumbers pull heavy amounts of water and nutrients, and a deeper root zone buffers against heat and irregular watering. Leafy greens and shallow alliums can do well with slightly less, but they still need enough depth to keep the surface from drying too quickly.
Herbs often benefit from a fill that stops a little lower than the maximum. Many Mediterranean herbs — rosemary, thyme, oregano, sage — prefer a drier surface and sharper drainage. Leaving extra headspace lets you add a gritty mulch or coarse sand layer without smothering the crowns. Basil and parsley tolerate more moisture, but the extra lip still helps.
Flowers are the most flexible group. Compact annuals like marigolds and zinnias need only moderate root depth, while tall cut-flower varieties and perennials appreciate a higher fill so they anchor well in wind and survive a full season without leaning.
A working rule in practice:
- Vegetables: fill near the top; reserve 1–2 inches for compost and mulch.
- Herbs: fill slightly lower; consider a drier top layer.
- Flowers: moderate fill; go deeper for tall or top-heavy varieties.
In an 18-inch bed divided between vegetables and herbs, filling the vegetable section to 17 inches and the herb section to 16 inches is a simple, effective adjustment. The extra inch in the herb zone holds a gritty mulch that keeps crowns dry.
Full-Soil vs. Layered Fills: Choosing the Right Profile
Fill height is only half the equation. What sits below the top growing layer determines how stable the bed remains and how much you spend. Gardeners usually choose between a full-soil fill and a layered fill, sometimes called hugelkultur-lite.
A full-soil fill uses a soil or soil-compost blend from the bottom of the bed to the top. It is the most predictable option because every inch is immediately available to roots. This is the better choice for beds under 12 inches, root crops, and intensive vegetable spacing. It also settles less dramatically than a layered bed because there are no bulky air pockets to collapse.
A layered fill places coarse, low-cost organic materials in the lower portion, then caps them with high-quality garden soil in the top 10–14 inches where most feeder roots live. This method shines in deep beds of 18–24 inches, where filling the entire frame with premium mix becomes expensive and largely unnecessary. The lower layer still provides drainage and slowly feeds the profile as it breaks down.
There is a trade-off: layered beds sink more in the first year, and the lower organic zone is not ideal for long taproots like carrots or parsnips until it becomes more stable. A full-soil bed is more consistent but costs more upfront.
When building a layered profile, avoid fresh manure, thick wads of uncomposted grass, or kitchen waste in the lower zone. These materials can create soggy, nitrogen-hungry pockets. If you want to include kitchen scraps as part of the lower organic layer, know the realistic breakdown window for vegetable waste in garden systems before assuming they’ll disappear quickly. A denser nitrogen-rich material can heat up or mat down, so it belongs in a true compost pile first.
Planning for Settling and Top-Off Timing
Settling is not a sign that you did something wrong. Fresh soil always compresses, and organic matter always degrades. The skill is in anticipating the drop and topping off at the right time so plants never sit in a sunken, anaerobic bowl.
The amount of settling depends on the soil blend. Compost-heavy mixes settle more than mineral-heavy blends because compost is fluffy and continues to decompose. Full-soil beds typically drop a modest amount after the first few deep waterings. Layered beds can sink several inches over the first 6–12 months as logs, chips, and leaves compress and break down.
A reliable top-off schedule looks like this:
- Immediately after filling: Water deeply in two short rounds to settle air pockets and reveal low spots.
- After 2–4 weeks: Top off if the surface has dropped more than 1–2 inches.
- Each new season: Add 1–2 inches of screened compost as a maintenance reset.
 A tape mark on the inside wall makes settling visible days after watering.
A simple field trick is to place a strip of masking tape on the inside wall at your target soil line right after filling. After two waterings, you can see exactly how far the surface has dropped and top off with the same blend rather than guessing.
If you filled a new bed in early April and notice by May that the line has fallen 2 inches, add a 1-inch layer of compost and 1 inch of soil mix, then cover with mulch. That restores the grade without burying crowns or smothering young seedlings. Always keep the final surface slightly below the rim so future watering and top-dressing stay clean.
Best Bottom-Layer Materials for Deep Raised Beds
Choosing what goes into the lower portion of a deep bed affects drainage, settling, and long-term fertility. A good bottom layer saves money and improves structure. A bad one creates a compacted, waterlogged mess that is difficult to fix without emptying the bed.
Materials that help:
- Untreated logs, branches, and coarse wood chips in beds 18 inches or deeper
- Coarse leaf mold or shredded leaves, packed lightly rather than matted
- Clean straw — not hay — as a temporary bulk filler under a thick soil cap
Untreated woody material breaks down slowly and creates a beneficial fungal network, but it does not disappear overnight. Understanding the realistic decomposition rate of wood chips helps you plan for the extra settling that comes with woody layers. Fresh grass clippings are another tempting filler, but they mat into a slimy, airless layer when used thickly. If you have a large volume of clippings, let them dry or mix them with leaves before adding, and keep in mind the breakdown behavior of grass clippings in a confined bed is different from on a lawn.
Materials that hurt:
- Construction debris, painted lumber, or pressure-treated offcuts that can leach into soil
- Thick stacks of cardboard that stay slick and slow drainage in heavy clay
- Fresh manure, especially poultry manure, at the very bottom
Fresh manure is a particular problem because it contains ammonia and pathogens that can damage roots. Chicken manure is valuable after it has been fully composted, but raw manure should never sit directly under a food crop root zone. If you plan to use it, first understand how long it takes to safely age chicken manure so it becomes a stable amendment rather than a root-burning hazard.
A practical deep-bed build for a 24-inch frame: place 6–8 inches of untreated branches, then 2 inches of shredded leaves, followed by 12–14 inches of a quality soil and compost mix. Keep the top 12 inches consistent and plant-ready.
How to Fix Common Fill-Height Mistakes
Fill-height problems usually show up after the bed has been planted, but they are fixable if you diagnose the symptom first.
Soil too high. The surface spills over the rim, mulch slides off, and seedlings wash out after watering. Rake the surface down until there is a visible 1–2 inch lip. If plants are already in place, remove soil from between rows and re-grade gently rather than digging around roots.
Soil too low. The center develops a visible dish, roots dry quickly, and seeds struggle to germinate. Top off with the same blend you originally used — not straight compost, which can turn dense and waterlogged. Water the bed in, then recheck after a week.
Poor mix. Standing water, crusting, or stunted growth despite fertilizing usually points to an imbalance. Too much compost creates a spongy mix that stays wet; too much fine topsoil compacts and sheds water. If the bed stays wet, work in coarse perlite, pumice, or pine fines and reduce compost at the next top-off. If it dries too fast, add screened compost and a small amount of coconut coir.
A common midseason mistake is topping off a sunken bed with pure compost. Compost is not soil. It breaks down quickly, shrinks again, and can hold too much water. Use a blended top-off that matches your existing profile, then mulch over it.
Quick Fill-Height Checklist Before You Plant
Before the first transplant goes in, run through this two-minute checklist. It catches most fill-height problems early.
- Leave a watering lip: stop filling when there is 1–2 inches of exposed frame at the top.
- Check surface level: aim for flat to slightly crowned in the center, about 1/2 inch higher if the bed sheds water quickly.
- Confirm plant clearance: keep soil at least 1 inch below any wooden cap rail to reduce rot and splashback.
- Do the squeeze test: a handful of moist soil should hold together, then crumble when poked. If it stays muddy, don’t fill higher.
- Mark a top-off line: use tape or a pencil line on the inside wall at the target post-settling height.
These cues matter even more in a moveable or elevated planter, where heat gain from the sides can dry the soil faster than in a ground-level bed. The shade or tone of your planter can change how quickly the upper root zone loses moisture, which is worth watching alongside fill height.
For a 4×8 bed destined for tomatoes, stop filling 1.5 inches from the top, water once, and compare the surface to your marked line the next day. If it has dropped below the mark, top off before transplanting so cages sit solid and moisture stays even.
Frequently Asked Questions
How full should a raised garden bed be filled?
For a new bed, fill to within 1–2 inches of the top edge, then water deeply and top off after settling. For an established bed, maintain a finished soil level about 2–3 inches below the rim so you have room for mulch, compost, and slow watering without spillover.
How much does raised bed soil settle after watering?
Most new raised bed soil settles 10–25% in height during the first month. Compost-heavy blends and layered fills with logs or wood chips settle more than full-soil mineral mixes. Water the bed twice after filling, then recheck the level and top off as needed.
Can I put logs or sticks in the bottom of a raised bed?
Yes, in beds 18 inches or deeper, untreated logs, branches, and coarse wood chips make a good lower layer. Keep them at least 10–12 inches below the surface where most vegetable roots feed. Expect more settling in the first year as the woody material breaks down.
What is the minimum soil depth for tomatoes?
Tomatoes perform best with at least 12 inches of quality soil, and 16–18 inches is even better for indeterminate varieties. If your bed is only 12 inches tall, fill it to 10–11 inches and choose determinate or bush varieties to work within the available root depth.
How often should I top off raised bed soil?
Top off whenever the surface drops more than 1–2 inches, typically after the first month and then once or twice a season. Each spring, add 1–2 inches of screened compost. Use a blend similar to your existing soil rather than straight compost to avoid waterlogging.
Do I need to line the bottom of a raised bed?
Not usually. If the bed sits on open ground, skip the liner so roots, worms, and water can move freely. Use a weed barrier only on hardscape or over persistent grass. A liner under a deep bed can also interfere with drainage unless it is permeable.
The Bottom Line
How high to fill raised garden bed for healthy root growth comes down to balancing root depth with a workable rim. Fill high enough to give roots real volume and even moisture, but leave a little headspace for watering, mulch, and the inevitable settling of a fresh soil mix.
Before planting, water the bed thoroughly, recheck the surface, rake it level, and add mulch with stems clear. Then fill to your marked line, plant, and plan a top-off after the first few weeks. A bed that starts at the right height stays easier to manage, produces more consistently, and avoids the common cycle of dry edges, sunken centers, and spilled soil all season long.