How Long To Compost Chicken Manure: Best Proven Timeline For Safe, Effective Results
Chicken manure is one of the most nutrient-dense soil amendments you can produce — and one of the easiest to get wrong. Used fresh, it can scorch plant roots, carry pathogens, and release enough ammonia to set a planting bed back for a full season. Used correctly, after a genuine compost cycle, it becomes a slow-release fertilizer that outperforms many bagged products.
The difference between those two outcomes is a reliable timeline and a few measurable checkpoints. The proven plan is roughly 3–4 weeks of active hot composting plus 2–6 weeks of curing — about 5–10 weeks total before the compost is ready for garden use. Cold composting works too, but it stretches the clock to 6–12 months. You can also read our guide on how long does chicken poop take to compost.
This guide walks you through the exact timeline, what makes it speed up or stall, and how to know — not guess — when your pile is truly safe to use.
The Short Answer: What Timeline Should You Plan For?
| Method | Active phase | Curing phase | Total before use | Best for |
|---|---|---|---|---|
| Hot composting | 3–4 weeks | 2–6 weeks | 5–10 weeks | Gardeners who want safe compost fast |
| Cold composting | 6–12 months | 1–3 months | 7–15 months | Low-effort piles in no hurry |
| Vermicomposting | 2–4 months after pre-treatment | Not needed | 2–4 months | Small batches, indoor setups |
These windows assume a pile of at least 1 cubic yard (roughly 3×3×3 feet), carbon-rich bedding mixed in, moisture like a wrung-out sponge, and regular turning while the pile is hot. Miss any of those and the clock stretches. For more on this, see our guide on how long does chicken manure need to compost.
Research-based guidance from university extension programs — for example, University of Minnesota Extension — consistently points to the same four levers: heat, oxygen, moisture, and time. The U.S. Environmental Protection Agency publishes the same message in its home-composting guidance: manage the biology, and the calendar takes care of itself.
What Actually Controls the Composting Timeline (It’s Not the Calendar)
The single most important number is how long the pile’s core stays inside the thermophilic range of 130–160°F (54–71°C). For chicken manure, sustained heat is the kill step — it is what reduces the pathogens that make fresh manure risky to handle. A pile that touches 150°F once and then cools is far less reliable than one that holds 135°F for a solid week. For more on this, see our guide on how long does horse manure take to compost.
In practice, the piles that stall are almost never “too cold outside.” They are too wet, too small, or too compacted to breathe. The real timeline drivers are:
- Pile volume — Small piles shed heat faster than they generate it. Below about 1 cubic yard, chicken manure simply won’t hold thermophilic temperatures for long enough.
- Oxygen — Turning or forced aeration feeds the microbes that produce heat. Without it, the pile goes anaerobic and the temperature collapses.
- Moisture — Microbes need water to move nutrients. Too dry and the pile sits at 80°F; too wet and water fills the air spaces that oxygen needs.
- Particle size — Shredded bedding and broken-up manure clumps decompose dramatically faster than intact straw or dense, sticky droppings.
- Carbon-to-nitrogen balance — Chicken manure is extremely high in nitrogen. Without enough carbon-rich material, ammonia builds up and microbial activity slows.
A common mistake is treating the compost pile like a slow cooker: set it and forget it. A quick 10-minute check and turning session every few days is what separates a 6-week batch from a 4-month one.
Fresh vs. Aged Manure: Different Starting Points, Different Timelines
The condition of your manure on day one changes everything downstream. Fresh and aged manure behave differently, need different handling, and finish on different schedules. For more on this, see our guide on how long does it take cow manure to.
Fresh Manure: Fastest Start, Highest Risk
Fresh manure is nitrogen-rich and full of soluble ammonium, so it heats quickly — often within 48–72 hours in a properly built pile. That speed is an advantage for reaching thermophilic temperatures.
It is also what makes fresh manure dangerous. A pile with too much fresh manure and too little carbon turns slimy, goes anaerobic, and starts smelling like ammonia within days. If you’re composting right after cleaning the coop, lean heavily on the carbon side of the recipe and build the pile large enough to hold the heat it generates. For more on this, see our guide on how long does it take for horse manure.
Aged or Stored Manure: Slower Start, Steadier Breakdown
Aged manure has already lost nitrogen and moisture during storage, so its initial heat rise lags behind fresh material. The upside is that it is more forgiving to mix and less likely to burn plants if a small amount stays in the soil.
The practical tradeoff is time. Stored manure often needs an extra week or two of active composting to climb back into the thermophilic range, simply because the most easily digested compounds are already gone. Plan for a slower start, not a slower finish.
Manure With Bedding: Carbon Changes the Equation
Most backyard chicken keepers don’t collect pure manure — they clean out coops full of straw, hay, or pine shavings. That bedding is actually an advantage: it supplies the carbon that balances manure’s aggressive nitrogen.
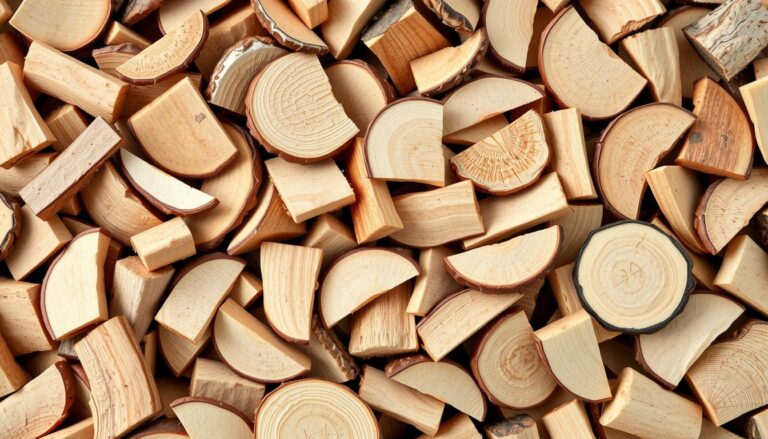
The catch is that some bedding decomposes slowly. Straw and hay break down within weeks, while coarse woody material such as pine shavings and wood chips can linger for months if the pile stays dry or poorly aerated. If your pile is heavy on woody bedding, expect a longer active phase — and don’t panic when a few coarse pieces remain at the end of curing.

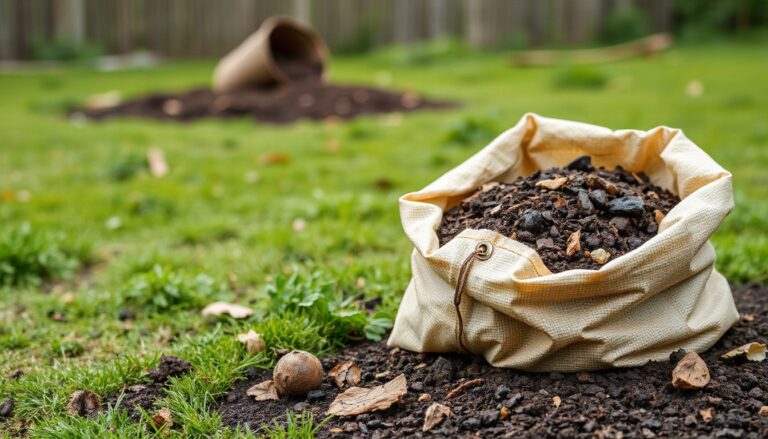
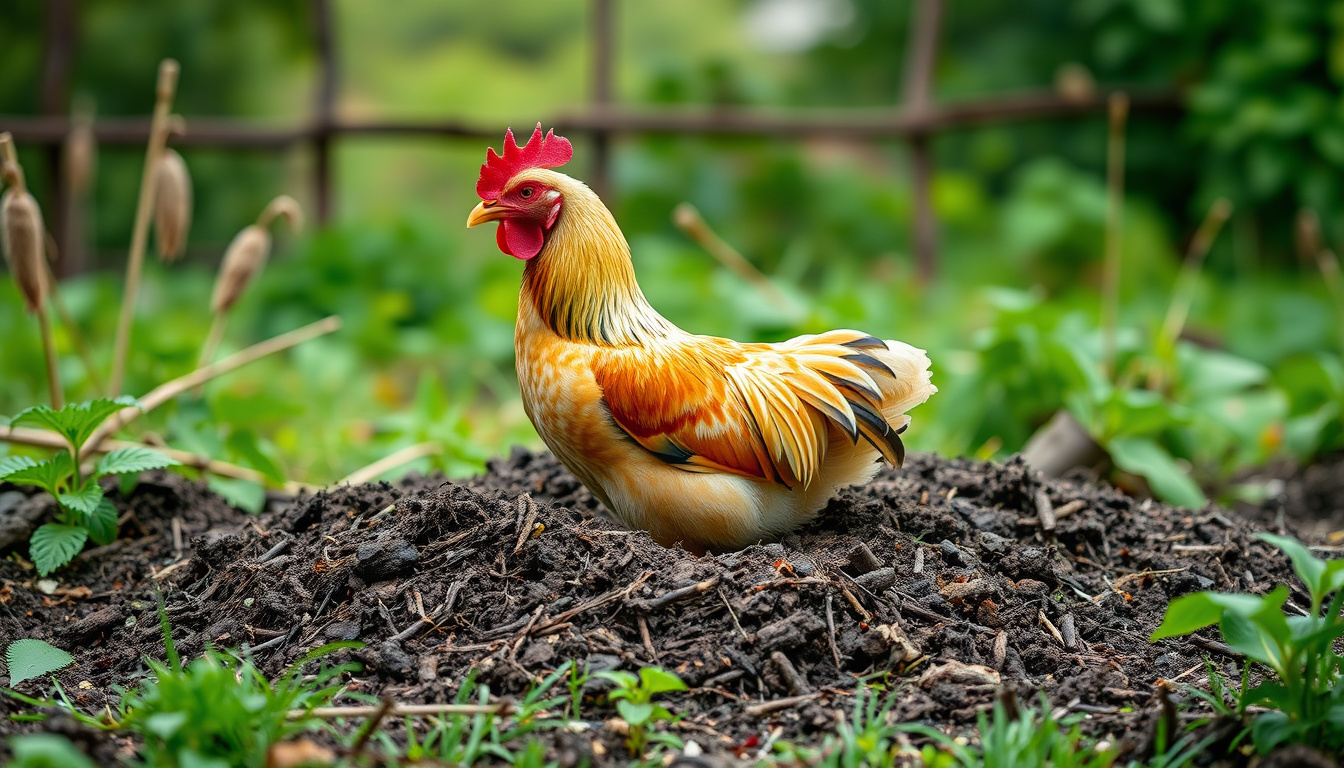
A properly built chicken-manure pile layers browns and manure so air can move through the core.
Composting Methods: Which One Fits Your Setup?
Hot Composting: The 4–8 Week Route
Hot composting is the fastest, safest method for chicken manure because it combines sustained heat with active aeration. It requires more labor — building the pile all at once, turning it every few days, and monitoring temperature — but it compresses the timeline dramatically.
During the active phase, the pile should hold 130–160°F for at least several consecutive days. That sustained heat is what reduces pathogens, kills weed seeds, and breaks down bedding fibers quickly. After the pile cools, curing takes another 2–6 weeks.
Cold Composting: The Low-Touch Route
Cold composting is simply letting nature work at its own pace. You add material, occasionally water it, and wait. It requires almost no management, but temperatures rarely reach the thermophilic range, so pathogen reduction is less certain and the timeline stretches to 6–12 months.
Cold compost can still be used safely if you give it a full year, keep it moist, and never add fresh manure once the pile is established. It is a fine option for a passive pile you aren’t in a hurry to use.
Vermicomposting: Small Batches Only
Worms can process chicken manure, but not directly. Fresh manure produces too much ammonia and heat for worms to survive, so it needs pre-composting or heavy dilution with carbon materials for several weeks first.
That pre-treatment shifts the bottleneck. A worm bin is excellent for small, steady volumes — a few hens, not a flock — but it cannot replace bulk composting when you need a large amount of finished compost quickly.
| Method | Effort level | Pathogen kill reliability | Typical total time |
|---|---|---|---|
| Hot composting | High | High (confirmed by heat) | 5–10 weeks |
| Cold composting | Very low | Lower (requires long wait) | 7–15 months |
| Vermicomposting | Medium | Medium (relies on pre-treatment) | 2–4 months |
How to Build a Hot Compost Pile That Finishes in 4–8 Weeks
Follow these six steps and the timeline stays predictable.
Balance the recipe before you build. Aim for roughly 2 parts carbon-rich material (straw, dry leaves, shredded paper, wood shavings) to 1 part chicken manure by volume. Fresh manure counts as a green, and so does fresh-cut lawn waste — but grass mats easily, so it should make up only part of the green fraction. Unlike most green kitchen scraps, which break down quickly on their own, chicken manure is so nitrogen-dense that it needs the carbon buffer to avoid ammonia buildup.
Build the whole pile in one session. A pile that grows a little each day stays cold. Accumulate materials until you have at least 1 cubic yard, then build it all at once so the center can heat uniformly.
Add water as you build. Moisten each layer until a handful squeezed in your fist feels like a wrung-out sponge — damp but not dripping. Dry piles sit at 80°F for weeks; soaked piles go anaerobic and smell.
Turn when the temperature drops. Check the core daily with a compost thermometer. As the temperature falls roughly 10°F from its peak, turn the pile — usually every 2–3 days during the hottest stretch. Turning moves cooked outer material into the core and delivers fresh oxygen to the microbes.
Track a temperature history, not a single reading. A pile that holds 130–160°F for 5–7 days with regular turning has met the heat-exposure requirements for reducing pathogens. Log the readings so you can verify the kill step instead of assuming it happened.
Stop turning once it cools and begin curing. When the pile no longer reheats a day or two after turning, the active phase is done. Leave it in place or move it aside for 2–6 weeks of curing before using it around plants.
Temperature and Moisture: The Two Numbers That Decide When It’s Done
The Heat Target: 130–160°F
The thermophilic range for chicken manure composting runs from 130°F to 160°F. Below 130°F, decomposition slows and pathogen reduction is unreliable. Above 160°F, you start killing the beneficial microbes doing the work — the pile literally burns itself out and stalls.
The sweet spot is holding 135–150°F for several consecutive days, then letting the pile cool naturally as the easily digested material runs out. A quality 12–18 inch compost thermometer is not optional here; it is the only way to know what is happening in the core.
The Moisture Target: Wrung-Out Sponge
Water is the solvent for every microbial process in the pile. Use the squeeze test: grab a handful from the middle and squeeze hard.
- A few drops between your fingers — perfect.
- A steady drip — too wet. Add dry carbon and turn.
- No drops at all — too dry. Water thoroughly while turning.
Check moisture every time you turn, because hot piles evaporate water much faster than people expect.
How to Tell When Chicken Manure Compost Is Finished
The active phase ends when the pile cools. The compost is finished when it passes all four of these checks:
- Odor — Earthy and mild, with no ammonia or sourness. A sharp ammonia smell after turning means the pile needs more curing.
- Texture — Crumbley and uniform, with no intact bedding strands or recognizable manure clumps.
- Temperature — Stays near ambient for several days, even after turning. No rebound heat.
- Moisture — Consistent throughout, like a damp sponge, never a soggy mass.
A common trap is judging by color alone. Partially composted manure can look dark and crumbly while still containing phytotoxic compounds that suppress seed germination. If you want hard proof, run a quick bioassay: plant radish seeds in a mix of 50% finished compost and 50% potting soil. If they germinate and grow normally within 7–10 days, the compost is safe for plants.

Finished compost should crumble, smell earthy, and stay cool after turning.
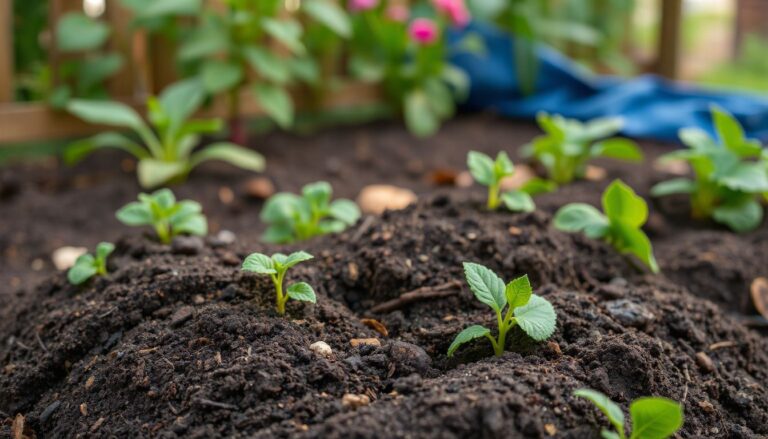
Curing matters because it addresses chemical stability, not just sanitation. A pile can be pathogen-reduced yet still immature for plant use. Give the material those extra 2–6 weeks and the ammonia finishes off-gassing, the organic acids stabilize, and the microbial community settles into a balanced, soil-friendly state.
How Long to Compost Chicken Manure for Gardens, Lawns, and Raised Beds
The final destination changes how cautious you need to be.
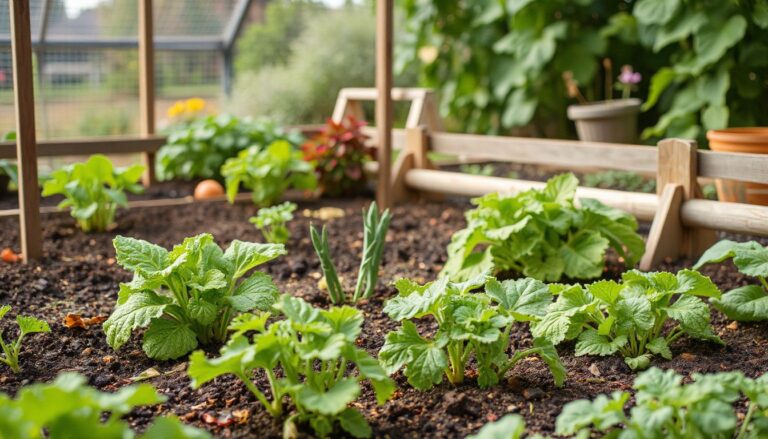
- Garden beds — Cured compost can be worked into the top few inches at a rate of about 0.5–1 inch. Nitrogen release becomes predictable, so transplants establish without the leaf-tip burn that fresh manure causes.
- Raised beds — Mix compost thoroughly and wait 1–2 weeks before planting sensitive seedlings. Raised beds drain well, which concentrates salts if you apply unfinished hot compost too heavily.
- Lawns — Use a light topdressing of no more than ¼ inch on established turf. Fine grass roots sit close to the surface, so they tolerate a mature product far better than a barely cured one.
- Containers — Match mature compost with a pot that manages root-zone heat well; pot color choices can raise or lower soil temperatures significantly in summer, and dark pots combined with rich compost can stress roots on hot days.
The exact week count matters less than the compost’s behavior. If it stays cool, smells neutral, and resists clumping when handled, it is ready for any of these uses.
Common Mistakes That Add Weeks to the Timeline
A Slimy, Ammonia-Soaked Pile: Too Much Nitrogen
Chicken manure is so nitrogen-dense that it is easy to overdo. When greens outnumber browns, the pile collapses into a wet, slimy mass that produces ammonia and holds temperatures below 120°F.
Fix it by adding coarse, dry carbon, breaking up clumps, and turning thoroughly. Rebalance toward 2 parts browns to 1 part manure, then recheck the squeeze test.
A Dense, Sour Pile: Too Little Oxygen
Even with a perfect carbon-to-nitrogen ratio, a pile that never gets turned will run out of oxygen. The core goes anaerobic, temperatures fall, and the pile smells sour instead of earthy.
Turning every 2–3 days during the hot phase is non-negotiable for chicken manure. If the pile stalls below 120°F for more than two days, turn it immediately rather than waiting for it to “do something.”
Declaring Victory Too Early: Skipped Curing
The active phase kills pathogens, but curing stabilizes the chemistry. Immature compost can tie up nitrogen in the soil and release organic acids that suppress germination. The fastest batches still need that 2–6 week curing window before they are truly plant-ready.
Managing by Guesswork Instead of Measurement
The number one reason chicken manure compost “takes forever” is that nobody tracked it. Gardeners add the manure, wait, and wonder why nothing happens. A simple temperature log — one reading per day, written down — turns a vague waiting game into a predictable schedule you can actually plan around.
Frequently Asked Questions
How long does it take to compost chicken manure?
Hot composting takes about 4–8 weeks total, including curing. Cold composting takes 6–12 months because the pile never reaches sustained thermophilic temperatures. The method, pile size, moisture, and carbon balance all shift the timeline — but a managed hot pile will always be faster.
How hot does chicken manure compost need to get, and for how long?
Aim for 130–160°F (54–71°C), with the sweet spot around 135–150°F. Hold that range for several consecutive days while turning regularly so the heat reaches the entire pile, not just the center.
Can you compost chicken manure with bedding?
Yes, and you should. Bedding provides the carbon that balances manure’s nitrogen. Straw breaks down in weeks, while thicker wood shavings and chips take longer and may require a longer active phase.
How long should chicken manure compost cure before use?
Cure for 2–6 weeks after the active phase ends. The pile should smell earthy, stay cool, and feel crumbly throughout. A radish-seed germination test is a reliable way to confirm the compost is stable before using it on valuable plants.
What happens if you use chicken manure compost that isn’t finished?
Unfinished compost can burn roots with residual ammonia, tie up nitrogen in the soil, suppress seed germination, and produce odors that return after watering. It can also still contain pathogens if the pile never reached and held the thermophilic range.
How can you speed up chicken manure composting?
Shred your bedding and manure clumps, build a pile of at least 1 cubic yard, keep the carbon-to-nitrogen ratio near 2:1, maintain wrung-sponge moisture, and turn every 2–3 days. Each factor compounds — fix all four and you’ll compress the timeline by weeks.
Conclusion
The proven, safe timeline for composting chicken manure is 3–4 weeks of active hot composting plus 2–6 weeks of curing — about 5–10 weeks total. Cold composting works but takes a full season or more, and vermicomposting only makes sense for small batches. Whatever method you choose, the end point is always the same: stable heat, earthy odor, crumbly texture, and no rebound when the pile is turned.
Start with a single number: the temperature in the center of your pile. Grab a compost thermometer, take a core reading, and write it down. If it’s below 130°F, turn the pile, check the moisture, and recheck the heat in 24 hours. Repeat that feedback loop until the pile holds its temperature, then cools and stays cool — that is your signal that curing has begun. Follow that process and you can turn chicken manure into safe, powerful garden gold in about two months, with no guesswork and no burned plants.