How to Prepare Ground for Planting Vegetables in 8 Steps
How to prepare ground for planting vegetables often becomes urgent the moment a gardener steps outside after a week of rain and sees compacted soil, stubborn weeds, and puddles where seedlings should go. They may have seeds on the kitchen counter and a free Saturday morning, yet the garden bed still looks like hard work.
Look, good harvests usually start before the first seed is planted. When the ground is leveled, loosened, and fed correctly, roots spread faster, water drains properly, and pests and diseases have fewer easy wins. This guide walks the reader through a clean, repeatable process that works for raised beds, in-ground plots, and small backyard rows.
It covers the core actions that set vegetables up for success:
- Clearing weeds, old roots, and debris without stirring up new weed seeds
- Testing soil texture and pH, then choosing amendments that match the results
- Improving structure with compost and correct tilling or no-dig methods
- Shaping beds for drainage, spacing, and easy maintenance
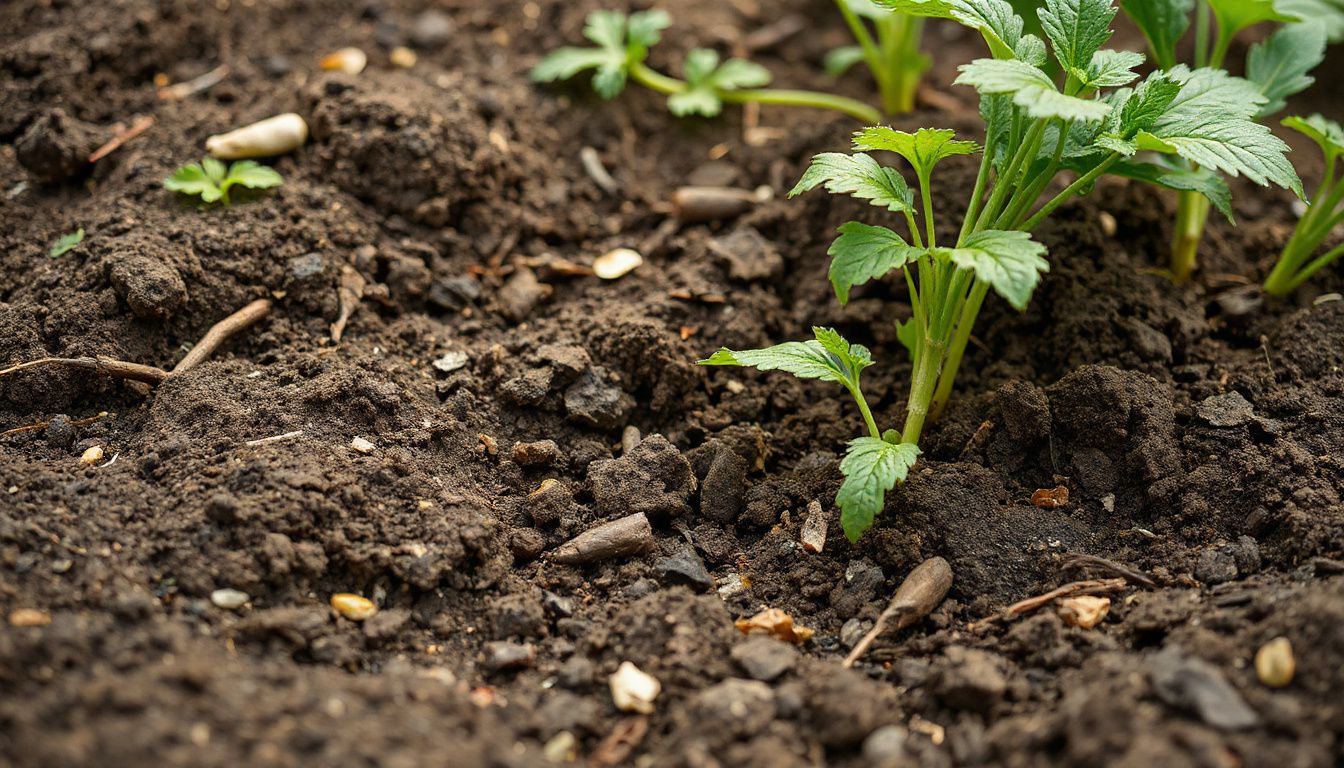
Example: if they’re planting tomatoes in heavy clay, they can mix 2–3 inches of compost into the top 8–10 inches and form a slightly raised row to prevent waterlogging and root stress.
Clarify Goals and Gather Tools Before You Start
Now that the urgency is clear, they’ll get better results by deciding what “success” looks like before touching the soil. A quick goal check prevents wasted digging, poor spacing, and surprise shade issues later. The aim might be high yields, low maintenance, or a steady harvest over months.
They should write down three decisions: what vegetables they’ll grow, how much they want to harvest, and how they’ll manage weeds. Those choices drive bed size, soil amendments, and irrigation needs. If they’re unsure, they can start with a small, manageable plot and scale up next season.
Tools matter, but it doesn’t need to be complicated. The essentials are simple and reliable:
- Spade or garden fork for loosening soil without pulverizing structure
- Rake for leveling and removing debris
- Hand trowel and hoe for detail work and weed control
- Gloves, string line, and stakes for clean bed edges
- Soil test kit or lab test submission supplies
Pro tip: they should sharpen blades before starting; sharp tools cut roots cleanly and reduce strain. Common mistake: buying specialty tools first, then skipping the soil test that actually guides compost or lime rates.
Practical example: if they want salads twice a week, they can plan one 4×8 bed with lettuce, spinach, and radishes, then gather a fork, rake, and a simple drip kit to keep growth steady.
Choose the Best Site and Map the Planting Area
Next, they’ll pick a site that matches vegetable biology, not convenience. Most crops need 6–8 hours of direct sun, steady moisture, and good drainage. A great location saves weeks of frustration during heat, pests, and uneven growth.
They should walk the yard at morning, midday, and late afternoon to note shade patterns. They’ll also check drainage by digging a small hole and filling it with water; if it drains within a few hours, it’s usually workable. Low spots that stay soggy invite root rot and nutrient loss.
Mapping the area keeps the plan realistic and makes how to prepare ground for planting vegetables faster once they start clearing. They can mark the footprint with stakes and string, then measure paths and bed widths:
- Bed width: 3–4 feet for easy reach from both sides
- Path width: 18–24 inches for safe footing and wheelbarrow access
- Orientation: north–south rows for more even light on taller crops
Pro tip: they should place beds near a water source to avoid inconsistent watering. Common mistake: squeezing beds too close together; cramped paths become weed magnets and compact soil.
Practical example: if a fence casts afternoon shade, they can map tomatoes on the sunniest edge and put leafy greens where partial shade slows bolting.
Clear Weeds, Sod, and Debris Without Spreading Seeds
Now that the bed’s mapped, they’ll get faster results by clearing vegetation in a way that doesn’t scatter weed seed across the site. The goal is simple: remove competition while keeping the soil surface as undisturbed as practical.
They should start by pulling or digging large weeds when the soil is slightly moist, grabbing the crown and as much root as possible. For sod, they can slice under the grass roots with a sharp spade, then roll sections up like carpet for removal or composting (only if seed-free).

- Bag seed heads before pulling to prevent “shake-and-spread.”
- Remove rhizomes (quackgrass) and tubers (nutsedge) by hand; chopping spreads them.
- Rake out sticks, stones, and old mulch that may harbor pests.
Look for the common mistake: rototilling first. That buries seed, chops perennial roots, and creates a bigger weed flush later.
Practical example: if they’re converting a 4×8-foot lawn patch, they can cut sod into 12-inch strips, roll it, and cover the exposed soil with cardboard plus 3–4 inches of compost for two weeks. The cover blocks light so missed weed seedlings don’t rebound.
Pro tip: work from the edges inward and keep a bucket for “do-not-compost” weeds (anything seeding or with creeping roots). That one habit prevents repeat labor.
Test Soil Texture and pH to Guide Amendments
With the surface cleared, they can test soil texture and pH so amendments match what the vegetables actually need. Guessing often leads to over-fertilizing, poor drainage, or persistent nutrient lockout.
For texture, they can do a jar test: fill a clear jar one-third with soil, add water and a drop of dish soap, shake hard, then let it settle overnight. Sand drops first, silt settles next, and clay forms the top layer.
- Sandy: drains fast; needs compost for water-holding.
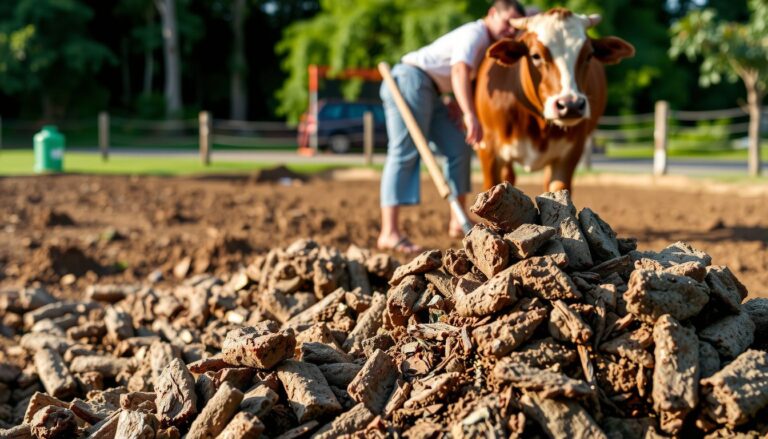
- Clay-heavy: drains slow; needs compost and gentle aeration, not sand dumping.
- Loam: ideal; maintain with annual organic matter.
For pH, they should use a home kit or send a sample to a local extension lab for accuracy. Most vegetables prefer roughly 6.0–7.0; outside that range, phosphorus and micronutrients become less available.
Practical example: if a test reads pH 5.4 and they plan brassicas, they can apply the lab-recommended lime rate in fall or early spring, then retest before planting. Common mistake: “a little extra lime” without a target, which can push pH too high.
Pro tip: take 6–10 subsamples across the bed, mix them, then test the composite. One scoop from one corner rarely represents the whole plot.
Improve Soil Structure With Compost and Targeted Amendments
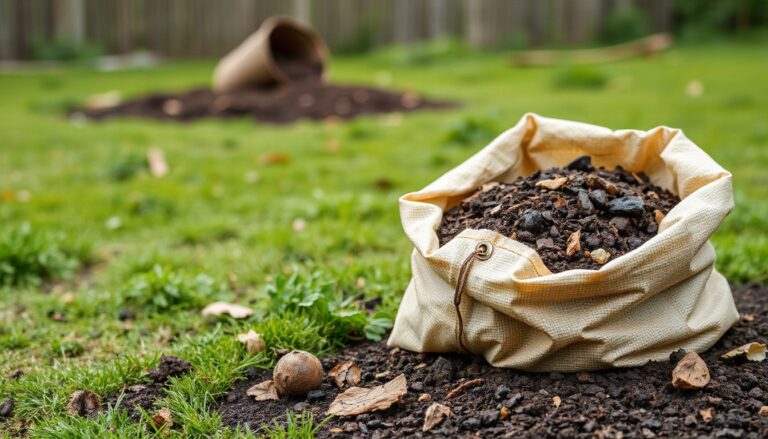
Now that the soil’s been cleared and tested, they can start building fertility and structure where it counts. The goal is a crumbly, moisture-holding mix that drains well and feeds roots steadily.
They should spread 1–3 inches of finished compost over the planting area, then blend it into the top 6–8 inches. Compost improves aggregation in clay and boosts water retention in sandy soil, while supporting beneficial microbes.
Next, they’ll use targeted amendments based on the earlier texture and pH results. Look for changes that solve one problem at a time; piling on products usually backfires.
- Clay-heavy soil: add compost plus a light top-dressing of gypsum only if sodium is high; avoid adding sand.
- Sandy soil: add extra compost and consider worm castings for better nutrient-holding capacity.
- Low pH (acidic): apply garden lime at the label rate and water it in.
- High pH (alkaline): use compost and, if needed, elemental sulfur gradually; don’t expect overnight shifts.
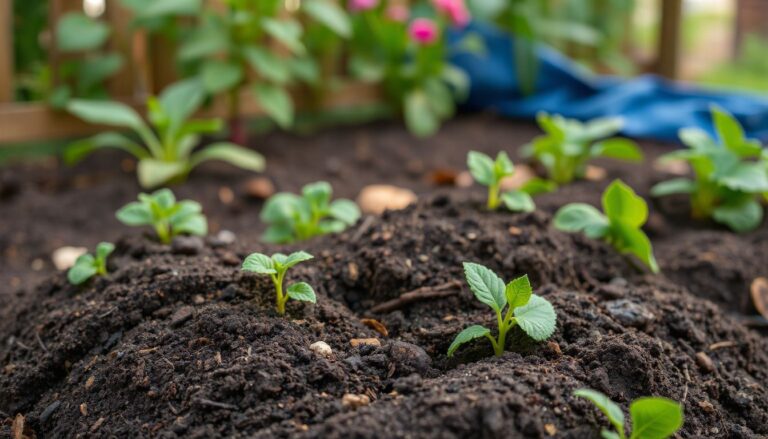
Practical example: a gardener prepping a 4×8 bed for tomatoes and peppers mixes in 2 inches of compost and a slow-release organic fertilizer, then lightly limed one corner that tested at pH 5.6. Three weeks later, the bed holds moisture longer and seedlings establish faster.
Pro tip: compost should smell earthy, not sour. Common mistake: using “hot” manure or uncomposted materials, which can burn roots and tie up nitrogen.
Loosen and Shape Beds for Drainage and Root Growth
With amendments on the surface, they’ll get the best return by shaping the bed for air, water movement, and easy planting. Good structure is physical, not just chemical.
They should loosen soil to root depth without pulverizing it. In compacted ground, a broadfork or digging fork works well: push in, rock back to crack the soil, then move 8–10 inches and repeat. They’ll avoid flipping deep layers unless the soil is severely layered, since inversion can disrupt soil biology.
Next, they’ll shape a slightly raised bed to shed excess water and warm earlier in spring. A typical target is 4–8 inches high with a flat or gently rounded top.

- Rake the surface level, breaking only large clods.
- Pull soil from paths onto the bed to create height.
- Keep beds 3–4 feet wide so they can reach the center without stepping on soil.
Pro tip: if water puddles after a light irrigation, they should raise the bed higher or add more compost before planting. Common mistake: walking on the prepared bed; it re-compacts the root zone and cancels the loosening work.
Real-world example: on a sloped yard, they orient beds across the slope and form shallow paths as mini-swales. The bed drains, the path slows runoff, and seedlings stop washing out during heavy rain.
Level, Rake, and Set Planting Lines for Efficient Sowing
With the bed shaped and loosened, they’ll get cleaner sowing by finishing the surface. A level, fine-tilth top layer improves seed-to-soil contact and makes watering predictable.
They should start by knocking down high spots and filling low spots. A long rake works, but a straight board or landscape rake makes it easier to “screed” the surface until it’s flat across the bed.
Next, they’ll rake the top 1–2 inches into a crumbly texture. Clods dry out fast and leave air gaps around seeds, so the goal is uniform, pea-sized aggregates.
Now they can set planting lines for straight rows and efficient spacing. For how to prepare ground for planting vegetables, accurate layout prevents crowding and simplifies cultivation.
- Mark rows with taut string or a line marker.
- Create shallow furrows with a hoe handle or the rake edge.
- Label zones with stakes to avoid mix-ups at sowing time.
Pro tip: Keep paths slightly lower than the bed so water stays where roots are. Common mistake: Over-raking wet soil; it smears and crusts.
Example: For carrots, they’ll set two strings 12 inches apart, rake the strip extra fine, then pull a 1/4-inch furrow to keep seed depth consistent.
Water In, Mulch, and Let the Bed Settle Before Planting
After shaping and lining, they should water the bed to settle soil around amendments and reveal any low spots. This step reduces later sinking that can bury small seeds too deep.
They’ll water slowly until moisture reaches 4–6 inches down. A shower wand or sprinkler on low prevents surface sealing and keeps the bed level.
- Re-check grade after watering and lightly rake any puddled areas.
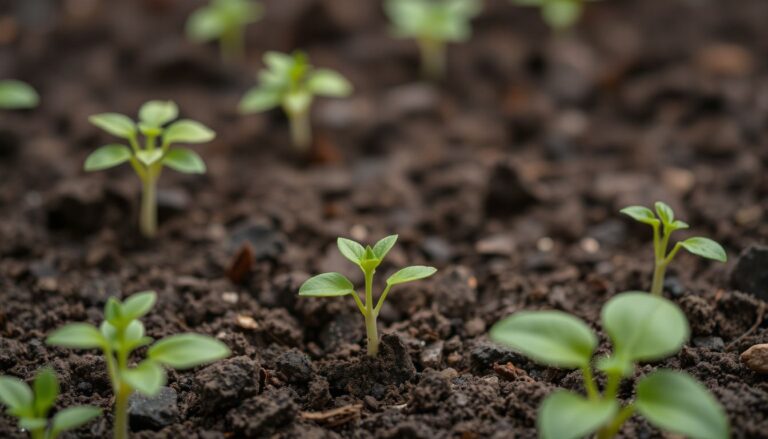
- Remove new sprouts if a flush of weeds appears in 7–10 days.
- Hold off on heavy traffic so the bed doesn’t re-compact.
Mulch comes next, but they should match it to the planting method. Use straw or shredded leaves between future rows, and keep mulch off the exact seed line until seedlings are up.
Pro tip: If they’re direct-seeding, “stale-bed” the surface for a week, then skim off threadlike weeds before sowing. Common mistake: Mulching thickly over seeded areas, which blocks emergence.
Example: For a spring lettuce bed, they’ll water, wait five days, flame-weed or lightly hoe tiny sprouts, sow, then tuck a thin ring of straw between rows to cut splash and crusting.
You’re Ready
Now the bed’s prepped, they’ve done the real work behind how to prepare ground for planting vegetables: setting conditions plants can actually use. The result should be a clean, stable surface with predictable moisture behavior and a soil profile that supports fast rooting. Look, that’s what turns “seeds in the ground” into consistent germination and steady growth.
Before they plant, they should run a quick readiness check:
- Footprint test: soil should crumble, not smear or puddle.
- Tool test: a trowel should slide in without hitting hardpan.
- Water test: a light watering should soak in evenly, not run off.
Real-world example: if they’re sowing carrots in a 4×8 bed, they can make a short test row first; if seedlings emerge evenly in 7–14 days, the rest of the bed is ready for the full planting plan.
Next step: they should choose today’s crop list and planting dates, then plant one bed section immediately to lock in momentum.

4 Comments