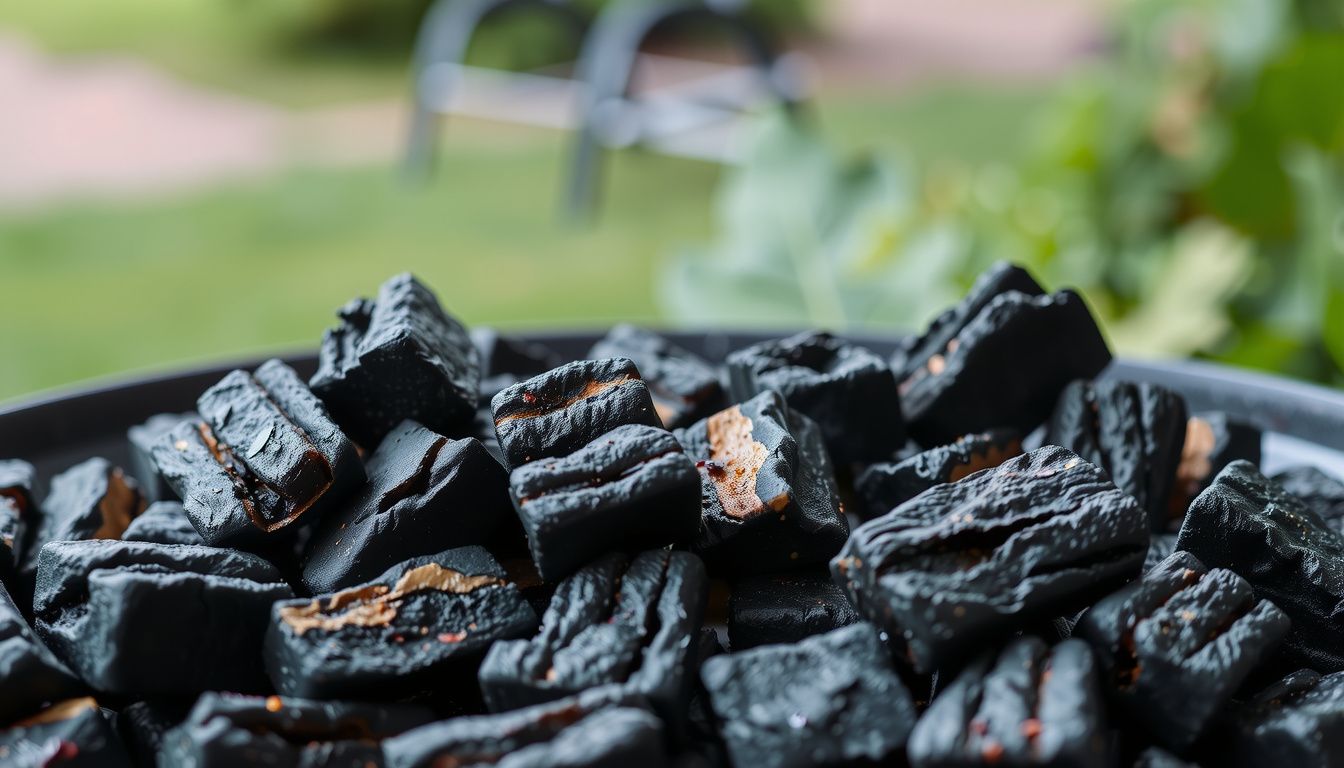
Charcoal BBQ How to Cook: Step-by-Step Juicy Results
Charcoal BBQ how to cook well comes down to controlling fire, airflow, and timing — not buying an expensive grill or a secret rub. When the coals are half-lit and guests are waiting, the griller who understands heat zones and vent settings produces juicy results. The one who keeps lifting the lid “to check” gets dry chicken, burnt burgers, and a grill that never stabilizes.
This guide walks through a repeatable charcoal cooking system: prepping your station, choosing and lighting charcoal, building a two-zone fire, managing temperature, cooking proteins to safe doneness, and resting food correctly. Use it for weeknight dinners or weekend cookouts, and you’ll stop guessing.
Before You Start: Grill Setup, Tools, and Food Prep
A charcoal cook goes smoother when nothing has to be hunted mid-flare-up. Start by cleaning the firebox and clearing ash from the bottom vents. Airflow controls temperature, so clogged vents make even good charcoal burn unpredictably.
Keep these items within arm’s reach:
- Chimney starter and natural fire starters
- Long-handled tongs, a spatula, and a grill brush
- Instant-read thermometer and heat-resistant gloves
- A foil drip pan and heavy-duty foil
- Two trays or plates: one for raw food, one for cooked food
Food prep matters more on charcoal than on gas because heat is less “set-and-forget.” Pat proteins dry with paper towels, lightly oil the meat rather than the grates, and season early enough for it to adhere. Hold sugary sauces for the final minutes; direct heat will burn them into bitter char if applied too soon.
Plan around timing. Charcoal needs a 15–25 minute preheat, and thicker cuts need resting time. A simple serving order prevents chicken from being carved while guests are already eating.
Common mistake: skipping preheat. Cold grates grab food and tear the surface. After preheating, wipe the hot grates with an oiled paper towel held in tongs. This is safer than pouring oil and reduces sticking.
Choose the Right Charcoal and Load Size
Charcoal choice changes burn behavior, not flavor fundamentals.
Briquettes burn at a steady, predictable pace and hold temperature well. They’re the most forgiving choice for beginners and longer indirect cooks.
Lump charcoal lights faster, burns hotter, and produces less ash, but it can spike and fall more quickly. Reserve lump for high-heat searing or shorter cooks once you’re comfortable with vent control.
Match the load to the cook:
- Half chimney (about 40–50 briquettes): small batches, thin cuts, or a two-person cook.
- Three-quarter chimney: burgers, sausages, boneless chicken, and moderate indirect heat.
- Full chimney: larger roasts, a full grill of food, or a high-heat baking setup for pizza-style cooks.
In practice, starting with slightly fewer coals is better than overloading. You can always add a few lit coals, but you can’t quickly remove excess heat from a runaway fire.
Light Charcoal the Reliable Way
A chimney starter is the most consistent method because it lights coals evenly without chemical residue.
- Loosely crumple two sheets of paper or place a natural fire starter in the chimney’s lower chamber.
- Fill the top with your chosen charcoal amount.
- Set the chimney on the charcoal grate and light the starter.
- Open the grill’s bottom and top vents fully.
- Wait until the top coals are covered in light gray ash and the upper layer glows.
Dumping too early creates temperature dips and dirty, acrid smoke. Dumping too late wastes fuel. A common mistake is using lighter fluid, which can leave a chemical taste and is unnecessary with a chimney.
Keep a fire-safe zone around the grill, especially on a wooden deck or near dry brush. The National Fire Protection Association recommends keeping the grill well away from siding, deck rails, and overhanging branches, and never leaving a lit grill unattended.
Build a Two-Zone Fire for Direct and Indirect Heat
The biggest upgrade to your charcoal cooking is a two-zone fire. Bank the lit coals to one side of the charcoal grate. The other side stays empty. This gives you a hot direct zone for browning and a cooler indirect zone for finishing.

Banking coals to one side creates a hot direct zone and a cooler indirect zone for controlled finishing.
- Direct zone: coals piled 2–3 layers deep for searing and quick-cooking items.
- Indirect zone: no coals beneath, used for roasting, holding, and saving food from flare-ups.
- Drip pan: place a foil pan under the indirect side to catch rendered fat and reduce cleanup.
For longer cooks, nestle a few unlit briquettes beside the lit pile. They ignite gradually and extend burn time. Put the cooking grate in place, close the lid, and preheat for 10–15 minutes. Position the top vent over the indirect side so heat and smoke are pulled across the food.
Control Temperature with Vents and the Lid
Charcoal temperature is controlled by oxygen. The bottom vent feeds the fire; the top vent pulls air through the grill. Treat the lid like an oven door and the vents like a thermostat.
Start with both vents fully open. Once the grill is hot, close the bottom vent by one-third to one-half for a stable 350–450°F cooking range. Make small adjustments, then wait 5–10 minutes before changing anything else. The grill responds slowly, so patience prevents wild swings.
Lid position matters as much as vents:
- Lid on: traps heat and smoke for even indirect cooking.
- Lid off: floods the coals with oxygen and can spike flare-ups. Lift only to flip, move zones, or check temperature.
If you want light smoke, add one or two dry wood chunks to the lit coals when the food goes on. Wood chips work for shorter cooks but burn quickly. For longer smoking sessions, pay attention to smoking fish times or similar low-temperature guidelines before committing a full basket of fuel.
Cook Proteins to Juicy Doneness Step by Step
The same sequence produces juicy results on almost every protein: sear briefly over direct heat, then finish gently over indirect heat with the lid closed.
- Place food based on thickness. Thin items start direct; thick cuts start indirect to build internal temperature without scorching the outside.
- Sear in short bursts for color, not to cook through.
- Slide food to the indirect side, close the lid, and let convection finish the job.
- Flip with intention every 2–4 minutes during searing for an even crust.
- Use time as a guide and temperature as the decision. Check in the thickest part, away from bone.
The USDA food safety guidance sets minimum safe internal temperatures. Use these pull targets so carryover heat brings food to the final temperature during rest:
| Food | Pull Temperature | Final/Rest Temperature | Rest Time |
|---|---|---|---|
| Steak (medium-rare) | 123–128°F | 130–135°F | 5–10 min |
| Chicken breast | 160–162°F | 165°F | 5 min |
| Chicken thighs | 175–185°F | 180–190°F | 5–8 min |
| Pork chops | 140–145°F | 145°F | 5–8 min |
| Burgers | 155–157°F | 160°F | 3–5 min |
| Sausages | 158–160°F | 160°F | 3–5 min |
For first-time grillers, choosing one of the easier steak choices removes some pressure while you learn vent control and pull temperatures.
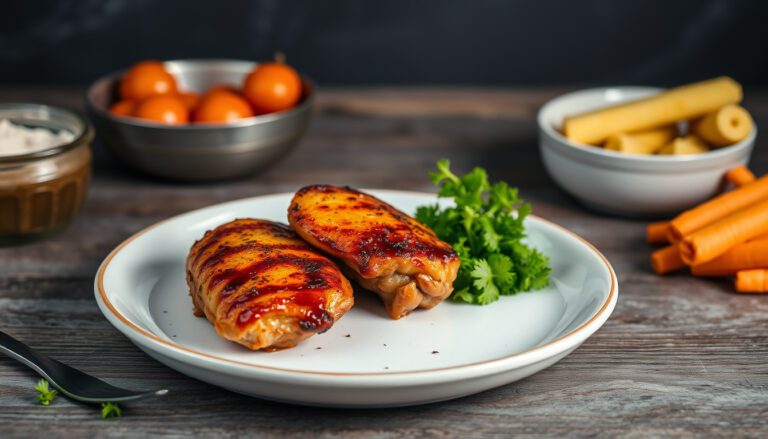
Chicken Thighs
Sear bone-in, skin-on thighs skin-side down over direct heat for 2–3 minutes until the skin releases and browns. Flip for 2 minutes, then move to indirect heat with the lid closed for 18–25 minutes, turning once halfway. Pull between 175–185°F. If the skin needs more crispness, return each thigh to direct heat for 60–90 seconds. The same internal-temperature logic applies to the baked chicken thigh guide, but charcoal adds deeper browning.
Steaks
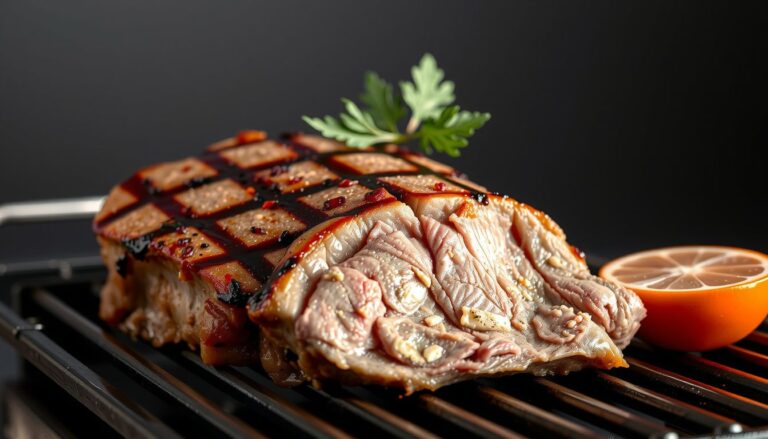
Use thick cuts, at least 1.25 inches. Cook on the indirect side until the probe reads about 10°F below your target, then sear 45–60 seconds per side directly over the coals. Pull at 123–128°F for medium-rare and rest on a warm plate. This reverse-sear approach works better than starting hot and ending cooler because the interior cooks evenly first.
Burgers
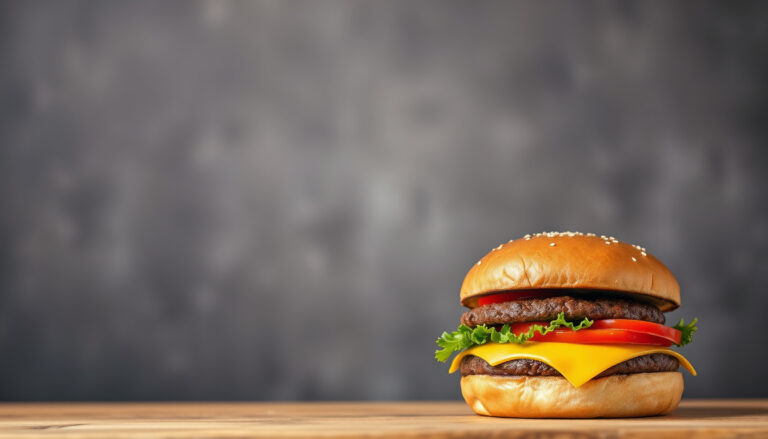
Burgers need a fully cooked center, so sear both sides over direct heat to build a crust, then finish over indirect heat if the center hasn’t reached temperature. Watch burger doneness timing for thickness-based estimates, but always confirm with a probe reading of 160°F in the center.
Pork Chops
Bone-in chops handle charcoal well because the bone buffers heat. Sear 2–3 minutes per side, then finish indirectly until 140–145°F. If the weather turns or you run low on coals, you can finish boneless chops in the oven using the same pull temperature and still keep them juicy.
Larger Cuts and Low-and-Slow Cooks
The same two-zone logic applies to ribs and roasts. Bank a smaller fire, keep the food entirely indirect, and manage the bottom vent for steady 275–325°F heat. When you’re ready to move beyond weeknight proteins, the beef rib method rewards the same vent discipline with tender, smoky results.
Finish, Rest, and Serve for Better Texture
The last five minutes determine whether food eats juicy or dry. Finishing is about hitting the target temperature, setting the surface, and giving meat time to relax.
If the exterior looks pale, do a short controlled sear for 30–90 seconds per side over direct heat. If the exterior is already dark, keep it indirect with the lid closed. More direct heat at this stage only adds bitter char.
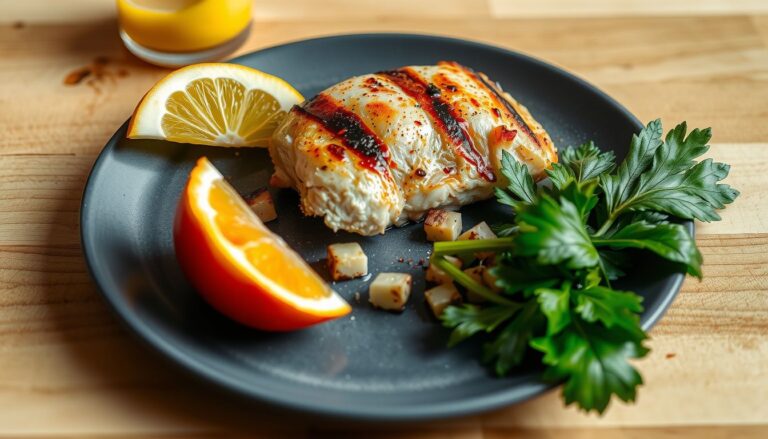
Resting is not optional. During rest, juices redistribute and the surface cools slightly. Rest proteins on a warm plate or tray. Tent loosely with foil if it’s windy, but never wrap tightly; trapped steam softens a crisp crust.
Slice against the grain for steaks, tri-tip, and larger cuts. Serve sauces on the side when you want crisp chicken skin or a firm bark. Warm plates help food hold temperature without continuing to cook.
Common mistakes: cutting too soon, resting under tight foil, and giving food “one more minute” over direct heat. Disciplined pull temperatures and a timed rest fix all three.
Common Charcoal Cooking Mistakes and How to Fix Them
- Piling coals evenly across the grill. No cool zone means no escape from flare-ups. Bank coals to one side.
- Choking vents too early. This creates smoldering, bitter smoke. Keep the top vent open and adjust the bottom vent slowly.
- Lifting the lid constantly. Each lift dumps heat and adds 2–5 minutes to the cook.
- Searing too long. The crust darkens while the center stays raw. Sear briefly, then finish indirect.
- Cooking everything over direct heat because it “feels hotter.” That’s how you get burnt outsides and raw middles.
- Skipping the rest. Slicing immediately floods the plate and dries the meat.
Frequently Asked Questions
How do I know when charcoal is ready to cook on?
The coals are ready when most are covered in light gray ash and the top layer glows. This usually takes 15–20 minutes after lighting a chimney. Gray ash means the volatile compounds have burned off, giving you a clean, stable heat instead of dirty smoke and temperature dips.
Should I leave the grill lid open or closed?
Close the lid for almost all cooking. A closed lid traps heat and smoke, turning the grill into an oven and cooking food evenly. Keep it open only briefly to flip, move zones, or check temperature, and never leave a lit grill unattended.
How much charcoal should I use?
Start with a half to three-quarter chimney for burgers, chicken pieces, and small batches. Use a full chimney for large roasts or a packed grill. It’s easier to add a few lit coals than to remove excess heat, so start slightly conservative.
Why is my charcoal chicken dry?
Chicken breast is usually pulled too late or cooked entirely over direct heat. Pull breasts at 160–162°F and let carryover heat reach 165°F. For thighs, cook indirectly until 175–185°F so connective tissue breaks down into tenderness.
How do I stop charcoal flare-ups?
Move the food from the direct zone to the indirect side and close the lid. Closing the lid starves the flames. Avoid spraying water into the fire; it kicks ash onto the food and can crack ceramic grates. Trim excess fat and use a drip pan to reduce flare-ups before they start.
Can I use lighter fluid with a charcoal grill?
It’s not recommended. Lighter fluid can leave a chemical taste and produces more unpredictable burn. A chimney starter with paper or natural fire starters lights coals evenly and reliably without off-flavors.
Conclusion
Charcoal BBQ how to cook well isn’t about mastering flame tricks. It’s about repeating a simple system: prepare the station, light the right amount of charcoal, build a two-zone fire, control airflow with the vents and lid, cook to pull temperatures, and rest before slicing. Each step removes guesswork and makes juicy results repeatable.
Your next move is practical. Pick one cook this week — chicken thighs, burgers, or thick steaks — and run it through the full sequence. Record your vent positions and pull temperatures. After two or three sessions, the timing will feel automatic, and you’ll know exactly how your grill responds before the first guest arrives.

One Comment