How Long Does It Take To BBQ A Whole Chicken Safely
A whole chicken is ready when the thickest part of the breast reads 160–165°F and the deepest part of the thigh reads 175–185°F, not when the clock hits a certain minute. In practice, a 4–5 lb bird cooked over steady indirect heat at 350–375°F takes about 60–90 minutes, plus 10–15 minutes of resting. The exact number shifts with grill temperature, chicken size, prep style, and the weather.
The right question isn't "how many minutes per pound?" It's "what internal temperature do I need, and how do I hold the grill steady?" Once you understand that, you'll stop serving dry breast meat or undercooked thighs. For more on this, see our guide on how long does it take to bbq chicken.
The Short Answer: Time Is a Window, Not a Single Number
Most backyard grillers land in the 60–90 minute range for a standard 4–5 lb whole chicken on a covered grill using indirect heat at 350–375°F. Smaller birds finish faster; larger birds, cold-from-the-fridge chickens, or windy days push the cook longer. Plan for a window, not an exact minute.
A common mistake is pulling the chicken when the skin looks golden brown and the juices run clear. That can happen while the thigh joint is still undercooked or after the breast has already dried out. Temperature is the only reliable finish line. For more on this, see our guide on how long does it take to bbq a.
Why Whole Chickens Don't Cook Like Steaks or Burgers
Unlike flipping a quick burger, a whole bird has dark meat and light meat that reach ideal doneness at different temperatures. The breast is lean and dries out past 165°F, while the thighs and legs need to go higher to become tender and safe. The shape also forces heat to travel unevenly: the outside cooks first, the center lags, and the legs sit deeper than the breast.
If you have only grilled individual cuts, such as a beginner-friendly steak, whole birds can feel unpredictable. The fix is to treat the grill like an oven—closed lid, indirect heat, and one or two temperature checks instead of constant flipping. For more on this, see our guide on how long does it take to bbq a.
What Actually Changes Your Cook Time
Several controllable factors add or subtract 10–25 minutes from your total. Understanding them beats memorizing a single chart.
Grill Temperature and Heat Setup
Indirect heat at 325–375°F cooks evenly and predictably. Direct heat chars the skin fast while the breast and thigh interior remain raw. Closing the lid is non-negotiable for most of the cook: it traps convection heat, stabilizes the temperature, and prevents the bottom from scorching. For more on this, see our guide on how long does it take to bbq a.
Bird Size and Starting Temperature
A refrigerator-cold 5 lb chicken can take 20–30 minutes longer than the same bird rested at room temperature for 20–30 minutes before grilling. Weight matters less than thickness, but heavier birds simply have more mass to heat through.
Prep Style: Whole, Trussed, or Spatchcocked
Spatchcocking—removing the backbone and flattening the bird—reduces cook time by 15–30 minutes because more surface area faces the heat and the legs cook at the same rate as the breast. Trussing tightly can slow cooking by pulling the legs against the body, reducing airflow. A stuffed cavity also adds time and makes safe doneness harder to confirm.
Weather, Wind, and Lid Management
A cold or windy patio pulls heat from the grill body. A grill set to 350°F on a calm day might hover at 325°F on a breezy 45°F afternoon. Shield the grill, close vents slightly on charcoal, or bump the burners on gas to compensate. Every time you lift the lid, you release heat and add several minutes.
Whole Chicken BBQ Time by Weight: Quick Planning Chart
Use these ranges for scheduling, not as a substitute for a thermometer. Times assume a covered grill, indirect heat at 325–375°F, and one rotation halfway through.
| Chicken Weight | Estimated Cook Time |
|---|---|
| 3–3.5 lb | 60–75 minutes |
| 4–4.5 lb | 75–95 minutes |
| 5–5.5 lb | 90–115 minutes |
| 6–7 lb | 110–140 minutes |
For a 5 lb chicken served at 6:30 p.m., start grilling around 4:40–4:55 p.m. That allows 95–110 minutes of cook time plus a 15-minute rest, with a small buffer if the grill runs cool.
Cooking Temperature Guide: 300°F vs 350°F vs 400°F
The lid thermometer number changes both total time and the risk of drying out the breast.

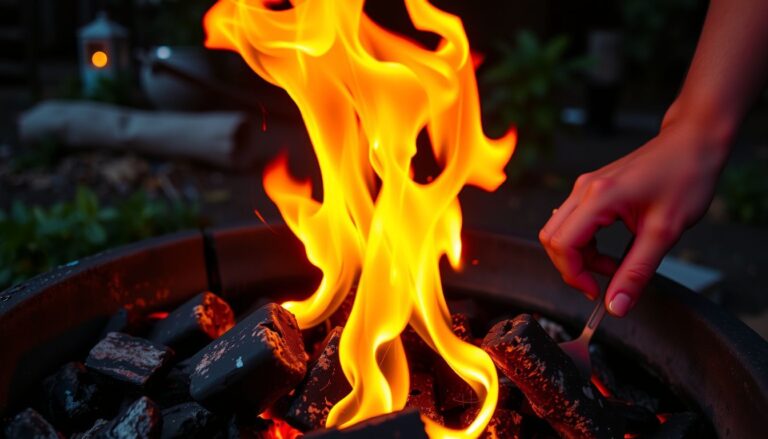
A whole chicken cooks more evenly when positioned away from direct flame.
- 300°F: Slower, more forgiving, and closer to roasting. Expect 10–20 extra minutes and finish the skin over direct heat if it looks pale.
- 350°F: The sweet spot for balanced browning and reliable internal temps. Fat renders well, and you have room to adjust.
- 400°F: Faster, with aggressive skin browning, but the margin for error shrinks. Start checking 15–20 minutes earlier than you would at 350°F.
In practice, a 4 lb bird at 350°F often lands around 70–75 minutes. At 300°F, the same bird may take 90 minutes. At 400°F, it can finish in 55–65 minutes but risks a scorched exterior.
Direct vs. Indirect Heat: The Setup That Makes Timing Predictable
Direct heat means the chicken sits directly over the flame or coals. Indirect heat means it sits to the side, with the heat circulating around it. For a whole chicken, indirect heat is the only reliable method for the main cook.
On a charcoal kettle, bank the lit coals to one side and place the bird on the cool side. On a gas grill, turn on one or two outer burners and place the chicken over the unlit center. Close the lid and avoid peeking. The grill becomes a convection oven, cooking the bird through without flare-ups or hot spots.
Direct heat has one useful role: a short finish. In the last 2–4 minutes, move the nearly done chicken over the hot side to crisp the skin and set any glaze. Watch carefully—sugar-heavy rubs can blacken fast.
Prepping the Chicken for Even Cooking and Safe Results
How you prep the bird before it hits the grates affects both time and food safety.
- Dry the skin thoroughly with paper towels. Moisture creates steam, delays browning, and leaves skin rubbery.
- Season under and over the skin. Salt the cavity and work a dry rub under the breast and thigh skin for better flavor penetration.
- Consider spatchcocking if you want faster, more even results. Remove the backbone with kitchen shears, flip the bird breast-side up, and press firmly on the breastbone to flatten it.
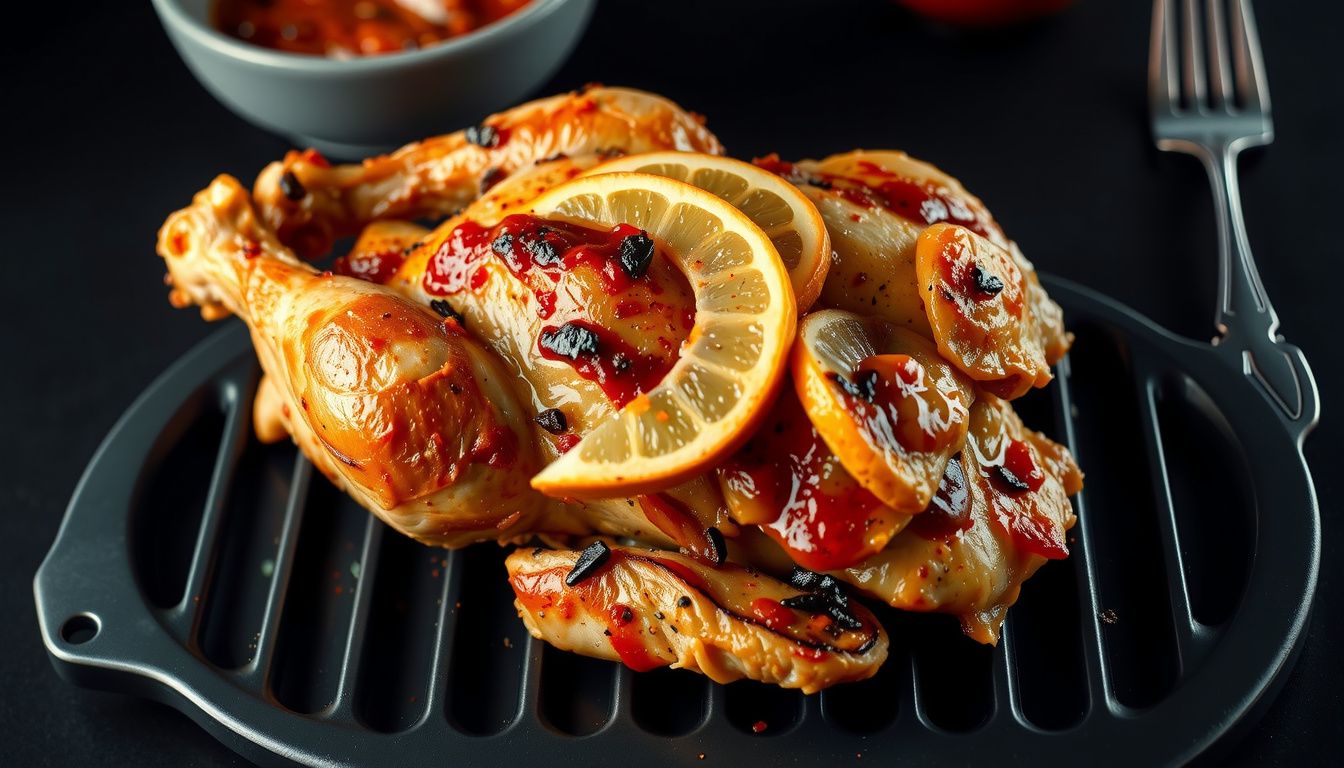
- Skip the stuffing. A cavity full of breading slows heat penetration and must itself reach 165°F, which usually means the breast is overcooked by then. If you want aromatics, add a halved lemon, garlic, and herbs loosely—they add flavor without blocking airflow.
- Tie the legs loosely if keeping the bird whole. A simple loop around the drumsticks keeps them from splaying without compressing the thighs.
If you prefer dark meat only or need a hands-off weekday option, the oven method for BBQ chicken thighs is a more forgiving route than a whole bird.
Step-by-Step Timing Plan: Preheat to Rest
Treat the clock as a guide and the thermometer as the authority. This flow works on gas or charcoal.
- Preheat the grill for indirect heat: 10–15 minutes. Aim for a stable 350–375°F on the lid thermometer.
- Set up your two-zone cooking area: 2–3 minutes. Bank coals to one side or light only some burners.
- Place the chicken breast-side up on the indirect side, with the legs facing the heat if one side runs hotter.
- Close the lid and set a timer for 45–50 minutes before the first check.
- Rotate once at the halfway point if one side is browning faster.
- Start checking internal temperature at the low end of your weight-based range: around 60 minutes for a 4 lb bird.
- Optional crisping: 3–8 minutes over direct heat once the breast reaches 155–160°F.
- Rest for 10–15 minutes before carving.

A 10–15 minute rest keeps juices from spilling out during carving.
How to Tell When Your Chicken Is Truly Done
The only reliable test is internal temperature, measured with a fast-read probe thermometer. According to the U.S. Department of Agriculture’s Food Safety and Inspection Service, poultry must reach a safe minimum internal temperature of 165°F.
Probe the thickest part of the breast without touching bone. The breast is ready at 160–165°F. The thigh, also probed away from bone, should read 175–185°F—the higher temperature breaks down connective tissue and makes dark meat tender.
Visual cues help confirm what the thermometer says:
- Clear juices running from the pierced thigh joint.
- A loose drumstick that wiggles freely when you move it.
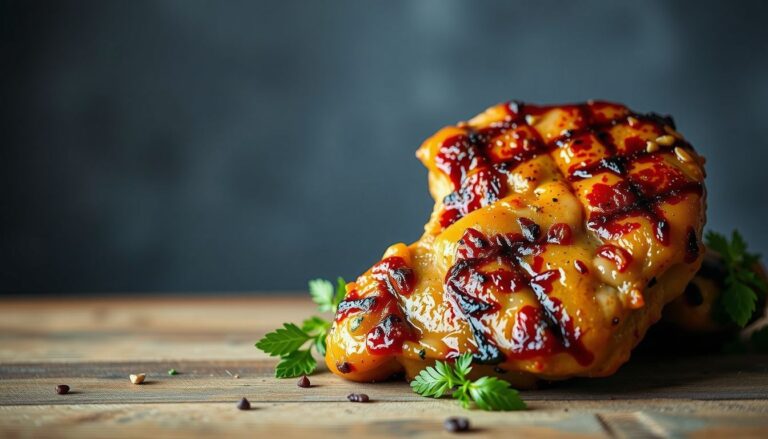
- Rendered, golden skin that isn't pale or rubbery.
Carryover heat matters. After you pull the chicken, the internal temperature often rises 5–10°F during the rest. If the breast reads 158°F and the thigh reads 178°F, pull it—by the time you carve, the breast will be safely in the 160s.
Common Timing Mistakes (and How to Fix Them)
Most dry chicken is not "overcooked by 10 minutes." It is overcooked by temperature, usually because the cook chased crisp skin for too long or checked the wrong spot.
- Probing near bone or the cavity gives a falsely high reading. Reposition the probe into the center of the muscle.
- Checking only the breast ignores the thigh, which often lags and stays underdone near the joint.
- Opening the lid repeatedly adds 10–20 minutes and dries the surface. Use a remote or instant-read thermometer and keep the lid closed.
- Skipping the rest makes the chicken seem dry because juices spill onto the cutting board. Always rest 10–15 minutes.
- Placing the bird too close to the hot zone browns the outside while the center lags. Keep the chicken fully on the indirect side until the final crisping step.
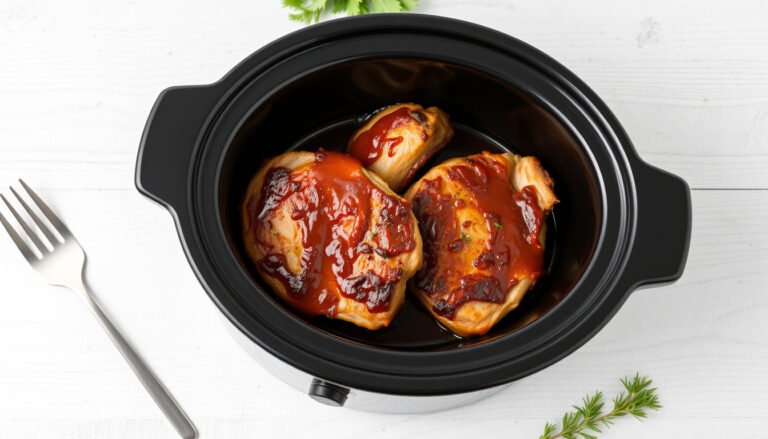
If you want a completely hands-off dinner on a busy night, slow-cooked BBQ pork chops in a crock pot follow a different, more forgiving timeline than an open flame.
Resting and Carving Without Losing Juice
Resting is not optional. After you pull the chicken, tent it loosely with foil and leave it on a cutting board for 10–15 minutes. This lets the muscle fibers relax and reabsorb liquid. Carve too early, and the juices pool on the board instead of staying in the meat.
To carve, remove the legs and thighs first by cutting through the joint where the thigh meets the body. Separate the drumstick from the thigh, then slice the breast against the grain. The same patience applies when smoking fish, where a short rest makes the flesh flake instead of crumble.
FAQ: Cook Time, Lid, and Resting
What is the average cook time for a whole chicken on the BBQ?
For a 4–5 lb chicken on a covered grill at 350–375°F indirect heat, most cooks finish in 60–90 minutes. Smaller birds run faster; larger or cold birds run longer.
Should I grill with the lid on or off?
Keep the lid on for nearly the entire cook. The closed lid turns your grill into an oven and keeps the temperature stable. Lift it only to rotate, check temperature, or add a quick sear.
How long should a BBQ chicken rest?
Rest for 10–15 minutes, loosely tented with foil. This is enough time for carryover heat to finish the meat and for juices to redistribute.
Can I cook a whole chicken over direct heat if I keep turning it?
It is possible, but not recommended. Constant turning creates uneven hot spots, burns the skin, and makes it much harder to hit 165°F in the breast without overcooking the outside. Indirect heat is the reliable path.
Final Cook Day Game Plan: Work Backwards from Serving Time
Pick your serving time and subtract the rest and cook window. For a 5 lb chicken at 6:00 p.m.:
- 6:00 p.m. — serve
- 5:45 p.m. — chicken done resting (pull from grill by 5:30 p.m.)
- 4:15 p.m. — chicken goes on the grill (allowing 90–110 minutes plus buffer)
Keep a simple cooking log: note the bird weight, grill temperature, outdoor weather, and final time. After two or three cooks, you'll know exactly how your own setup behaves.
The real answer to "how long does it take to BBQ a whole chicken safely" is this: plan for 60–90 minutes, cook by temperature, and never skip the rest. Build in buffer time, keep the lid down, and use a thermometer every time. For your next grill session, try applying the same temperature-first habit to a different protein—or look at our guides for cooking times on other cuts and methods to expand your backyard menu.