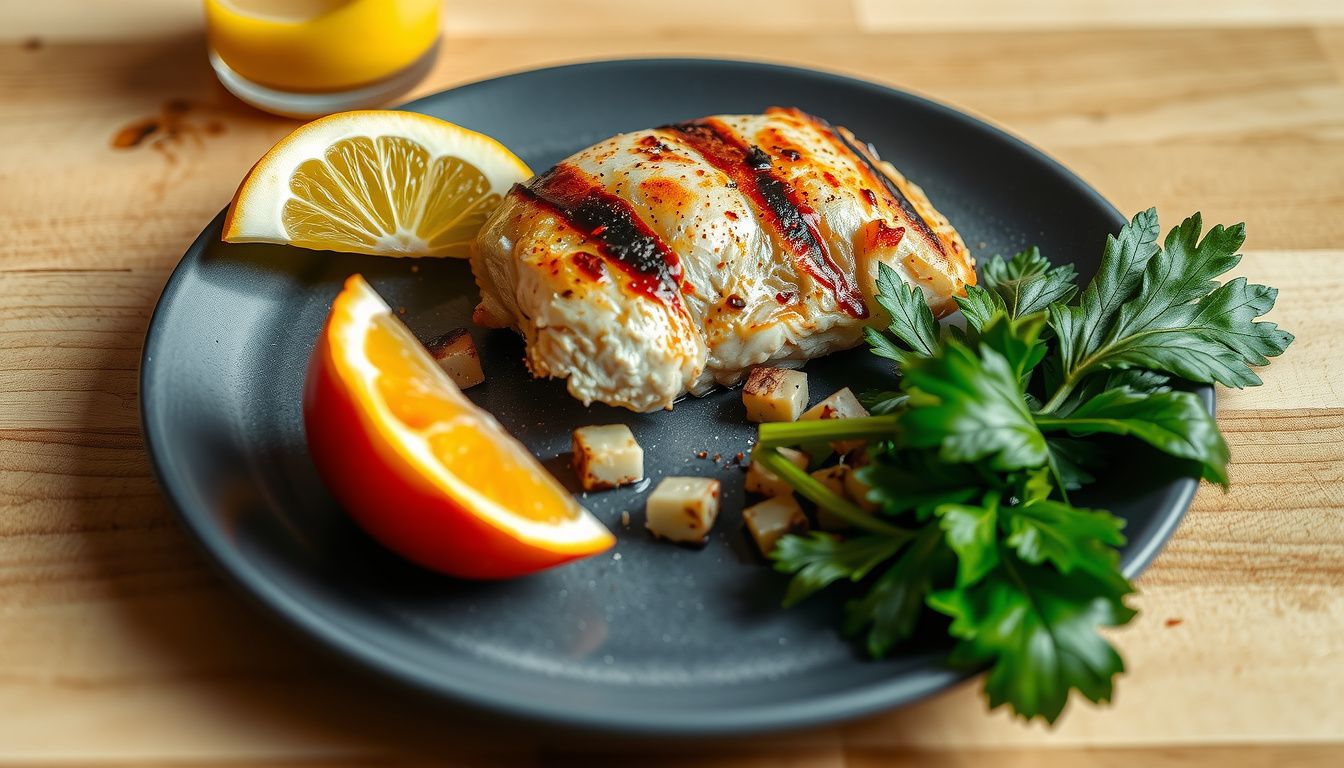
How Long to Grill Thick Chicken Breast for Juicy Results
Grilling a thick chicken breast isn't the same as cooking a thin cutlet. The outside can look beautifully charred while the center remains stubbornly raw—or worse, you leave it on too long and serve something closer to sawdust than supper. The real question isn't just time on the grill; it's how to manage heat, moisture, and temperature so the breast stays tender from edge to center.
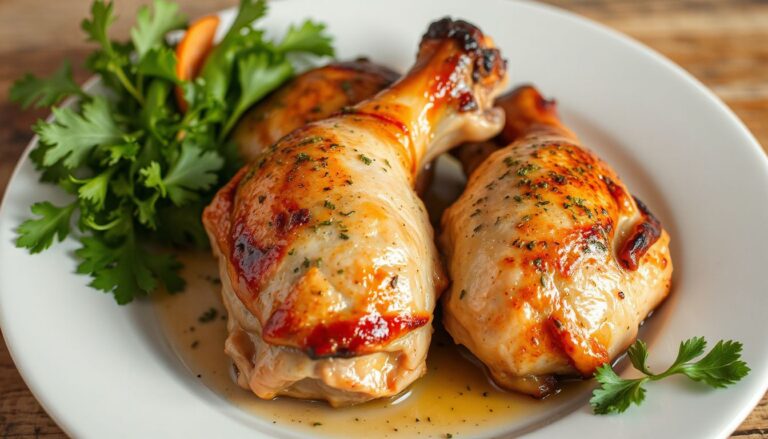
Most food-safety authorities, including the U.S. Department of Agriculture, recommend cooking chicken to a minimum internal temperature of 165°F (74°C). In practice, pulling a thick breast at 160–162°F and letting carryover heat finish the job produces noticeably juicier meat. Grill time depends on thickness, heat output, and whether you're using direct or indirect heat. For a 1.25-inch boneless breast over medium heat, expect roughly 14–18 minutes total, flipping every 4–5 minutes, followed by a 5-minute rest. You can also read our guide on how long to grill chicken legs and thighs.
This guide walks through the exact method, timing charts, moisture techniques, and the mistakes that turn promising chicken into jerky. If you're new to live-fire cooking, it helps to understand how grill heat behaves before you start—similar to the way you'd approach a beginner-friendly cut like steak.
What Counts as a Thick Chicken Breast
"Thick" isn't about weight—it's about distance from the surface to the center. Treat any breast measuring 1 inch (2.5 cm) or more at its thickest point as a thick cut. Once you cross that threshold, the exterior browns quickly while the interior lags behind, which is exactly why timing charts alone can mislead you.
Common thick-cut scenarios include:
- 1 to 1.25 inches: the standard "large" breast from most grocery stores
- 1.5 inches or more: extra-large or air-chilled cuts with a pronounced center hump
- Stuffed or folded breasts: effectively thicker, even if the raw cut looks average
- Uneven cuts: one end thick, the other tapered
Thickness changes grill time because heat moves inward through lean protein slowly. Two breasts that both weigh 8 ounces can cook at completely different rates if one is flat and the other is tall and rounded. If you've ever grilled a butterflied breast next to a whole one, you've seen this play out on the grates.
How Long to Grill Thick Chicken Breast: Timing Chart by Thickness and Heat
The most reliable answer to "how long to grill thick chicken breast" is: cook to temperature, not to the clock. That said, a timing chart gives you a starting point so you know when to start checking.
These ranges assume a preheated grill with the lid closed and flipping every 4–5 minutes:
| Thickness | Heat Level | Approximate Total Time |
|---|---|---|
| 1.0 inch | Medium-high (400–450°F) | 10–14 minutes |
| 1.25 inches | Medium (350–400°F) | 14–18 minutes |
| 1.5 inches | Medium, finish on indirect | 18–24 minutes |
| 2.0 inches | Sear, then mostly indirect | 25–35 minutes |
These numbers shift with wind, grill hot spots, lid-lifting habits, and whether the chicken started at room temperature or straight from the fridge. A fast-read thermometer is non-negotiable. If the exterior is browning faster than the center is cooking, move the breast to a cooler zone immediately.
Direct vs. Indirect Heat: The Setup That Prevents Dry Chicken
Thick chicken breasts need two things at once: high surface heat for browning and gentle surrounding heat for even cooking. Direct heat alone scorches the outside before the middle finishes. Indirect heat alone leaves you with pale, unappetizing chicken.
The two-zone method solves both problems. You create one hot side for searing and one cooler side for finishing:
- Gas grill: preheat all burners on high, then turn one side down to low or off
- Charcoal grill: bank the coals to one side, leaving the other side coal-free
- Temperature targets: roughly 450–500°F on the direct side, 350–400°F on the indirect side
- Lid discipline: keep the lid closed during indirect cooking to maintain steady heat
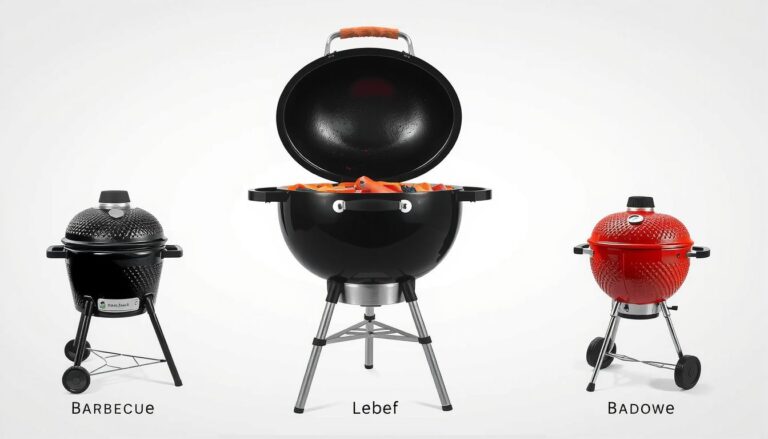
 Two-zone grilling gives you a hot searing side and a cooler finishing side—essential for thick cuts.
In practice, sear a 1.25-inch breast for 2 minutes per side over direct heat, then slide it to the indirect side, close the lid, and let it finish gently. This method also works beautifully for other proteins; the same heat-management principle applies whether you're grilling chicken or figuring out the right timing for burgers on the barbecue.
Target Temperatures and Doneness Checks
Temperature is the only truly reliable doneness indicator for chicken. Color lies—smoke can turn meat pink even when fully cooked, and some breasts show no pink at all despite being underdone.
How to check:
- Insert a fast-read thermometer into the thickest part from the side, not the top
- Avoid touching bone if you're grilling bone-in cuts
- Check early—at the 10-minute mark for most breasts—then every 2–3 minutes
- Pull at 160–162°F and rest for 5 minutes; carryover brings it to 165°F
Secondary checks (useful but not foolproof):
- Touch: cooked chicken feels firm with slight spring, not squishy or rock-hard
- Juices: clear juices are a good sign, but smoke and myoglobin can produce pink juice in fully cooked chicken
- Texture: when pressed, properly cooked breast resists lightly and bounces back
A common mistake is stabbing the breast repeatedly in different spots, which releases juices and creates dry patches. One clean insertion at the thickest point tells you everything you need.
Pre-Grill Preparation: Why It Determines Juiciness
What happens before the chicken hits the grates matters as much as the cooking itself. Cold, wet, uneven chicken cooks unevenly.
The pre-grill checklist:
- Pat the chicken completely dry with paper towels—moisture on the surface steams instead of sears
- Let it sit at room temperature for 15–20 minutes to take the chill off (no longer, for food safety)
- Lightly oil the chicken, not the grates—this improves contact and prevents sticking without creating flare-ups
- Even out the thickness by gently pounding the thickest area with a meat mallet or heavy pan
- Season generously with salt at least 30 minutes before grilling, or right before if you're short on time
Thickness consistency is underrated. A breast that's 1.5 inches in the center and 0.75 inches at the tip will always have an overcooked tail by the time the center is safe. Leveling the cut solves this before you ever light the grill.
Step-by-Step Method for Grilling Thick Chicken Breast Evenly
Now for the actual technique. This method works on gas and charcoal grills alike and produces predictable, juicy results.
Step 1: Preheat thoroughly. Give your grill a full 10–15 minutes to come up to temperature. A grill that isn't hot enough causes sticking and pale, steamed-looking chicken.
Step 2: Clean and lightly oil the grates. Scrape the grates clean while hot, then wipe them with an oiled paper towel held in tongs. This prevents tearing when you flip.
Step 3: Sear over direct heat. Place the breast over the hot zone and sear for 2–3 minutes per side, just until you see defined grill marks and light browning. Don't chase heavy charring—that's how thick breasts dry out.
Step 4: Move to indirect heat. Slide the breast to the cooler side, close the lid, and let the surrounding heat finish the job. This is where the center catches up without burning the surface.
Step 5: Flip on a schedule. Turn the breast every 4–5 minutes during indirect cooking. Regular flipping promotes even heat exposure and prevents one-side drying.
Step 6: Check temperature early and often near the end. Start checking at the 10-minute mark for typical thick breasts. Once you hit 160–162°F, pull it off.
Step 7: Rest for 5 minutes before slicing. Resting lets muscle fibers relax and reabsorb juices. Skip this and the juice ends up on the cutting board instead of in the meat.
If flare-ups occur, slide the chicken away from the flames rather than dousing it. Keeping the lid closed stabilizes heat and reduces oxygen feeding the fire.
Moisture Control: Brines, Marinades, and Rubs
Seasoning is about flavor, but it also changes surface moisture and browning speed. Wet surfaces delay searing; sugary surfaces burn before the center cooks. Understanding these interactions helps you time the grill more accurately.
Wet brines and marinades: A saltwater brine or yogurt-based marinade increases water retention and improves texture, but leaves the surface damp. Pat the chicken dry before grilling or you'll steam instead of sear. Oil-heavy marinades brown faster; sugar- or dairy-heavy ones scorch easily over high heat.
Dry brines: Salting the chicken and letting it rest in the fridge for 1–4 hours draws moisture to the surface, where it dissolves the salt and reabsorbs into the meat. The result is seasoned, tender chicken that browns beautifully. This is the most foolproof option for thick breasts.
Dry rubs: Spice rubs build a flavorful crust. Keep sugar content low for thick cuts, or the rub blackens before the interior reaches temperature. High-sugar rubs work better on thinner pieces.
Saucing strategy: Apply sweet or sticky glazes only during the last 2–3 minutes of grilling. Brushing sauce on early creates burnt patches that look "done" while the center remains raw. This same late-saucing logic applies whether you're working with chicken or oven-baked pork chops finished with a glaze.
Common Grilling Mistakes That Cause Dry or Undercooked Chicken
Thick chicken breasts punish shortcuts. Here are the recurring mistakes that separate juicy results from disappointing ones:
- Relying on time alone: wind, hot spots, and starting temperature all shift cook time. Temperature is the only reliable signal.
- Pressing with a spatula: squeezing the breast forces out juices. There's a reason competition cooks never flatten chicken on the grill.
- Flipping too often: constant turning prevents steady browning and extends total cook time.
- Skipping the rest: cutting immediately turns a juicy breast into a dry one, no matter how perfectly you grilled it.
- Saucing too early: burnt sugar masquerades as doneness while the inside stays raw.
- Lifting the lid constantly: every peek releases heat and adds minutes to the cook.
- Ignoring carryover heat: pulling at 165°F means the breast finishes at 168–170°F after resting—dry territory.
- Uneven thickness: the tapered end overcooks while the thick center catches up.
If you've struggled with dry chicken, odds are one of these habits is the culprit. Fixing them costs nothing and transforms results immediately.
Resting, Slicing, and Serving for Maximum Juiciness
The minutes after the grill matter as much as the minutes on it. Resting allows muscle fibers to relax and reabsorb juices that heat drove toward the surface.
Resting guidelines:
- Place the breast on a warm plate, loosely tented with foil
- Rest for 5–10 minutes, depending on thickness
- The surface sheen should settle and the meat should feel slightly relaxed
- Resting also continues carryover cooking, pushing the internal temperature from 160°F to a safe 165°F
Slicing technique:
- Always slice across the grain into ½-inch pieces
- Cutting with the grain leaves long muscle fibers that feel chewy
- Use a sharp knife; a dull blade shreds the surface and releases moisture
Serving considerations:
- If holding for more than a few minutes, keep the chicken covered and out of drafts
- An uncovered breast on a cold cutting board cools rapidly and tightens the texture
- Sliced chicken loses moisture faster than whole breasts, so slice just before serving
 Resting and slicing against the grain keep the juices where they belong—inside the meat.
Grilling Bone-In vs. Boneless Thick Breasts
Bone-in chicken breasts deserve a separate mention because the bone changes everything. Bone conducts heat differently than muscle, which means longer cook times and a different doneness profile.
Boneless thick breasts: These are the most common grill-day choice. They cook faster, slice cleanly, and are easier to check with a thermometer. Most timing charts assume boneless cuts.
Bone-in thick breasts: The bone insulates the surrounding meat, adding roughly 5–10 minutes to total cook time. The meat near the bone also cooks more slowly, so check temperature in the thickest flesh away from the bone. Bone-in breasts benefit even more from the two-zone method, since the extended cook time increases the risk of surface drying.
If bone-in grilling feels intimidating, remember the same principles carry over to other slow-cooked poultry—like the approach used for BBQ chicken thighs in the oven, where low, steady heat prevents the exterior from racing ahead of the interior.
FAQ: Thick Chicken Breast Grill Times, Frozen Chicken, and Meal Prep
How long do I grill a 1.25–1.5 inch chicken breast? Expect 16–22 minutes total over medium heat with the lid closed, flipping every 4–6 minutes. Start checking temperature at the 14-minute mark and trust the thermometer over the clock.
Can I grill thick chicken breasts from frozen? Yes, but expect roughly 50% longer cook time and less predictable results. Keep the lid closed, use indirect heat for most of the cook, and season after the exterior thaws enough for spices to stick. Thawed chicken always grills more evenly.
How should I adjust timing for meal prep? Cook to the same internal temperature, then cool quickly and store in shallow containers. Refrigerated grilled chicken keeps for 3–4 days; frozen portions last up to 3 months. Reheat gently—a covered skillet with a splash of broth works far better than a high-powered microwave blast.
Why is my thick chicken breast dry even though I pulled it at 165°F? You probably didn't rest it, or you pulled it at 165°F and carryover heat pushed it to 170°F. Pull at 160–162°F and rest for 5 minutes. Dryness also comes from pressing with a spatula, slicing with the grain, or cooking entirely over direct heat.
Does marinating change grill time? Minimally, but wet surfaces slow browning and sugary marinades scorch faster. Pat dry before grilling and add sweet sauces only in the final minutes.
Do I need to flip thick chicken breasts more often than thin ones? Yes—regular flipping every 4–5 minutes promotes even heat exposure. Thin cutlets can get away with one flip; thick breasts benefit from several.
Bringing It All Together
Juicy thick chicken breast isn't the result of luck or a secret marinade. It's the product of three habits: evening out the thickness before grilling, managing two-zone heat so the surface and center cook in sync, and pulling the breast at 160–162°F before a proper rest. Master those and the timing takes care of itself.
The best next step is repetition with intention. Grill one batch, note the thickness and the temperature at which you pulled them, and record the total time. Next session, you'll have a personal baseline that accounts for your specific grill's quirks. That's how good cooks become consistent ones.
If you're building out your grill repertoire, the same patient, temperature-first mindset applies elsewhere—whether you're smoking fish low and slow or learning how long to smoke fish for a weekend spread. And if chicken is your weeknight staple, keeping a reliable grilling rhythm will serve you better than any gadget.
Fire up the grill, keep the thermometer close, and give those thick breasts the respect they deserve. Dinner will taste like you knew exactly what you were doing—because you did.

One Comment