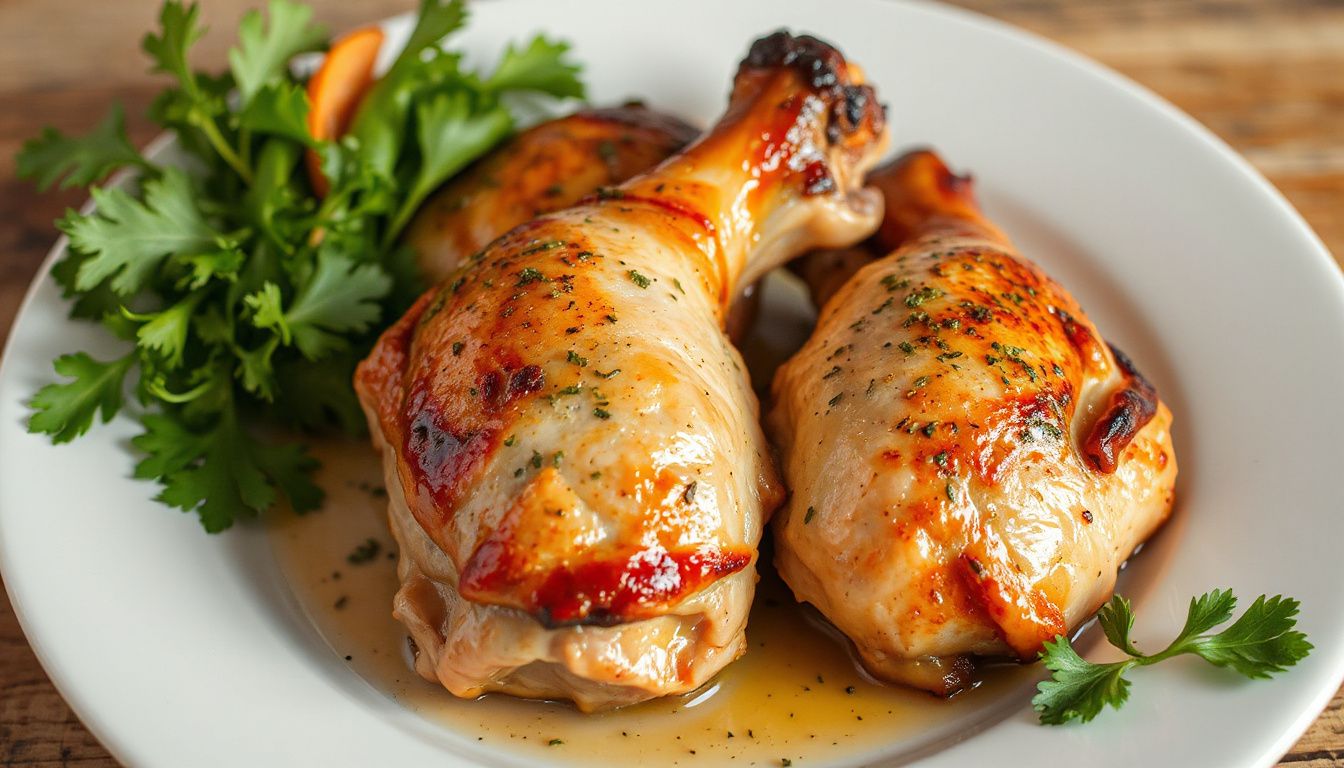
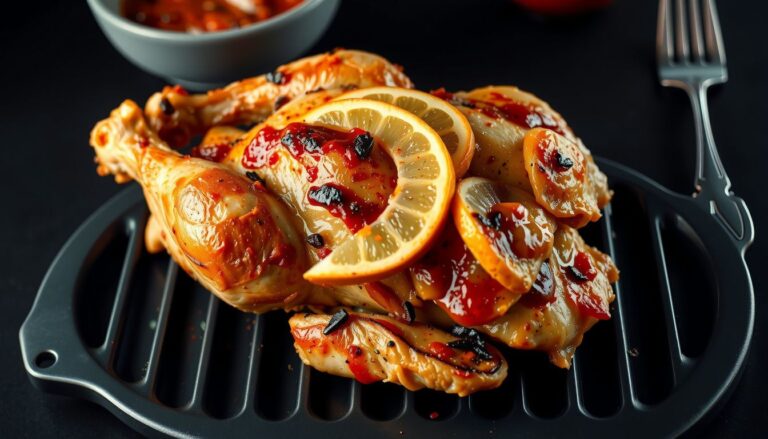
How Long to Grill Chicken Legs and Thighs for Juicy Results
Grilling chicken legs and thighs isn't about waiting for a magic number on the clock. It's about understanding how dark meat behaves over live fire so you can pull it at the exact moment the collagen breaks down and the juices are locked in. Get it right, and you'll serve glossy, pull-apart chicken with crisp skin. Get it wrong, and you'll watch your guests politely chew through rubbery, scorched bits.
Dark meat is forgiving compared to chicken breast, but that forgiveness has limits. Bone-in, skin-on chicken legs and thighs contain more fat and connective tissue than white meat. That fat renders slowly, basting the meat from within, while the bone insulates part of the cut and creates a cold spot that can fool impatient grillers.
This guide gives you repeatable timing ranges, a two-zone fire setup that prevents the classic black-outside-and-raw-inside failure, and the exact internal temperatures to target. You'll also find troubleshooting for flare-ups, undercooked joints, and dry meat, plus a brining option that makes a noticeable difference.
Grilling Time Chart: Chicken Legs vs. Thighs by Heat Level
Time ranges become useful only when they're tied to a specific grill temperature and cut. The chart below assumes bone-in, skin-on chicken cooked with the lid closed and flipped once or twice for even browning. Treat these as starting points, not guarantees.
| Heat Level (Grill Temp) | Chicken Legs (Drumsticks) | Bone-In Chicken Thighs | Boneless Thighs |
|---|---|---|---|
| Low (300–325°F) | 35–45 min | 30–40 min | 20–25 min |
| Medium (350–375°F) | 25–35 min | 22–30 min | 14–18 min |
| Medium-High (400–425°F) | 18–25 min | 16–22 min | 10–14 min |
Thighs typically finish faster than drumsticks because they're flatter and cook more evenly. Drumsticks, by contrast, have a narrow end that overcooks while the meaty end catches up. If you're grilling both cuts at once, start the legs first or position their thin ends pointing away from the hottest part of the grate.
Practical example: On a gas grill holding steady at 375°F, eight drumsticks take roughly 30 minutes with flips every 8–10 minutes. Add six bone-in thighs at the same time and start probing the thighs around 22 minutes. Pull each piece as it reaches the target temperature rather than clearing the whole grate at once.
Why Dark Meat Tastes Best at 175–185°F
Many cooks stop at 165°F because that's the USDA food-safety minimum for poultry. It's a safe temperature, yes, but it's not where chicken legs and thighs taste their best. Dark meat contains more collagen, a connective tissue that begins to soften and convert to gelatin around 160°F. That conversion needs time, not just heat.
When you pull thighs and drumsticks at 175–185°F internally, the collagen has had time to melt, giving the meat that tender, silky quality. At 165°F, dark meat is safe to eat but can still feel slightly springy or tight near the bone. The carryover heat during resting will nudge the temperature up another 3–5°F, so pulling at 175°F often means a final resting temp near 178–180°F.
A common mistake is treating 165°F as the finish line for every chicken cut. For boneless, skinless breasts, yes. For bone-in thighs and legs, no. Push those cuts to 175–185°F and the difference is immediate.
Best Grill Setup: Two-Zone Fire for Even Cooking
Your grill setup matters as much as your timing. Chicken legs and thighs need gentle, indirect heat to cook through the bone without scorching the skin, followed by a short, direct sear for crispness. That's exactly what a two-zone fire delivers.
On a charcoal grill, bank the lit coals to one side and leave the other side clear. On a gas grill, preheat all burners, then turn off one side (or the center burner on a three-burner unit) to create a cooler zone. The indirect side is where most of the cooking happens. The direct side is for finishing.
A steady lid-closed environment is essential. Every time you lift the lid, you dump heat and add minutes to the cook. Aim for consistent vent adjustment on charcoal and stable burner output on gas.
- Two-zone layout: hot side for searing, cool side for roasting through the bone
- Clean, oiled grates: prevents skin from sticking and tearing when you flip
- Drip management: a foil pan under the indirect side catches rendered fat and stops flare-ups
- Instant-read thermometer: the single most important tool for consistent results
 The coals sit on one side, leaving a safe indirect zone where chicken can cook through without scorching.
Practical example: On a three-burner gas grill, preheat everything for 10 minutes, then turn the left burner off and keep the middle and right burners at medium. Start the chicken skin-side up on the left (indirect) zone. In the final five minutes, move pieces skin-side down over the hot burners to crisp.
Step-by-Step: Grilling Legs and Thighs Without Burning the Skin
The classic failure is blackened skin wrapping undercooked meat near the bone. Avoiding it requires patience first, heat second, and flipping only when it produces better color.
- Preheat and stabilize. Build the two-zone fire and let the grill hold its temperature for 5–10 minutes before food hits the grate.
- Start indirect, skin-side up. Place legs and thighs on the cooler side so fat renders and the interior warms gradually.
- Flip once at the halfway point. Turn pieces to the indirect zone, skin-side down, to set the skin and begin browning.
- Finish direct. Move to the hot side for 1–2 minutes per side, just enough to crisp the skin without charring.
- Verify doneness. Probe the thickest part, avoiding bone. Rest loosely tented for 5–10 minutes.
Keep the lid closed as much as possible. Opening it constantly extends the cook and tempts you to crank the flame, which leads directly to scorched skin and raw joints.
Practical example: If flare-ups appear when the skin hits direct heat, slide the chicken back to the indirect side for two minutes, then return to direct for 30–60 seconds per side. You'll still develop crisp skin without the bitter, acrid taste of burnt fat.
A Brine Makes a Measurable Difference
If you're grilling chicken legs and thighs for a gathering, consider a quick wet or dry brine. Dark meat has more intramuscular fat than lean breast meat, but it still benefits from added moisture and seasoning below the surface.
A simple wet brine of 4 cups cold water, 1/4 cup kosher salt, and 2 tablespoons of sugar (plus aromatics like smashed garlic or peppercorns) works well for 30–60 minutes for smaller pieces and up to 2 hours for large, bone-in cuts. Don't brine overnight; dark meat can turn spongy.
A dry brine is even simpler: sprinkle kosher salt evenly over the chicken 45 minutes to 4 hours before grilling and refrigerate uncovered. The salt draws moisture out, dissolves into it, and then reabsorbs, seasoning the meat throughout while helping the skin dry for better crisping.
A common mistake is brining chicken that has already been injected or "enhanced" with a salt solution. Check the package label. If it says "contains up to X% solution," skip the brine or you'll end up with salty, spongy meat.
Safe Doneness: Internal Temperature Targets and Where to Probe
Color is a liar on the grill. Chicken legs and thighs can develop beautiful brown skin while the meat near the bone is still pink and undercooked. A quick-read thermometer removes the guesswork.
The USDA establishes 165°F (74°C) as the safe minimum internal temperature for all poultry, and that's your baseline. For dark meat, however, the tenderness target sits higher. Pull thighs and drumsticks when the thickest part reads 175–185°F (79–85°C). The meat will be noticeably more tender than chicken pulled at exactly 165°F.
Probe placement is critical. Insert the thermometer tip into the thickest part of the meat without touching bone. Bone conducts heat and reads artificially high, which can cause you to pull the chicken too early.
- Thighs: Probe from the side, aiming for the center near (but not touching) the bone.
- Drumsticks: Probe the thick, meaty end parallel to the bone.
- Multiple pieces: Check at least two per batch. Smaller pieces or those closer to a hot spot finish first.
 Probe from the side toward the center to avoid the false high reading of contacting bone.
Practical example: Six thighs look perfect at minute 25, but the thermometer reads 158°F near the bone. Keep them on indirect heat for 3–6 more minutes, recheck, and pull when the thickest piece hits 175°F or above.
Crispy Skin and Juicy Meat: Flipping, Basting, and Resting
Crisp skin comes from rendered fat and steady heat. Juicy meat comes from controlled finishing and a proper rest. Both require restraint with the tongs.
Flipping: Start with fewer flips than feels natural. Let the skin render and release from the grate before turning. Forced flipping tears the skin and lets moisture escape.
- First phase: Keep skin-side down for 6–10 minutes on indirect heat to render fat.
- Middle phase: Flip every 4–6 minutes for even cooking.
- Finish: Move to direct heat for the final 1–2 minutes per side.
Basting: Sugary sauces are the enemy of good timing. Honey, brown sugar, and barbecue sauce burn quickly at high heat. Wait until the last 5–8 minutes of the cook, then apply thin layers so the sauce sets and lacquers rather than carbonizes. Oil-and-herb bastes can go on earlier but keep them light to minimize flare-ups.
Resting: Never skip it. Tent the chicken loosely with foil and let it rest for 5–10 minutes. Juices redistribute throughout the meat, and carryover heat finishes the final degree or two. Slice too soon and the cutting board drinks the moisture you worked to keep inside.
Practical example: For sticky barbecue drumsticks, grill them mostly dry. At minute 30, brush with sauce, flip at minute 33, brush again at minute 36, and pull at 175–180°F. The result is lacquered skin without bitter char.
Troubleshooting: Undercooked Joints, Flare-Ups, and Dry Meat
When timing looks right but results disappoint, the problem usually falls into one of three categories.
Undercooked near the bone happens when the outside cooks faster than the joint area. The fix is simple: move the pieces to the indirect zone, space them out so heat circulates freely, and give the thick end more time facing the heat. Pink meat at the bone but opaque elsewhere means the chicken isn't done. Trust the thermometer, not the appearance.
Flare-ups are burning fat, not "extra heat." They spike surface temperatures and turn skin bitter fast. Control them by keeping the lid closed, shifting chicken to indirect heat until the flames die down, trimming excess skin flaps before grilling, and cleaning old grease from the grate. A foil drip pan under the indirect zone prevents most flare-ups before they start.
Dry chicken is almost always overcooking. Repeated lid checks extend the cook, and leaving pieces on while you "make sure they're done" squeezes out moisture. Pull as soon as the thermometer hits the target. If you're using sugary sauce, apply it late so you're not chasing temperature while the sugars blacken.
If you're just getting comfortable with fire management on chicken, working with cuts that are naturally more forgiving can build confidence. Starting with a straightforward, well-marbled cut teaches you how heat behaves, and those instincts transfer directly to dark-meat chicken.
How to Season for Maximum Flavor
Seasoning is the final piece of the puzzle. Dark meat has enough richness to stand up to bold flavors, but the skin needs to be dry for crisp results.
Pat the chicken thoroughly dry with paper towels before seasoning. Moisture on the skin steams it instead of crisping it. Then season generously — more than you think you need — with kosher salt and freshly ground black pepper at minimum. Dark meat is thick, and seasoning only the surface leaves the interior bland.
From there, build layers:
- Dry rubs: Paprika, garlic powder, onion powder, cumin, chili powder, and a touch of brown sugar work beautifully. Rub under the skin as well as on top for deeper flavor.
- Wet marinades: Acidic marinades with citrus, vinegar, or yogurt tenderize and flavor, but pat the chicken dry before grilling or the skin won't crisp.
- Finishing sauces: Barbecue sauce, buffalo, or teriyaki go on at the end to prevent burning.
A common mistake is seasoning chicken that then sits for 20 minutes and gets wet again. If you salt and leave it, the salt draws moisture to the surface. Either grill immediately or let it sit long enough for the brine effect to work and then pat dry once more.
Wrapping Up
Answering how long to grill chicken legs and thighs comes down to a repeatable system: two-zone fire, indirect cooking first, a finish over direct heat, and an instant-read thermometer as the final authority. Time ranges guide you; temperature decides.
Look for steady browning, clear juices, and meat that starts to pull from the bone without falling apart. Keep your process consistent: uniform piece sizes, dry skin, proper rest time.
Your next step: Grill one batch this week and write down your exact times, temperature readings, and results. That single cook log will teach you more than any chart — and it'll make your next cookout predictable.
If you're planning a bigger spread, bone-in thighs respond beautifully to a low-and-slow approach as well. The same principles that make oven-baked barbecue thighs tender translate to the grill, so you can move between methods with confidence.
Frequently Asked Questions
How do I know when chicken legs are done on the grill?
Use an instant-read thermometer in the thickest part of the drumstick, avoiding bone. Chicken is safe at 165°F, but legs taste best when pulled at 175–185°F. The joints should also loosen slightly, and juices should run clear when pierced.
Should I grill chicken legs with the lid open or closed?
Grill with the lid closed. Closing the lid traps heat and circulates it around the chicken, cooking it more evenly and reducing total time. Lifting the lid repeatedly dumps heat and dries out the exterior. Open only to flip, baste, or check temperature.
Can I grill chicken legs and thighs over direct heat only?
You can, but it's riskier. Direct-only heat scorches the skin before the meat near the bone is cooked. A two-zone setup lets the interior cook through over indirect heat, then you finish briefly over direct heat for crispness. It's the most reliable method.
Why is my grilled chicken dry even when the thermometer says it's done?
Dry dark meat usually means the chicken was pulled too early and then re-cooked, or it sat too long over high heat after reaching temperature. Pull at 175–185°F, rest for 5–10 minutes, and avoid repeated lid checks. Brining also helps retain moisture.
How long should I brine chicken legs and thighs before grilling?
Wet brine for 30–60 minutes for smaller pieces, up to 2 hours for large bone-in cuts. Dry brine for 45 minutes to 4 hours. Avoid brining chicken labeled as "enhanced" or "contains solution," which is already salted. Over-brining makes dark meat spongy.
Can I grill frozen chicken legs and thighs?
Grilling frozen chicken is not recommended because the outside burns before the inside thaws and cooks. Thaw completely in the refrigerator overnight, pat dry, and bring to a consistent starting temperature before grilling. If you're in a rush, submerge sealed chicken in cold water until thawed.
Is it better to grill chicken thighs on gas or charcoal?
Both work well. Gas gives you precise temperature control and convenience, which is excellent for weeknight dinners. Charcoal adds smoky depth and higher heat for crisp skin. The technique — two-zone fire and thermometer checks — matters more than the fuel source. If you're still deciding on a grill setup, consider what works for other backyard favorites like making pizza on a barbecue, which benefits from similar high-heat control.

One Comment