How to Cook a Pork Loin on a Gas Grill, Step-by-Step
Grilling a pork loin can feel like a gamble. Leave it on too long and you're carving dry, chalky slices. Pull it off too early and you're rushing undercooked meat back to the fire. The fix isn't a secret marinade or a fancy rub — it's a simple sequence: set up two heat zones, roast gently, sear hard, then rest the meat properly.
This guide shows you exactly how to cook a pork loin on a gas grill, step-by-step, so you get a deeply browned crust and a juicy center every time. It covers picking the right roast, seasoning it well, building a two-zone fire, and knowing exactly when to move the meat. The method works on a basic two-burner grill and gets even easier with three burners — no special equipment required.
Why Pork Loin Is Easy to Overcook
Pork loin is a thick, lean muscle from the pig's back — the same meat as a pork chop, but left whole. It has very little internal fat, so it doesn't have the built-in protection that makes ribs or shoulder forgiving. You're roasting a large cut that can turn tough within just a few degrees.
This is why you can't treat it like a steak. A steak can take aggressive heat because it's thin and you pull it early. A loin needs gentle, even heat to reach the center without turning the outside into leather. If you've already spent time learning a steak-grilling primer, you'll notice the technique matters here even more: the key is managing the grill's temperature, not just flipping over a hot grate.
What You Need Before the Pork Hits the Grill
Most of the equipment is simple, but one tool is non-negotiable: a thermometer that reads the center of the roast while the lid stays closed.
| Tool | Why it matters |
|---|---|
| Gas grill with a lid | Traps heat and lets you create two distinct cooking zones |
| Leave-in probe thermometer | Tracks internal temperature without opening the lid |
| Instant-read thermometer | Confirms doneness in several spots before slicing |
| Disposable drip pan | Catches rendered fat and prevents flare-ups on the unlit side |
| Long tongs | Moves the roast without piercing the meat |
| Sharp slicing knife | Produces clean slices across the grain |
For ingredients, you'll need:
- A center-cut pork loin roast, about 2.5–4 lb — the easiest size to handle on a standard gas grill
- Neutral oil, such as canola, vegetable, or avocado
- Kosher salt, not fine table salt
- Freshly ground black pepper
- Optional flavor-boosters: smoked paprika, garlic powder, brown sugar, Dijon mustard
Weigh the roast before buying if you can. Cooking time scales with thickness, and a 3-pounder is ideal for a family dinner with leftovers.
How to Choose and Prep the Roast
Buy the Right Roast
Look for a center-cut loin with a consistent thickness from end to end. Tapered ends cook faster and dry out earlier, so a uniform shape gives you more evenly cooked slices. A thin fat cap is fine — it keeps the surface moist — but avoid thick, uneven fat that will shrink and curl as it cooks.
Watch out for the tenderloin, a much thinner cut that cooks in under 25 minutes and behaves completely differently on the grill. And if you come home with boneless chops instead of a roast, an oven method is often easier than firing up the grill.
Dry It, Trim It, and Tie It
Prep takes less than five minutes but fixes two common grilling failures: a damp exterior that won't brown, and an uneven shape that cooks unevenly.
- Pat the whole roast dry with paper towels.
- Trim silverskin and any fat patch thicker than about 1/4 inch. Leave a thin, even fat cap on top.
- If one end tapers noticeably, fold it under and tie the roast with butcher's twine every 1.5–2 inches.
- Coat the surface lightly with neutral oil, then season generously on all sides with kosher salt and pepper.
A common mistake is seasoning only the top. The sides and ends form part of the crust, so they need seasoning too. If you skip the twine, the roast still cooks, but folding in that thin end helps the whole piece finish at a similar pace.
The Best Seasoning Method: Dry Brine, Wet Brine, or Rub
Pork loin takes seasoning well, but its lean muscle means there isn't much fat to carry flavor. A dry brine is the highest-value step you can do with a little lead time: it seasons deeper into the meat and helps it hold onto moisture.
| Method | Setup | Time | When to use it |
|---|---|---|---|
| Dry brine | 1/2 tsp kosher salt per lb, rested uncovered in the fridge | 4–24 hours | Best all-around: deeper flavor, better texture |
| Wet brine | 1/4 cup kosher salt + 1/4 cup sugar per quart of water | 2–4 hours | Most forgiving; great for a leaner or smaller roast |
| Direct rub | Salt, pepper, and spices applied right before cooking | 0 minutes | Fastest option; flavor mostly stays on the surface |
For a 3-lb roast, a dry brine means about 1 1/2 tsp of kosher salt, applied evenly. The salt pulls out surface moisture, dissolves, and reabsorbs, seasoning the outer layer while keeping the interior juicy.

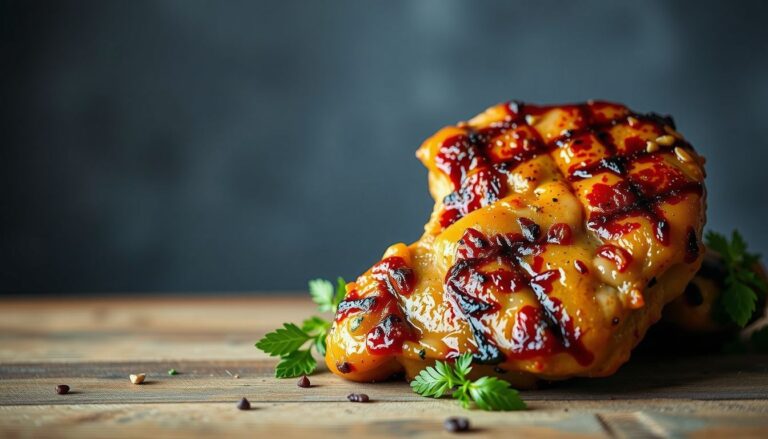
A dry-brined loin with a light oil sheen is ready for the grill; the salt has already begun to penetrate the surface.
If you prefer a rub, try 1 tbsp smoked paprika, 1 tbsp brown sugar, 1 tsp garlic powder, and 1 tsp black pepper added over the dry-brined salt. Just remember that sugar browns fast — keep it to a modest layer or accept some char during the final sear.
Build a Two-Zone Fire on Your Gas Grill
Two-zone heat means one side of the grill runs hot for direct heat, while the other side stays off for gentle indirect cooking. This is the backbone of the entire method. Without it, the outside cooks too fast over full heat while the center trails behind.
Set it up in about five minutes:
- Turn all burners to high and preheat with the lid closed for 10–15 minutes.
- Brush the grates clean and oil them lightly with a folded paper towel dipped in oil.
- Adjust the burners to create zones. On a three-burner grill, run two burners on medium-high and leave one off. On a two-burner grill, run one burner on medium-high and leave the other off.
- Place a drip pan on the unlit side to catch fat from the roast.
- Close the lid and let the temperature settle for about 5 minutes.
To check your zones, hold your hand about 5 inches above the grates. Over the hot side, you should feel strong heat in 2–3 seconds. Over the cool side, it should take 6–8 seconds before you pull away. If both sides feel the same, the zones aren't built yet.
The same symmetrical setup is what you want if you've tried pizza on the grill, where the hot side crisps the bottom while the off side finishes the toppings. You're effectively using your gas grill as an outdoor oven.
Grill Over Indirect Heat First
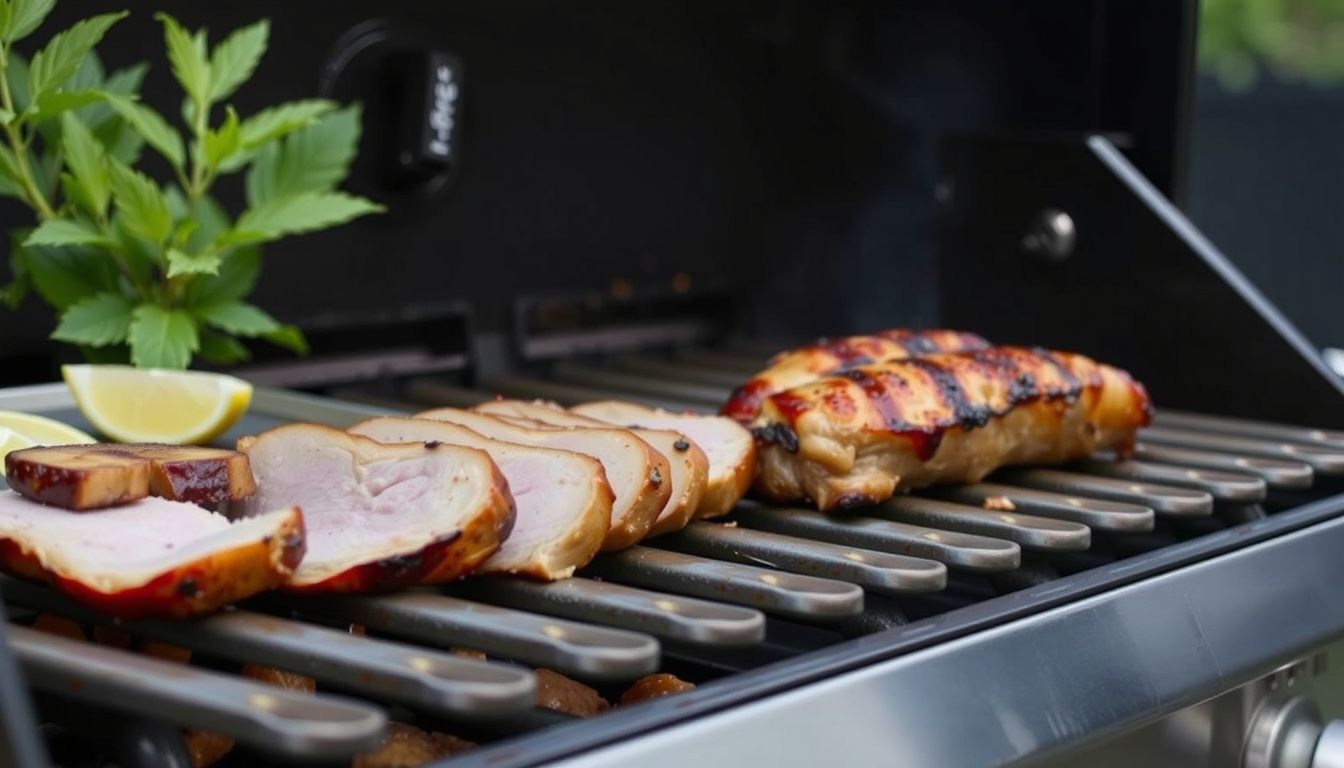
Place the prepared loin fat-side up on the unlit side, directly over the drip pan. Insert a leave-in probe horizontally into the thickest part of the roast, making sure the tip doesn't touch the grill grate, a fat seam, or the twine. Close the lid and resist opening it — every peek drops the temperature and extends the cook time.
You're aiming for an ambient grill temperature of 350–375°F. At that heat, a 2.5–3.5 lb loin typically takes 35–50 minutes to reach an internal temperature of about 135°F in the center — the point at which you'll move it over for the final sear. Wind, outdoor temperature, and lid-opening all shift that time, so trust the probe, not the clock.
While the roast cooks, you can add a gentle smokiness: wrap a handful of wood chips in foil, poke a few holes, and set the packet over the lit burner for the first 20 minutes. Keep the smoke light; pork loin picks up bitterness fast. The same restraint applies if you ever try this technique with delicate fish fillets.
This is also the moment to cook burgers on the hot side if you're feeding a crowd — just remember burger timing is short and hot, nothing like the gentle roast happening on the cool zone.
Sear the Loin for a Crust
When the center reads about 135°F, move the roast to the hot zone. The surface should sizzle immediately. Sear each side for 60–90 seconds, flipping to cover all four faces plus the two ends. Use tongs, not a fork, and never press down — pressing squeezes juices out and leaves you with drier slices.
Keep the lid open or off during the sear so the surface browns quickly rather than steaming in trapped heat. Watch for flare-ups, especially if you used a rub with brown sugar. If flames jump, slide the roast back to the unlit side for a few seconds, then resume once the fire settles.

The crust doesn't need much time: 60–90 seconds per side builds color without overcooking the center.
The sear usually adds 5–10 degrees at the center, so the final browning and the last stage of cooking happen together. If the roast reaches the pull temperature before the crust looks perfect, take it off anyway — a lighter crust beats dry meat.
Rest, Verify Temperature, and Slice Against the Grain
Resting is not optional. Move the roast to a cutting board, tent it loosely with foil, and let it sit for 10–15 minutes. During that time, carryover heat continues to travel toward the center, adding 3–8°F to your reading.
Pull the roast when the center reads 140–143°F if you plan to rest it the full 10–15 minutes. The USDA's safe minimum for whole pork is 145°F measured in the thickest part after a short rest — a standard published by the USDA Food Safety and Inspection Service. Carryover will get you there. For the same reason, university extension guidance keeps repeating one principle: judge doneness with a thermometer, not by the color of the juice.
After resting, check the temperature in at least two spots, especially near the center and the thickest end. Then find the grain — the direction the muscle fibers run — and slice across it, not along it. Cutting across the grain shortens the fibers, so each bite is tender instead of chewy. Aim for 1/4- to 1/2-inch slices for dinner; go thinner for sandwiches.
Leftovers: Store and Reheat Without Drying Out
Slice only what you plan to serve. A whole roast stored intact stays much moister than a pile of cut slices, because less surface area is exposed to air.
- Refrigerator: 3–4 days in an airtight container or tightly wrapped in foil.
- Freezer: 2–3 months in a freezer-safe bag, pressed flat, with as much air removed as possible.
- Room temperature rule: don't leave pork out longer than 2 hours — or 1 hour if it's above 90°F.
To reheat without drying out the meat, place slices in a covered skillet with 2 tablespoons of chicken broth and warm them over low heat for 3–4 minutes until they reach 165°F. That gentle steam bath restores moisture without cooking the pork further. If you'd rather have a set-and-forget pork dinner next week, slow-cooker pork chops keep the same barbecue flavor without lighting the grill.
Common Mistakes and How to Fix Them
| Mistake | Why it happens | The fix |
|---|---|---|
| Dry, chalky slices | Cooked too long or sliced too early | Pull at 140–143°F; rest 10–15 minutes before carving |
| Burnt exterior, raw center | Full direct heat the entire cook | Use two zones; roast over the unlit side first |
| Pale, steamy surface | Wet meat, or lid closed during sear | Pat dry before seasoning; sear with the lid open |
| Over-salted roast | Fine table salt used in place of kosher | Use kosher salt and taste your rub mix before applying |
| Juice pooling on the board | Cut into the roast right away | A pre-slice rest keeps those juices in the meat |
If you spot one of these problems mid-cook, fix it immediately rather than waiting until service. A roast that reads 150°F but still needs color should come off now. A pale roast still at 120°F can go back on the heat. The thermometer is your control, and every correction takes less than a minute.
Conclusion
Pork loin isn't a hard cut to grill — it's just an unforgiving one. The sequence that works is simple: buy an evenly shaped center-cut roast, dry-brine it ahead of time, build two-zone heat, roast it gently over the unlit side, sear it hot at the end, and rest it before carving. Every step protects moisture; skipping any one of them is how you end up with dry meat that gets blamed on the recipe.
If you take one thing away, let it be the thermometer. Time and color can lie; a probe reading doesn't.
Your next step: buy a 3-pound center-cut loin this weekend, set up the two zones, and cook it once with this guide nearby. Then change one variable next time — a longer brine, a little smoke, a heavier sear — until it becomes your signature grill dinner.
Frequently Asked Questions
How long does it take to cook a pork loin on a gas grill?
Counting both the indirect cook and the final sear, a 2.5–3.5 lb loin usually takes 40–60 minutes total. The indirect phase alone takes 35–50 minutes at 350–375°F, then searing adds 4–6 minutes, and the roast rests for 10–15 minutes before slicing. Always use temperature, not time, as your final check.
What internal temperature should grilled pork loin reach?
The USDA's safe minimum for whole pork is 145°F measured in the thickest part, after a three-minute rest. For a juicier texture, pull the roast at about 140–143°F and let carryover cooking push it to 145°F while it rests. A leave-in probe removes the guesswork.
Should I sear pork loin before or after grilling?
Sear at the end rather than the start. If you sear first, the outside browns before the center has finished cooking, so you must choose between a burned crust and a raw middle. The reverse order — gentle indirect heat, then a final sear — gives you a deeply browned surface and fully cooked, juicy meat.
How do I keep pork loin from drying out on the grill?
Use two-zone heat so the loin cooks gently, pull it at around 140–143°F, and rest it for 10–15 minutes before slicing. A dry brine the night before also helps the meat hold onto moisture. Slicing against the grain keeps each bite tender instead of chewy.
Do I need to bring pork loin to room temperature before grilling?
You don't need to let the roast reach full room temperature; 20–30 minutes on the counter is enough to take off the chill and help it cook evenly. Food safety guidance says to keep raw meat out of the refrigerator for no more than two hours, so keep that wait short.
What's the difference between pork loin and pork tenderloin?
Pork loin is a large, thicker roast from the back with a thin fat cap, perfect for the two-zone method here. Pork tenderloin is much thinner, leaner, and cooks fast — usually in under 25 minutes. They aren't interchangeable. For this recipe, choose a 3-lb center-cut loin.