Bbq Boneless Pork Chops In Oven: Best Simple Proven Method
Boneless pork chops are quick, affordable, and easy on the grocery budget — but they are also lean, which is exactly why so many of them come out of the oven dry and chewy. The solution isn’t a secret marinade or a fancy sauce. It’s a controlled oven temperature, a simple brown-sugar rub, and the discipline to pull the meat at the right internal temperature.
This guide walks you through a proven method built around a 400°F oven, a five-step cooking sequence, and an instant-read thermometer. Follow it once and you’ll be able to repeat the result every week: tender centers, smoky seasoned edges, and a glossy caramelized crust that actually tastes like barbecue. You can also read our guide on how long does it take to bbq pork chops.
Why the Oven Is a Great Way to “BBQ” Pork Chops
The oven doesn’t produce real wood smoke, but it does something almost as useful: it surrounds every chop with even, predictable heat. You don’t need to babysit flames, flip constantly, or fight flare-ups. That makes the oven the most consistent tool most home cooks own.
In practice, people who fail with oven pork chops aren’t fighting the oven — they’re fighting their own timing. They brush sauce on too early, pull the meat by the clock, or crowd the pan so the chops steam instead of brown. Fix those three things and the oven becomes a set-and-forget tool. For more on this, see our guide on how long to cook bbq pork chops in.
Another advantage is scale. You can cook four chops or twelve with the same method, as long as the chops are a similar thickness and the pan isn’t overcrowded. If you prefer a soft, pull-apart texture instead of a sliceable chop, try the braised low-and-slow alternative for a completely different result.
Start With the Right Boneless Chop
Not all boneless pork chops are the same, and the one you pick determines how forgiving the recipe feels.
- Aim for about 1 inch thick. This is the sweet spot: thick enough to hold moisture, thin enough to cook through before the outside over-browns. Chops under ¾ inch are easy to dry out; chops over 1¼ inches need a gentler oven temperature.
- Buy chops of similar thickness. If one chop is ¾ inch and another is 1¼ inches, they will never finish at the same time. Match the package so one pull point works for the whole batch.
- Look for some marbling. Rib-end chops tend to be juicier than sirloin-end chops because they carry a little more fat. Both work with this method; sirloin chops simply need a more careful pull temperature.
- Check the label for “enhanced” pork. Some chops are injected with a salt solution to add moisture. They cook differently — often juicier but saltier — so skip extra salt in the rub or choose plain cuts.
If you’re new to cooking meat at all, the same thinking that goes into picking a forgiving first steak applies here: choose uniform thickness, moderate fat, and a measured doneness target. For more on this, see our guide on how long does it take to bbq a.
Oven Temperature and Timing: The Numbers That Matter
Two numbers make this method work: 400°F for the oven and 145°F for the internal pull temperature.
| Chop thickness | Approx. bake time at 400°F | When to start checking |
|---|---|---|
| ¾ inch | 12–16 minutes | At 10 minutes |
| 1 inch | 16–20 minutes | At 14 minutes |
| 1¼ inches | 20–26 minutes | At 18 minutes |
Treat these ranges as starting points, not rules. Ovens cycle differently, and pan placement shifts timing by a few minutes. The thermometer decides everything.
Internal Temperature and Carryover
Current USDA food safety guidance is clear: cook pork to 145°F and then rest it for at least three minutes. That rest matters because of carryover cooking — the temperature inside the chop keeps climbing after you remove it from the oven. For more on this, see our guide on how long does it take to bbq a.
Here is the mistake most people make: they wait until the thermometer reads 155°F while the meat is still in the oven, then wonder why it turned out dry. By the time the display says 155°F, carryover will push it close to 160°F, and that’s well past the juicy zone. Pull at 145°F and let the rest period finish the job.
This is the same principle behind the USDA’s food safety guidance: doneness is measured by temperature, not minutes, color, or how the meat looks. For more on this, see our guide on how to cook pork ribs on bbq.
Why 400°F Is the Sweet Spot
400°F is hot enough to brown the sugars in your BBQ rub, but not so hot that the outside burns before the center catches up.
- For thin chops (¾ inch), you can raise the oven to 425°F and cook fewer minutes for a better crust.
- For thick chops (1¼ inches plus), consider lowering the oven to 375°F so the center cooks through before the exterior over-darkens.
- If the glaze isn’t bubbling enough at the end, a 1–2 minute broil finishes it — but never walk away during a broil.
Resting Time
Rest the chops for 5 minutes after they leave the oven. During this window, the juices redistribute through the meat instead of spilling onto the cutting board the moment you slice.
The same late-sauce and rest logic is exactly how chicken thighs in the same style stay sticky on the outside and juicy inside.
Build BBQ Flavor Before the Oven Finishes the Job
The oven can’t make real smoke, but it can create a deeply seasoned, caramelized crust that reads as barbecue. The flavor comes from three places: a dry rub, a late glaze, and the browning reaction that happens on the surface.
Build the flavor early and finish the sauce late. That order protects the sugars and gives you the glossy finish you’re after.
A Simple Brown-Sugar BBQ Rub
This rub makes enough for four chops and takes about two minutes to mix:
- 2 tablespoons brown sugar
- 1 tablespoon smoked paprika
- 1½ teaspoons garlic powder
- 1 teaspoon onion powder
- 1 teaspoon kosher salt
- ½ teaspoon black pepper
- ¼ teaspoon cayenne (optional)
Mix the ingredients in a small bowl, pat the chops dry with paper towels, then coat both sides evenly using light pressure. Let the rub sit on the meat for 15–30 minutes before baking. That short rest lets the salt draw a little moisture back into the surface, so the rub clings instead of falling off.
One caution: don’t overload the sugar. If the rub forms a thick paste, the sugar burns before the center reaches 145°F.

A light rub of brown sugar and smoked paprika, applied 15–30 minutes before baking so the seasoning clings.
Dry Rub vs. Wet Marinade
For oven-cooked chops, a dry rub is usually the better choice. It keeps the surface dry so the oven air can crisp and brown it. A wet marinade adds moisture, but that extra moisture slows browning and often leaves a pale, steamed crust.
Use a wet marinade only when you want to tenderize a thicker chop, and keep it short:
- Limit the marinade to 30–45 minutes.
- Pat the surface completely dry before applying the rub.
- Skip the rub if the marinade already contains sugar, or expect faster browning.
Sauce Timing: The Single Biggest Flavor Fix
In almost every dry-and-burnt pork chop scenario, the sauce went on too early. Sugary barbecue sauce needs only a few minutes of oven heat before it scorches.
A practical glaze uses:
- ½ cup of your favorite barbecue sauce
- 1 tablespoon brown sugar
- 1 teaspoon apple cider vinegar
Simmer this mixture on the stove for 2–3 minutes until it thickens slightly, then brush it on during the final 5 minutes of baking. Brush a thin coat, return the chops to the oven, and pull them when the thermometer hits 145°F.
- Apply sauce only in the last 5 minutes.
- Use thin coats so heat reaches the surface instead of pooling.
- Rebrush once only if the surface looks dry.
- Reserve extra glaze for serving.
Optional 20-Minute Salt Brine
If you’ve bought lean center-cut chops, a quick brine helps guarantee tenderness. Dissolve 1 tablespoon of salt in 2 cups of warm water, submerge the chops for 20 minutes, then rinse and pat them very dry. After that, treat them exactly like the other chops — rub, bake, glaze, rest.
The 5-Step Method for Juicy Results Every Time
This is the sequence to memorize. It controls moisture loss, builds crust, and gives you one clear pull point.
Preheat and prep the pan. Set the oven to 400°F and place the rack in the middle position. Line a sheet pan with foil and set a wire rack on top, then warm the pan in the oven for 5 minutes. A hot wire rack starts surface drying immediately.
Season and sear if you want a crust. Pat the chops dry, coat them with the rub, and sear in a hot skillet for 60–90 seconds per side. This step is optional, but it adds flavor depth. Transfer the chops straight to the hot wire rack.
Bake to a staged target. Bake until the thickest chop reads 140°F on an instant-read thermometer — usually 10–14 minutes for 1-inch chops. Pulling at 140°F leaves room for the glaze step and carryover, which is where most cooks accidentally overshoot.
Glaze at the right moment. When the thermometer hits 140°F, brush a thin coat of the glaze over each chop. Return the pan to the oven for 2–3 minutes so the sugars caramelize without burning.
Pull at 145°F and rest. Remove the chops the moment the thermometer reads 145°F in the thickest part. Rest for 3–5 minutes on the wire rack, then slice. The center should look juicy, the crust should be sticky, and the whole process takes under 30 minutes.
Repeat this same pull point every time and you’ll stop relying on luck. The first batch teaches you your own oven’s quirks; by the second batch, you’re just confirming what you already know.
Sear First or Bake Straight?
Both approaches work, but they produce different textures. Sear-first builds a firmer crust; bake-straight is simpler and more forgiving for thin cuts.
| Method | Best for | Trade-off |
|---|---|---|
| Sear-first | 1–1¼ inch chops, crunchy crust lovers | Can overcook the edge if timing slips |
| Bake-straight | Thin chops, busy weeknights, easy cleanup | Less surface browning and crust |
When Searing Helps
Sear first when your chops are thick enough to survive the extra surface heat without the edges drying out. A 1-inch chop takes 2 minutes per side in a hot skillet before transferring to the oven.
The rub’s sugar content matters here. If your rub is sweet, searing can push the crust toward bitter before the oven even starts. Use a moderately hot pan, not a screaming one, and skip the sear entirely if your rub is heavy on brown sugar.
When Baking Straight Is Smarter
Bake straight for anything under 1 inch thick. The sear window is long enough to overcook a thin chop’s perimeter before the center has a chance to warm through.
Baking straight also keeps the surface cleaner for the late glaze, so the final caramelization stays sweet rather than scorched. It’s the more reliable method for a first attempt. Anyone who has already learned the timing of grilled burgers knows the same lesson — on thin pieces of meat, a couple of minutes separates perfect from ruined.
If you’d rather take the whole operation outdoors for a smokier aroma, a pizza-capable grill shows how much surface heat changes the final crust.
Common Mistakes That Ruin Oven BBQ Chops (and the Fixes)
Most failures come down to timing and trapped moisture, not a bad recipe. Here are the three problems cooks run into most and how to solve each one.
Burnt BBQ Sauce
If your sauce turns dark and bitter at the edges, it went in too early. Sugars burn when exposed to direct heat for more than a few minutes.
Fix: brush the sauce on only during the final 5 minutes of baking. If your oven runs hot, shield the chops with a loose piece of foil when the glaze looks dark but the meat still needs a couple more minutes.
Tough, Chewy Chops
Tough pork nearly always means the internal temperature climbed too high. Proteins tighten once the center passes about 150°F, which makes even a well-seasoned chop feel like leather.
Fix: check the temperature earlier than you think you need to. Pull the oven at 145°F, rest the meat, and let carryover handle the rest. A cheaper cut cooked to 145°F beats an expensive cut cooked to 160°F.
Thin, Watery Glaze
If your glaze is sliding off and pooling in the pan, the chops are steaming. Moisture from wet meat or crowded pans keeps the surface from drying, so the sauce never sets.
Fix: pat the chops dry before rubbing, use a wire rack over the sheet pan, and give each chop enough space. Air must move around the meat for the sauce to cling.

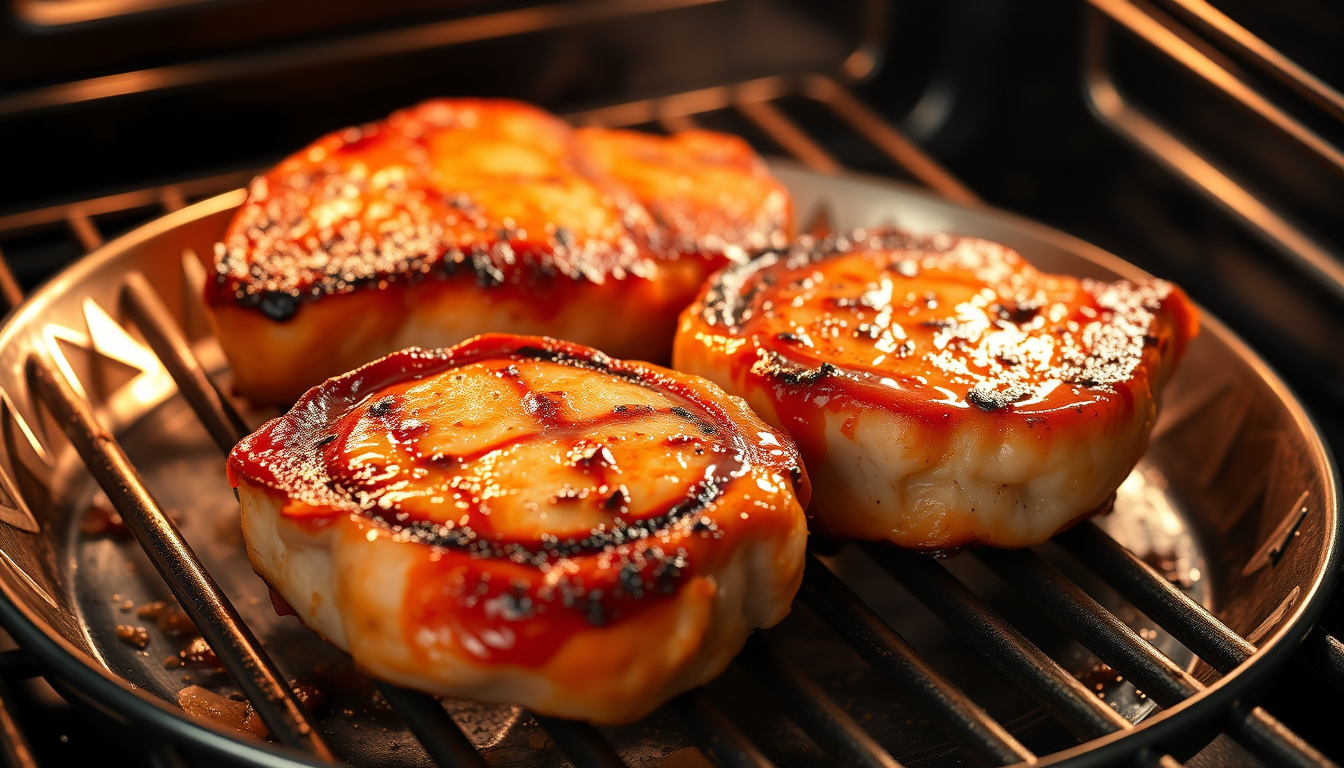
A wire rack holds the chops above the pan so air moves under the meat and the glaze stays glossy instead of watery.
How to Serve, Store, and Reheat
The best part of this method is that a properly cooked chop also makes a great leftover — if you treat it correctly.
Serving Suggestions That Match Smoky BBQ
Keep the sides dry and crunchy so they don’t steam the crust:
- Slaw that has been squeezed and well-drained
- Cornbread with a crisp edge
- A pile of roasted potatoes or a simple green salad
Slice the chops across the grain, which shortens the meat fibers and makes every bite more tender. Warm the extra glaze separately and brush it on just before serving.
Storage Timelines and Container Tips
Let the chops cool slightly, then refrigerate them in a shallow, covered container. The federal food safety recommendations for leftovers apply across the board: refrigerate within two hours, eat within 3–4 days, or freeze for up to 2–3 months.
Store extra sauce separately. If you freeze the sauce with the meat, the texture can turn thin and grainy on reheating.
Reheating Without Drying Them Out
Reheating kills more pork chop leftovers than the original bake ever could. Avoid the microwave if you can — it drives moisture out before the center warms up.
Instead, reheat in a covered skillet at medium-low with a splash of water or reserved sauce. Warm the chops until the center reaches 145°F, rest them for a couple of minutes, and rebrush with glaze right before serving.
Frequently Asked Questions
What is the best temperature to bake boneless pork chops for BBQ?
400°F is the best starting point for most chops. It browns the surface well enough to caramelize sugar without giving the outside time to scorch. For very thick chops, drop to 375°F; for very thin ones, 425°F works with close attention.
How long does it take to bake 1-inch boneless pork chops?
Plan on 16–20 minutes at 400°F, but check with an instant-read thermometer starting around minute 14. Ovens vary, and the thermometer is always more reliable than the timer.
How do I keep BBQ sauce from burning in the oven?
Brush the sauce on in the final 5 minutes, use a thin coat, and thicken the sauce beforehand by simmering it briefly. Sauce that goes in early will burn before the pork is cooked.
Should I cover boneless pork chops while baking?
Keeping them uncovered is better for crust formation and glaze setting. If you find the chops browning too quickly, you can loosely cover them for the last few minutes, but remove the cover before the glaze step.
Can I cook frozen boneless pork chops in the oven?
Yes, but it’s a different equation. You’ll need roughly 50% more time, and the outside can overcook before the interior thaws and cooks. Thawing in the refrigerator first gives consistently better results. If you cook from frozen, rely on the thermometer alone — never guess.
Dry rub or marinade for pork chops?
Dry rub is the better choice for this method because it keeps the surface dry and promotes browning. A wet marinade can increase tenderness on thick chops, but it must be wiped off and the meat patted dry before baking.
Conclusion
You don’t need a smoker, a grill, or a chef’s intuition to make genuinely good BBQ boneless pork chops in the oven. The proven method comes down to three commitments: cook in a 400°F oven, glaze only at the end, and pull the chops at 145°F with an instant-read thermometer.
Start tonight — don’t wait for a special occasion. Pat two 1-inch chops dry, coat them with the brown-sugar rub, and run the five-step sequence once. You’ll see the difference in a single dinner: juicy centers, a sticky caramelized glaze, and no dry, chewy bites to hide under sauce.
Once you master it, scale it up, adapt the rub to your taste, and reuse the same thermometer-first thinking for everything else you cook. For the full timeline from prep to plate in one place, the full cook-time breakdown covers every checkpoint you’ll need.