How to Make a Garden Step-by-Step for a Healthy Backyard
A thriving backyard garden rarely happens by accident. It comes from a simple, repeatable sequence: pick the right spot, build healthy soil, choose plants that fit your conditions, and care for them consistently. Whether you’re working with a quarter-acre plot or a few pots on a patio, the same principles apply. This guide walks through each phase in order, with practical checkpoints so you can start small, avoid common mistakes, and keep your garden productive all season long.
Plan the Right Location and Layout
Your garden’s location determines how hard you’ll have to work later. Sunlight, drainage, and water access are the three biggest factors, so spend a day or two observing your yard before you dig. Morning and afternoon light patterns shift more than most people expect, especially near fences, walls, and trees. You can also read our guide on how to grow vegetable seedlings.
Action checklist for choosing a spot:
- Sun: Aim for 6–8 hours of direct sun for tomatoes, peppers, squash, and most flowering vegetables. Leafy greens, herbs, and root crops can manage with 4–6 hours.
- Drainage: Avoid low spots where water pools for 24 hours or more after rain. Soggy roots invite rot and fungal disease.
- Water access: Keep the garden within easy hose reach. If hauling water feels like a chore, plants will suffer on hot days.
- Wind and heat: In exposed sites, use a fence, hedge, or trellis as a windbreak to reduce moisture loss and stem damage.
- Soil and roots: Stay clear of large tree roots, which steal water and nutrients and make digging difficult.
Next, decide on a layout style. Raised beds give you better control over soil quality and drainage, warm up faster in spring, and reduce bending. In-ground rows scale cheaply for larger spaces. Containers work well when the native soil is poor, compacted, or contaminated. Whichever you choose, keep paths wide enough for a wheelbarrow—18 to 24 inches is a good minimum—and keep beds no wider than 3 to 4 feet so you can reach the center without stepping on the soil.
A common mistake is placing the garden too far from the house. If you don’t see it daily, you’ll miss pests, dry soil, and ready-to-harvest produce. Put the garden where you’ll notice it.
Test and Build Healthy Soil
Soil is the engine of your garden. Before planting, find out what you’re working with. A basic soil test from your local cooperative extension will tell you the pH, organic matter level, and any nutrient gaps. Most vegetables prefer a slightly acidic to neutral pH of about 6.0–7.0. If the pH is off, plants can’t absorb nutrients efficiently no matter how much fertilizer you add.
Once you know your starting point, clear the footprint down to bare soil. Pull weeds by the roots, remove rocks and sticks, and cut sod into strips if grass is present. For thick perennial weeds, smother the area with cardboard for two to three weeks before digging—it saves hours of hand-pulling later.
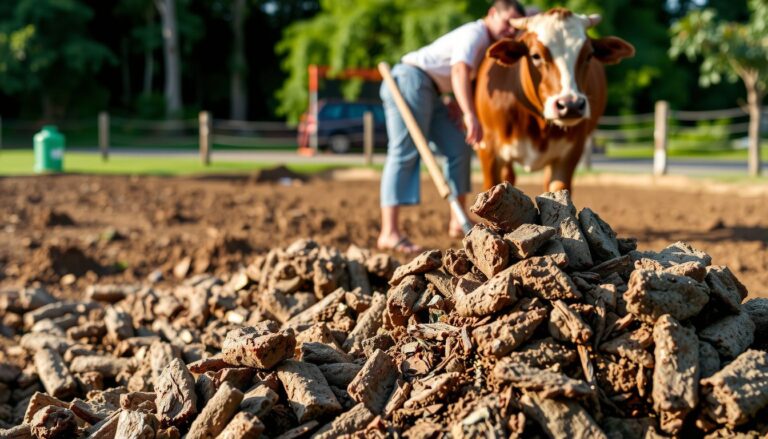
Loosen the soil 8–12 inches deep with a garden fork or broadfork, then mix in 2–3 inches of compost across the top 6–8 inches, where most vegetable roots feed. Avoid fresh manure right before planting; it can burn roots and introduce pathogens. Aged compost or well-rotted manure is safer. If you want to speed up the process, composting vegetable scraps at home gives you a steady supply of organic matter, while aged poultry manure adds nitrogen when used in moderation.
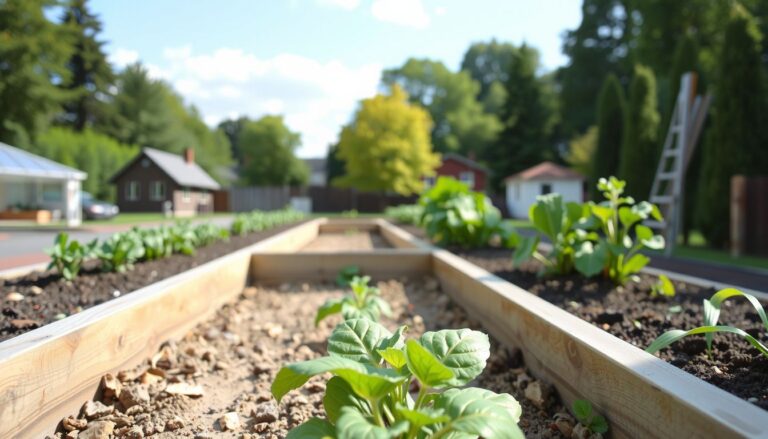
 A well-prepared raised bed makes weeding, watering, and harvesting easier from the start.
Bed or row construction comes next. Mounded beds without frames work well on wet sites and heavy clay, while rows suit larger spaces and wide-spacing crops. Shape beds 4–8 inches high and rake the top flat. If the soil feels sticky and forms a shiny ribbon when squeezed, wait a day or two—working wet soil creates clods that last all season.
Building a simple raised bed:
- Mark the bed 3–4 feet wide so you can reach the center.
- Set paths at least 18–24 inches wide between beds.
- Fill with a mix of native soil and compost, or use a raised-bed soil blend.
- Water lightly to settle, then re-rake before planting.
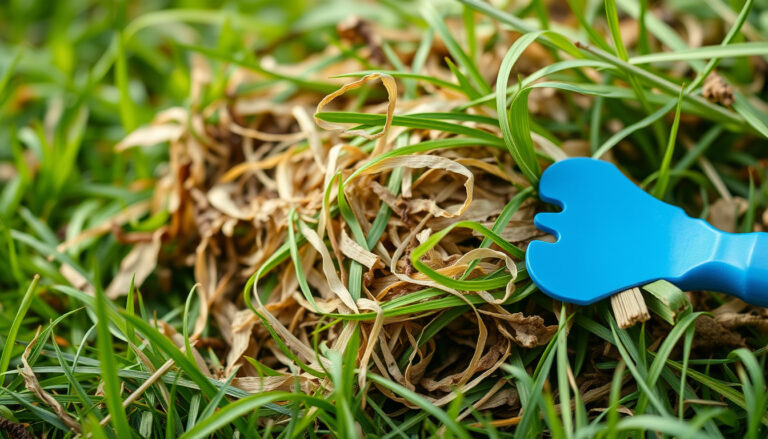
For long-term weed suppression between beds, grass clippings break down into a nitrogen-rich mulch, while wood chips decompose slowly and make excellent path material.
Choose Plants That Match Your Climate and Space
Plant selection is where many new gardeners go wrong. The best garden starts with plants adapted to your region and your schedule, not just whatever looks good at the nursery. Check the USDA Plant Hardiness Zone Map to understand your first and last frost dates, then choose varieties with days-to-maturity that fit your growing season.
Match plants to your reality:
- Short season or cool climate: Focus on quick crops like lettuce, radishes, spinach, peas, and bush beans.
- Long, hot season: Tomatoes, peppers, eggplant, melons, and sweet potatoes have time to mature.
- Limited space: Compact or dwarf varieties, vertical climbers, and container-friendly plants maximize yield per square foot.
- Busy schedule: Drought-tolerant herbs, perennials, and sturdy vegetables like kale and chard need less daily fuss.
Think about sunlight before buying. If you have six hours or less of direct sun, skip fruiting crops and lean into leafy greens, herbs, and root vegetables. If you’re gardening in containers, remember that the color of your pots can affect soil temperature—dark pots absorb heat, which helps in cool climates but stresses roots in hot ones.
A practical starter list for a 4×8-foot sunny bed: two tomato plants with cages, a row of basil, a trellis of pole beans, and edge rows of lettuce and radishes. That combination is productive, easy to manage, and forgiving for beginners.
Gather Tools, Materials, and Supplies
Before you break ground, stage everything you need so the first workday is focused rather than full of store runs. A half-finished bed with wilting seedlings is a common frustration that’s easy to avoid.
Core tools most gardens need:
- Spade or shovel, hand trowel, and garden fork
- Rake, hoe, and pruning snips
- Gloves, measuring tape, stakes, and string line
- Watering can or hose with an adjustable nozzle
- Wheelbarrow for moving soil, compost, and mulch
Materials to gather before planting:
- Compost or well-aged manure
- Mulch: straw, shredded leaves, grass clippings, or bark
- Soil amendments based on your soil test (lime, sulfur, or balanced fertilizer)
- Plant supports: tomato cages, trellis netting, or bamboo stakes
- Labels and a notebook for dates and varieties
If you’re building raised beds, you’ll also need lumber or bed kits and enough soil mix to fill them. For in-ground gardens, a digging fork and edging tool matter more. Keep everything near the site so you can plant the same day you prep.
A common mistake is buying plants before the bed is ready. Seedlings left in plastic trays for a week become root-bound and stressed. Buy or start only what fits your planned layout, and have supports ready on day one—vines and tomatoes sprawl quickly once they start growing.
Plant Seeds and Transplants in the Right Order
Timing is everything when you put plants in the ground. Cool-season crops tolerate light frost and prefer cool soil, while warm-season crops stall or rot if planted too early. Planting order also affects spacing: tall crops and trellises go in before low growers so nothing gets shaded unexpectedly.
A simple planting sequence:
- Sow cool-season seeds—peas, radishes, spinach, carrots, and lettuce—as soon as the soil is workable.
- Set out cool-season transplants like broccoli, cabbage, and onions after hardening them off for a week.
- Install supports early for peas, beans, and tomatoes before roots spread.
- Plant warm-season transplants—tomatoes, peppers, and eggplant—after nights stay reliably above 50°F.
- Sow warm-season seeds—beans, squash, cucumbers, and corn—when the soil is warm to the touch.
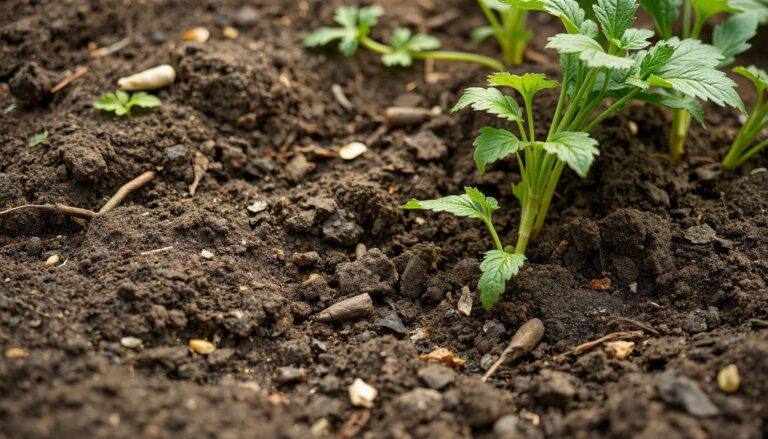
 Mixing compost into the top 6–8 inches creates a loose, fertile root zone for seedlings.
Plant seeds at a depth about two to three times their width. Label rows immediately—slow germinators like carrots are easy to hoe up by accident. Stagger quick crops every 10–14 days so harvests arrive steadily instead of all at once.
Hardening off is non-negotiable for transplants. Move seedlings outdoors for a few hours a day over 7–10 days before planting them in the ground. Skipping this step causes transplant shock, weak stems, and sunscald.
Water, Mulch, and Maintain Your Garden
Once plants are in the ground, consistency beats intensity. Deep, infrequent watering encourages roots to grow downward, making plants more drought-tolerant. A quick daily sprinkle keeps roots shallow and dependent.
A weekly maintenance routine:
- Water deeply at the root zone, preferably in the morning, and let the top inch of soil dry slightly between waterings.
- Mulch 2–3 inches deep with straw, shredded leaves, or grass clippings, keeping it pulled back from plant stems to prevent rot.
- Weed after rain or watering when the soil is damp and roots pull free more easily.
- Side-dress heavy feeders like tomatoes and squash with compost or a balanced organic fertilizer once they start flowering.
- Tie and train tomatoes, pole beans, and cucumbers early—don’t wait until stems sprawl and snap.
In practice, a weekly 15-minute walk-through catches most problems before they escalate. Check leaf color, soil moisture, and the undersides of leaves where aphids and mites hide. Yellowing lower leaves can mean nitrogen deficiency or overwatering—check soil moisture first before adding fertilizer. A strong spray of water knocks back aphids, while insecticidal soap handles persistent infestations.
Adjust watering with the weather. During heat waves, water more often but still deeply. After heavy rain, skip watering until the soil drains. Mulch stabilizes soil temperature and cuts water loss by up to half in hot, dry spells.
Troubleshoot Common Garden Problems
Even well-planned gardens hit snags. The key is diagnosing before treating. Here are the most frequent issues and how to respond:
Yellow leaves: Check soil moisture first. If it’s soggy, hold off on watering and improve drainage. If dry and lower leaves yellow, add nitrogen-rich compost or a balanced feed.
Curled or wilting leaves: Midday wilt that recovers by evening is normal in high heat. Wilt that persists into evening signals underwatering. Overwatered plants often look wilted too—feel the soil before reaching for the hose.
Holes or chewed edges: Identify the pest before spraying. Slugs leave slime trails and ragged holes; caterpillars leave clean edges and dark droppings. Hand-pick large pests at dusk, and use row covers for vulnerable seedlings.
Powdery mildew: A white coating on squash, cucumber, or rose leaves appears in humid weather with poor airflow. Remove badly affected leaves, water at the base, and space plants for better circulation.
Spider mites: Fine webbing and stippled leaves often show up in hot, dry, dusty conditions. Tap a leaf over white paper—if tiny specks move, mites are present. Hose the undersides, increase mulch to reduce dust, and apply horticultural oil in the evening.
The most common cultural mistakes are overwatering, planting too densely, and panic pruning. Removing too many leaves can sunscald fruit and stall growth. Instead, prune only damaged or diseased foliage and thin seedlings to their recommended spacing early.
Harvest and Keep Your Garden Producing
Harvesting is maintenance too. Picking frequently keeps many plants producing—beans, zucchini, cucumbers, and herbs all yield more when harvested regularly. Cut leafy greens above the crown so they regrow, and pick fruits at peak color and firmness. Remove overripe or rotting produce promptly to prevent pests and disease from settling in.
Harvest tips:
- Pick in the morning when leaves and fruit are crisp and hydrated.
- Use clean pruners or scissors for cuts to reduce disease entry.
- For basil and other herbs, pinch above a leaf node to encourage bushier growth.
- Keep a simple harvest log—what you picked, when, and how much—so you can adjust plantings next season.
A garden that gets five minutes of attention most days will outperform one that gets a big burst once a month. Small, repeatable habits protect progress without turning gardening into a chore.
Conclusion
A healthy backyard garden is built step by step, not in a weekend. Start with good light and drainage, invest in soil health, choose plants that fit your climate and schedule, and then maintain with simple weekly routines. The result is fewer problems, better harvests, and a space that rewards you all season.
Your next step is simple: pick a start date this week, mark out one small bed or gather a few containers, and run a soil test. Even a 4×8-foot plot or three pots on a patio can produce surprising amounts of food and flowers. The key is to begin with the first step today.
Frequently Asked Questions
How much sun does a vegetable garden need?
Most fruiting vegetables need 6–8 hours of direct sunlight daily. Leafy greens, herbs, and root crops can produce with 4–6 hours. If your space gets less than four hours of sun, stick to shade-tolerant crops like lettuce, spinach, kale, and parsley.
When should I start preparing my garden soil?
Start soil prep in early spring as soon as the ground is dry enough to work, or in fall for next season. Avoid digging when soil is wet—if a squeezed handful forms a shiny ribbon, wait. Fall prep gives compost time to break down before spring planting.
Should I use raised beds or plant directly in the ground?
Raised beds offer better drainage, warmer soil, and less bending, making them ideal for small spaces or poor native soil. In-ground rows are cheaper for large gardens. Containers work well on patios and decks. Choose based on your space, budget, and physical comfort.
How often should I water a new garden?
Water deeply right after planting, then check daily for the first week. After that, water when the top inch of soil feels dry—usually 2–3 times per week in warm weather. Morning watering reduces evaporation and fungal disease.
What is the easiest vegetable to grow for beginners?
Radishes, lettuce, bush beans, and cherry tomatoes are forgiving starter crops. Radishes mature in under a month, lettuce tolerates partial shade, and bush beans need little support. Herbs like basil and mint are also low-effort and productive.
How can I improve clay or sandy soil quickly?
For clay, add 2–3 inches of compost and avoid working wet soil; raised beds also help drainage. For sandy soil, mix in compost to improve water and nutrient retention. In both cases, compost is the single most effective amendment over time.


One Comment