How to Build a Vegetable Garden Step-by-Step for Beginners
Most beginners think building a vegetable garden starts with buying a stack of seedlings and digging one big bed on a single weekend. In practice, that approach often leads to spindly plants, pest problems, and wasted money. A productive first garden comes from a different sequence: understanding your climate, choosing the right spot, preparing soil before planting, and matching crops to your actual season and space.
You do not need a large yard, expensive tools, or perfect "green thumb" instincts. What you need is a simple plan that keeps sunlight, water, and nutrients predictable. Once those basics are in place, even a 4-by-8-foot bed or a handful of containers can produce steady harvests for months.
This guide walks through the entire process in order, from site selection to harvest. Each section includes practical details a top-performing garden relies on, common beginner mistakes to avoid, and clear next steps.
Know Your Growing Zone and Frost Dates
Before you buy a single seed packet, find your USDA Plant Hardiness Zone. The USDA Plant Hardiness Zone Map divides the country into zones based on average annual extreme minimum winter temperatures. Your zone tells you which crops can survive winter outdoors and, more importantly, helps you estimate your last spring frost and first fall frost dates.
Why this matters: frost dates set the boundaries for your planting calendar.
- Cool-season crops — lettuce, spinach, peas, radishes, broccoli, kale — grow best when temperatures stay between roughly 40°F and 70°F. Many tolerate light frost, so you can plant them 2–4 weeks before your last expected spring frost.
- Warm-season crops — tomatoes, peppers, squash, cucumbers, beans, basil — need soil and air to be consistently warm. Plant them 1–2 weeks after your last frost date, once nighttime temperatures stay above 50°F and the soil has warmed to at least 60°F.
- A fall garden works in reverse: count backward from your first fall frost to know when to sow cool-season crops again for a second harvest.
A common beginner mistake is planting tomatoes on the same day as lettuce. In most regions, lettuce planted that late bolts quickly, and tomatoes planted that early stall or rot. If your zone has a short growing season, start seeds indoors or buy transplants for warm-season crops and reserve direct seeding for fast cool-season vegetables.
Clarify Your Goals and Choose What to Grow
Pause before you buy anything. Your first win comes from matching crops to your time, taste, and space — not from trying to grow a little of everything. Pick a measurable goal, such as "salads three nights a week," "enough sauce tomatoes for 12 jars," or "fresh herbs for the grill all summer."
Use these filters to narrow your choices quickly:
- Sun and season: fruiting crops need 6–8 hours of direct sun; leafy greens tolerate 4–5 hours, especially with afternoon shade.
- Maintenance level: herbs and greens are forgiving and fast. Indeterminate tomatoes demand staking, pruning, and consistent watering. Choose accordingly.
- Household demand: grow what you actually cook and eat. If nobody in your house eats zucchini, two squash plants are a mistake no matter how easy they are.
- Space per plant: a single zucchini needs 3–4 square feet. A lettuce head needs under 1 square foot. Dense planting of small crops gives more harvests per square foot for beginners.
Practical example: in a 4-by-8-foot bed for quick meals, plant two rows of lettuce, one row of radishes, a basil cluster, and two pepper plants. You will harvest salad greens within 30–45 days, stay motivated, and avoid a midsummer glut you cannot use.
Pick the Best Location and Test Drainage
Your garden's location determines how hard you will fight to keep plants alive. Choose a spot with 6–8 hours of direct sun, close enough to a water source that dragging a hose feels easy, and visible from a path you walk daily. Gardens that are out of sight get neglected.
Check the site at different times of day. Morning sun is gentler and dries dew quickly, reducing fungal disease. Late-afternoon shade can slow fruiting crops but is often welcome in hot climates. Avoid low spots where cold air and water settle, and keep the bed away from tree roots that steal moisture and nutrients.
Before committing, run a simple drainage test:
- Dig a hole 12 inches wide and 12 inches deep.
- Fill it with water and let it drain completely.
- Refill the hole and time how long the second filling takes to drain.
If the second filling drains in 2–6 hours, drainage is in a good range for most vegetables. Faster than 2 hours suggests sandy soil that dries out quickly; longer than 6 hours points to compaction or clay. In both cases, raised beds filled with good soil are the most reliable fix for beginners.
 Choose a level, sunny spot with easy access to water before building your beds.
If a backyard corner stays soggy a day after rain, shift the bed 10 feet upslope and leave that wet area for a rain garden or moisture-loving ornamentals instead.
Gather Supplies and Prep Your Plan Before You Start
Planning beats rework. Sketch your bed, containers, or rows to scale, then assign plants based on mature size. This prevents overcrowding, which triggers pests, disease, and weak yields. A rough drawing on paper costs nothing and saves you from buying too many transplants or leaving half a bed empty.
Gather the basics before day one:
- Soil setup: finished compost, a quality raised-bed mix if building new beds, and mulch for after planting.
- Tools: trowel, hand fork, pruners, gloves, and a hose nozzle or watering can with a gentle shower setting.
- Support and protection: stakes or cages, twine, and simple insect netting or floating row cover for early pests and late frosts.
- Amendments: only what your soil test or known conditions call for — lime, sulfur, or a balanced organic fertilizer.
A common mistake is buying seedlings first, then scrambling for cages and soil on planting day. Instead, map spacing, count plants, and purchase only what fits the plan. If you are learning how to build a vegetable garden, this step keeps costs controlled and the first season less overwhelming.
Build Your Garden Beds and Define Paths
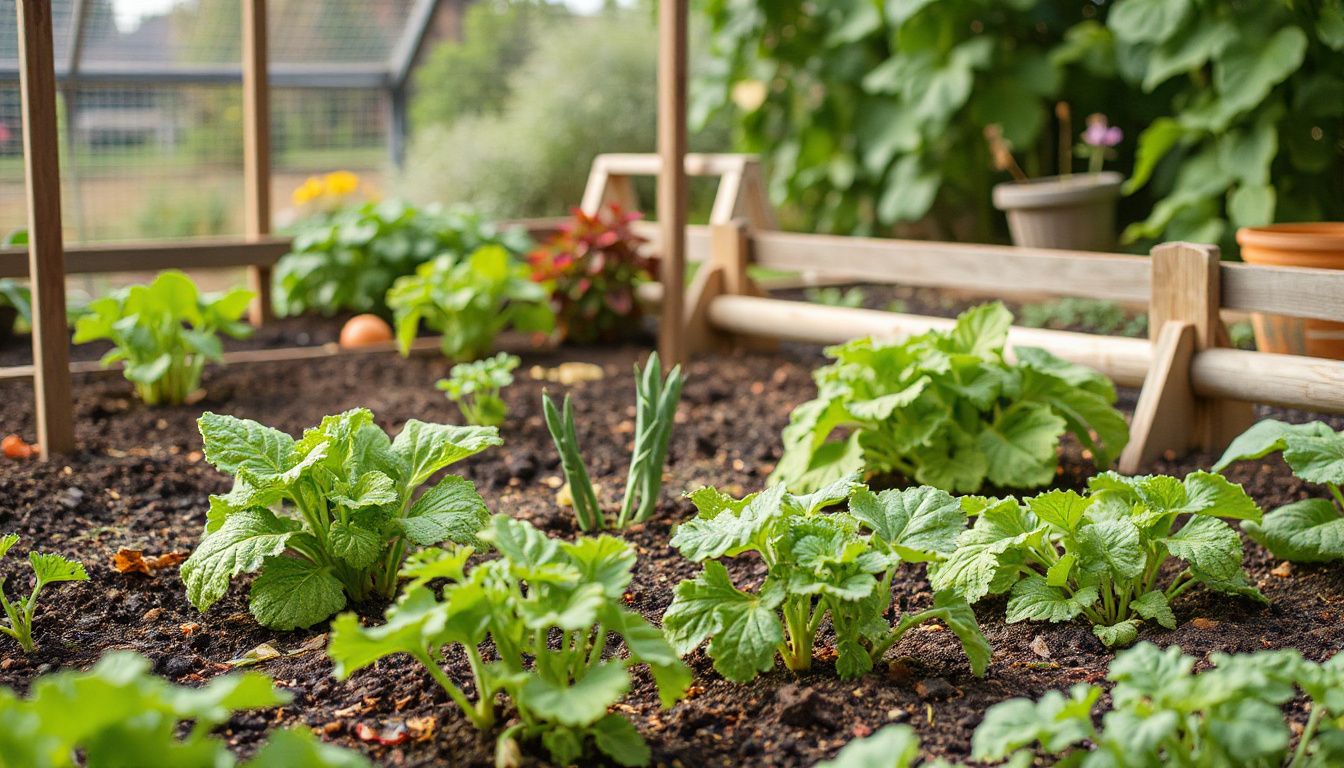
Bed shape matters less than access. Build beds narrow enough to reach the center without stepping on the soil; compaction crushes root growth and ruins drainage. Raised beds are ideal for beginners because they drain predictably, warm faster in spring, and make weed control simpler.
Use these practical dimensions for most home gardens:
| Bed element | Recommended size | Reason |
|---|---|---|
| Width | 3–4 feet | Reach the center from both sides without stepping in |
| Length | 6–12 feet | Fits most spaces; longer beds need more walking around |
| Height | 8–12 inches | Higher for poor drainage or mobility needs |
| Path width | 18–24 inches | Comfortable walking; wider for wheelbarrows |
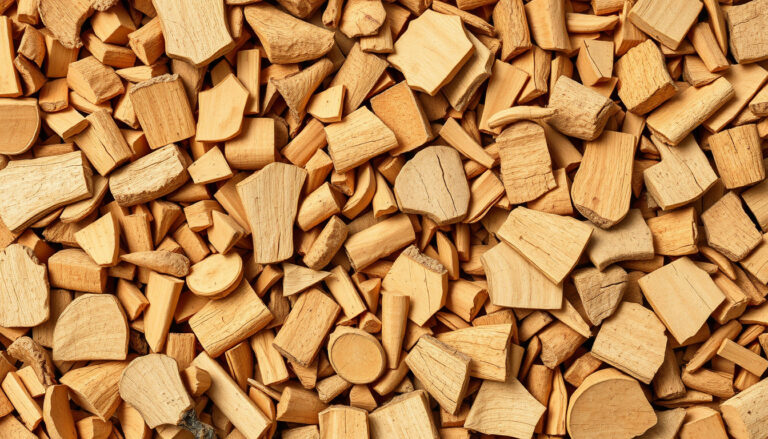
Define paths early so they do not shift or disappear later in the season. Cover them with cardboard and 2–3 inches of wood chips to suppress weeds. Keep in mind that wood chips break down slowly, so they make a durable, low-maintenance path surface that also looks tidy.
A common mistake is building beds too wide, then stepping in to harvest. Keep edges crisp with untreated boards, bricks, or a simple spade-cut border so the layout stays clean and the paths stay off-limits to feet.
Prepare Soil with Compost and Correct Amendments
Soil is the part of the garden that makes vegetables thrive or fail. Aim for loose texture, steady moisture, and a nutrient base that feeds plants for weeks rather than days. Most garden problems trace back to soil that is either too compacted, too sandy, or too low in organic matter.
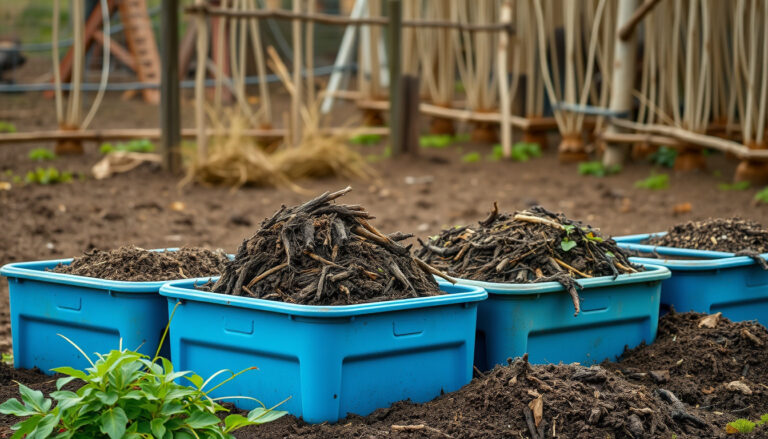
Start by spreading 1–2 inches of finished compost over the bed and mixing it into the top 6–8 inches with a digging fork. Compost improves drainage in clay and water-holding in sand, making it the safest first amendment for almost any garden. If you make your own compost, remember that vegetable scraps and other kitchen waste need time to break down before they become usable garden compost. If you keep chickens, compost chicken manure thoroughly before adding it — fresh manure is too strong and can burn roots or carry pathogens.
Next, correct what compost alone cannot. A soil test through your local extension office — such as University of Minnesota Extension — gives precise pH and nutrient readings for a low cost. Use those results to guide amendments:
- Acidic soil: add garden lime at label rates.
- Alkaline soil: use elemental sulfur or composted pine fines.
- Low fertility: add a balanced organic fertilizer such as a 4-4-4 blend.
- Compacted soil: mix in aged leaf mold; avoid adding sand to clay, which can turn it concrete-like.
A new raised bed filled with bagged "topsoil" often dries fast and crusts over. Mixing in 2 inches of compost plus a light 4-4-4 application typically improves texture and early pale growth within two weeks.
Plant or Sow at the Right Spacing and Depth
Spacing is not fussy detail work — it is how you prevent disease, reduce pest pressure, and get full-size harvests. Follow seed packets as a baseline, then adjust for your bed style and how you will reach plants from the paths.
Use a simple rule for seed depth: sow seeds about 2–3 times the seed's diameter. Tiny seeds like lettuce get pressed into the surface or barely covered; larger seeds like beans and squash go deeper. Transplants should sit at the same soil line they had in their pot. Tomatoes are the common exception: bury them deeper, up to the first set of true leaves, because they root along the buried stem.
Common vegetable spacing and depth at a glance:
| Crop | Seed depth | Spacing between plants | Spacing between rows |
|---|---|---|---|
| Lettuce (leaf) | 1/8 inch | 4–6 inches | 12 inches |
| Radishes | 1/4 inch | 1–2 inches | 6–8 inches |
| Carrots | 1/4 inch | 2–3 inches | 12 inches |
| Beans (bush) | 1 inch | 2–4 inches | 18–24 inches |
| Tomatoes | Transplant | 18–24 inches | 36 inches |
| Zucchini | 1 inch | 24–36 inches | 36–48 inches |
Mark rows or grids with string or a square-foot grid to keep spacing honest. Thin seedlings early — overcrowding gets harder to fix as roots tangle. Water gently with a fine rose or mist after sowing so seeds do not wash away.
A classic beginner failure is planting carrots too deep in heavy soil. The tiny seeds cannot push through a crust. Sow carrot seed 1/4 inch deep, cover lightly with compost or fine soil, and keep the top inch evenly moist until sprouts appear. Covering the row with a board or row cover for the first few days helps retain moisture.
Set Up Watering, Mulch, and Simple Supports
Once seeds and transplants are in the ground, lock in consistency. Water, mulch, and support early — these three moves prevent most "mystery" failures later in the season.
Water deeply so roots grow downward rather than staying shallow and drought-prone. Aim for morning irrigation so foliage dries before evening, and keep water off leaves when possible. Soaker hoses and drip lines beat overhead sprinklers for disease control because they deliver water to the soil, not the plant.
- Watering: 1–2 deep soakings per week, adjusted for heat, rainfall, and soil type. Sandy soil needs more frequent water; clay needs less.
- Mulch: 2–3 inches of straw, shredded leaves, or untreated grass clippings. Keep in mind that grass clippings decompose quickly and add nitrogen as they break down, so they work well around heavy feeders but may need topping up more often than wood-based mulches.
- Supports: install cages, stakes, or trellises before plants flop. Tomatoes, cucumbers, and pole beans all need something to climb or lean on.
Keep mulch a finger-width away from plant stems to reduce rot and slug hiding spots. Refill thin spots after heavy rain or wind.
 Drip irrigation under mulch delivers steady moisture to roots while keeping leaves dry.
Example: for tomatoes and cucumbers, run a drip line down the row, mulch over it, then add a 6-foot T-post trellis. You will water faster, weed less, and harvest cleaner fruit.
Container Gardening for Small Spaces
No yard is not a dealbreaker. Containers let you grow vegetables on a patio, balcony, or sunny driveway, and they give beginners more control over soil, water, and sunlight. Almost any crop with a compact or bush habit can work in a pot.
Containers dry out faster than in-ground beds, so choose the largest pots you can manage. A 5-gallon container is the practical minimum for a tomato or pepper plant; a 10–15-gallon pot supports squash or a small grouping of greens. Drainage holes are non-negotiable — roots sitting in waterlogged soil die quickly.
Pot color matters more than most people expect. Dark pots absorb heat and can overheat roots in summer sun; light-colored pots stay cooler but may need less frequent watering in hot climates. If you are choosing new containers, it helps to understand how pot color affects soil temperature and plant health before you buy.
Use a high-quality potting mix, not garden soil, in containers. Garden soil compacts in pots and drains poorly. Mix in compost at planting time and feed container plants every 2–3 weeks with a balanced liquid fertilizer, because frequent watering leaches nutrients out of the limited soil volume.
Maintain Your Garden Routine
Maintenance is mostly small, repeatable checks, not marathon weekend rescues. A 10-minute walk-through every few days catches problems while they are still small and cheap to fix. Gardens that get a little attention often outperform gardens that get occasional heroic efforts.
Start each walk-through with moisture and pests, then move to training and feeding:
- Weed: pull weeds when they are tiny, before they set seed. A hoe run in dry weather saves hours later.
- Scout: check leaf undersides for aphids, eggs, and chewing damage. Catching pests early means hand-picking often solves the problem.
- Feed: side-dress heavy feeders — tomatoes, peppers, squash — with compost or a balanced fertilizer every 3–4 weeks once they start fruiting.
- Prune: remove yellowing lower leaves to improve airflow and reduce disease spread.
- Train: tie or pinch vigorous plants so light reaches leaves and fruit stays off the soil.
Watering and feeding must match growth stage. Too much nitrogen late in the season produces lush leaves and few fruits. If basil is shading lettuce, harvest basil hard and re-tie it; the lettuce rebounds and you get a batch of pesto the same day.
Troubleshoot Common Problems
When something looks off, diagnose before you treat. Most issues trace back to water stress, nutrient imbalance, or pests — not a mystery disease. Use this quick reference before reaching for a spray bottle.
| Symptom | Likely cause | Practical fix |
|---|---|---|
| Wilting at noon, fine at dusk | Heat stress or dry soil | Water deeply in the morning; add mulch |
| Yellow lower leaves | Normal aging or low nitrogen | Check new growth color; side-dress compost |
| Holes in leaves | Slugs, caterpillars, or beetles | Inspect at dusk; hand-pick or use iron phosphate bait |
| Blossom-end rot on tomatoes/peppers | Inconsistent moisture and calcium uptake | Keep watering steady; avoid over-fertilizing |
| Flowers drop without fruit | Poor pollination or extreme heat | Attract pollinators; hand-pollinate in the morning |
| Leggy seedlings | Not enough light | Move to a sunnier spot; start more seeds |
Avoid "spray first" habits. Broad-spectrum insecticides kill pollinators and beneficial predators that naturally keep pests in check. Instead, identify the specific pest, then choose the least disruptive control.
Example: if zucchini flowers drop without fruit, check the plants early morning. If bees are scarce, hand-pollinate by brushing a male flower's center against a female flower's center. One or two mornings of this often sets enough fruit for weeks of harvest.
Harvest for Continuous Yield
Harvesting is production management, not just picking. Many crops produce more when you harvest often and on time. Leaving mature fruit on the plant signals it to slow down or stop producing.
Pick in the cool morning for better flavor and shelf life. Use clean snips for herbs and thick stems to avoid tearing plants. Handle produce gently; bruised vegetables spoil faster.
- Cut-and-come-again: lettuce, kale, and chard — take outer leaves and leave the center growing.
- Frequent picking: beans, cucumbers, and zucchini — missed fruit turns plants "off" and produces oversized, seedy vegetables.
- Pinch to branch: basil and other herbs — cut above a node to encourage two new stems.
- Root crops: harvest at the size listed on the packet; oversized radishes and carrots turn woody.
Keep a small harvest log with the date, crop, and notes. It quickly reveals what is thriving and what needs succession planting next season. Harvest cucumbers every 1–2 days once they start, then re-mulch and water deeply. You will extend production weeks longer than occasional picking.
Next Steps: Build a Weekly Garden Rhythm
Now you are ready to turn a working garden into a reliable routine. The real win with how to build a vegetable garden is consistency, not perfection. Set one simple checkpoint each week so small issues get handled before they cost you yield.
Use this quick weekly rhythm:
- Walk the beds and note changes: new holes, yellowing leaves, wilting, or unexpected growth.
- Log results in a notebook: what you picked, what struggled, what thrived.
- Plan the next 7 days with one task only: thin, tie, replant, or clean edges.
Real-world example: if your tomatoes produced well but your lettuce bolted fast, write it down and schedule a second lettuce sowing in a shadier spot next round. Garden notes are your best teacher — patterns show up clearly when they are written down.
Your next step is simple: choose a weekly 15-minute garden walk, put it on your calendar, and make it non-negotiable. Even that single habit will put you ahead of most first-year gardeners.
Frequently Asked Questions
What are the easiest vegetables for a beginner to grow?
Leaf lettuce, radishes, bush beans, zucchini, and cherry tomatoes are the most forgiving for new gardeners. They germinate reliably, grow quickly, and tolerate minor mistakes with water or spacing. Herbs like basil and chives are also excellent beginner crops because they need little care and can be harvested repeatedly.
How much sunlight does a vegetable garden need?
Most fruiting vegetables need 6–8 hours of direct sun daily. Leafy greens and root vegetables can manage with 4–5 hours, especially if the shade falls in the hot afternoon. If your only sunny spot is a patio, containers may be your best option.
Should I start seeds indoors or buy transplants?
For beginners, buy transplants for slow-growing warm-season crops like tomatoes and peppers. Direct-sow fast crops like lettuce, radishes, beans, and squash. Starting seeds indoors requires lights, timing, and hardening off, which adds complexity. Start with transplants and add seed starting once the basics feel comfortable.
How often should I water my vegetable garden?
Water deeply once or twice a week rather than lightly every day. The goal is moist soil 6–8 inches down, which encourages deep roots. In hot weather or sandy soil, you may need to water every 2–3 days. Containers dry out faster and often need daily water in summer.
How long does it take to build a vegetable garden?
A simple 4-by-8-foot raised bed can be built, filled, and planted in a weekend if you buy soil and transplants. Allow a few hours for site prep, bed assembly, and planting. The ongoing time commitment is smaller: about 15–30 minutes a few times a week for watering, weeding, and harvesting.
Do I need to rotate crops every year?
Rotation is valuable but not urgent for a first garden. It prevents soil-borne diseases and nutrient depletion over time. As a beginner, focus on building healthy soil with compost and keeping a harvest log. Plan rotations after your first full season once you know what grows well.
Conclusion
Building a vegetable garden is not about doing everything at once — it is about getting the fundamentals right in order: know your frost dates, choose a sunny spot with good drainage, prepare loose fertile soil, plant at the right spacing and depth, then keep water and mulch consistent. Master those steps and even a small garden will produce steady, satisfying harvests.
Your next step is concrete: pick one spot this week, run the drainage test, and sketch a simple bed plan. If you want to keep improving, start a compost pile with kitchen scraps and yard waste now so you have free, healthy soil food ready for the next planting. The best garden is the one you actually build — and the best time to start that first bed is before the next frost date slips past.