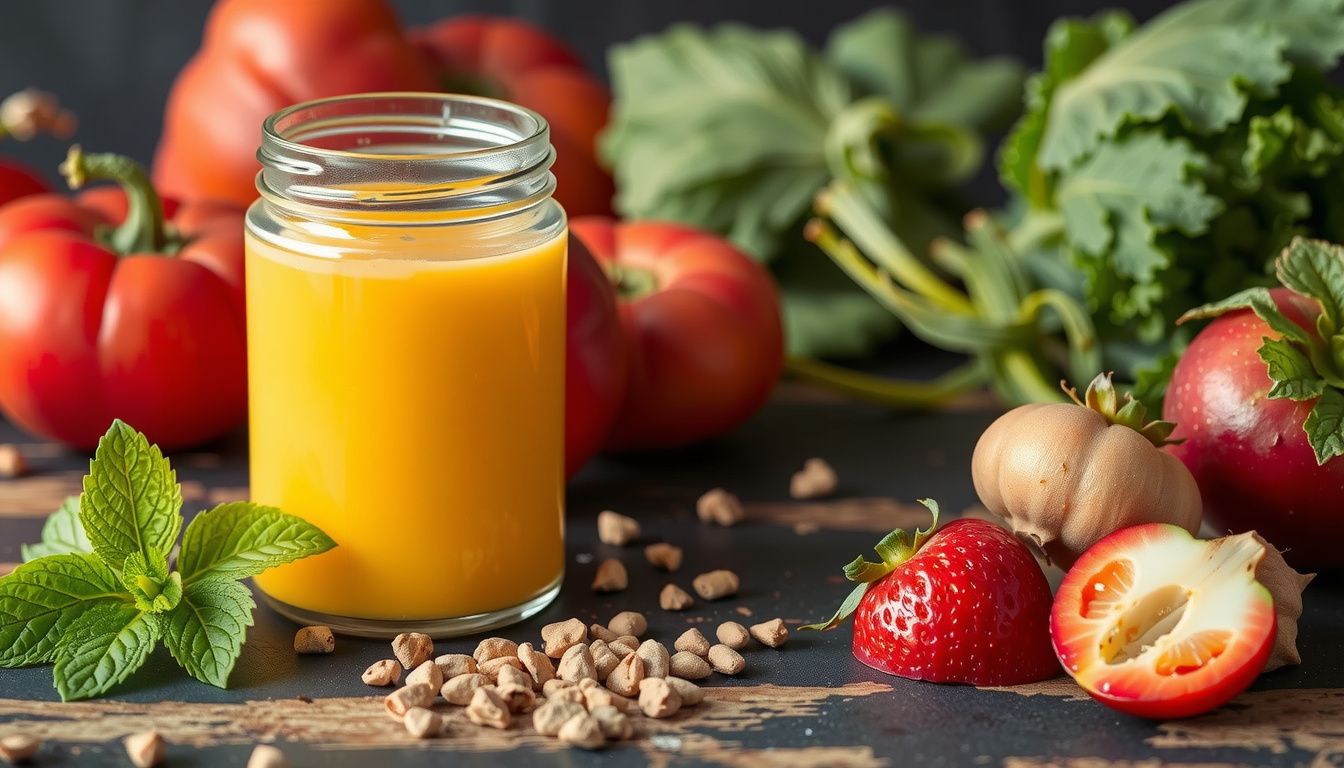
Fish Emulsion Fertilizer: How to Make It at Home for Thriving Garden Growth
Fish emulsion fertilizer is one of the most effective organic liquid feeds you can make at home. It delivers a fast-acting dose of nitrogen and trace minerals that leafy greens, lawns, and heavy-feeding vegetables love. Best of all, you can produce it from kitchen scraps and fishing leftovers that would otherwise go to waste.
This guide covers the full process of making fish emulsion fertilizer for garden use. You’ll learn how to select safe fish inputs, control fermentation, reduce odor, strain the finished liquid, and dilute it correctly for different plants. You’ll also get practical safety tips and troubleshooting advice that many tutorials skip. For more on this, see our guide on how to make a garden step by step.
In practice, a home gardener working with leftover fish frames and a simple sugar-based fermentation can produce a stable, nutrient-rich concentrate in three to four weeks. Used correctly, it becomes a low-cost alternative to commercial fish fertilizers.
What Is Fish Emulsion and Why It Works
Fish emulsion is a liquid fertilizer created by breaking down fish scraps through fermentation. The result is a concentrated, nutrient-dense liquid that plants absorb quickly through their roots. Most homemade versions are higher in nitrogen, with moderate phosphorus and smaller amounts of potassium. For more on this, see our guide on air stone for fish tank how to use.
Nitrogen drives leafy, green growth. That makes fish emulsion especially useful for lettuce, spinach, kale, lawns, corn, and any seedling that has stalled. It also helps plants recover after transplant shock or heavy rain leaches nutrients from the soil.
Use it for:
- Leafy greens and herbs that need a quick nitrogen boost
- Lawns showing pale or patchy growth
- Brassicas, corn, and other fast-growing crops
- Seedlings and transplants recovering from stress
Apply cautiously to:
- Tomatoes and peppers once flowering begins—too much nitrogen can delay fruiting
- Drought-stressed plants, where roots may not take up nutrients efficiently
A common mistake is treating fish emulsion as an all-purpose bloom booster. For flowering and fruiting stages, pair it with a fertilizer higher in phosphorus and potassium. For general garden maintenance, consistent mild applications work better than occasional heavy doses. For more on this, see our guide on how deep to make raised garden beds.
Prepare Before You Start: Materials, Location, and Safety
Fish fermentation smells, attracts pests, and can stain clothing and surfaces. Setting up correctly from the start prevents most problems. Choose a contained, washable workspace and decide where the bucket will sit for several weeks before you begin.
Gather these materials:
- Fresh fish scraps: heads, frames, skin, or trimmings
- Unsulfured molasses or brown sugar: feeds the fermenting microbes
- Food-grade 5-gallon bucket with a tight-sealing lid
- Stirring stick, measuring cup, funnel, and fine mesh strainer or cheesecloth
- Nitrile gloves and eye protection
Place the container outdoors, in shade, and away from doors, windows, HVAC intakes, and property lines. Setting the bucket inside a lidded plastic tote adds a second barrier against leaks and curious animals. A shaded spot with steady warmth speeds fermentation without overheating.
Pro tip: label the bucket with the start date, fish type, and sugar ratio. This simple step helps you track batches and avoid mixing up finished and unfinished ferments.
Choose the Right Fish Inputs and Ratio
Selecting the right fish material makes a noticeable difference in odor and final quality. The best inputs are fresh, non-oily fish scraps because they break down predictably and produce less aggressive smells. Heads, frames, skin, and guts all work well.
Avoid fish that is spoiled, heavily salted, or cooked in oils. Those inputs can stall fermentation or trigger rancid, sharp odors. If you’re using whole small fish, chop them into 1–2 inch pieces first. This speeds extraction and reduces floating mats that mold.
Good fish inputs include:
- Whitefish scraps such as cod, tilapia, or pollock
- Freshwater panfish remains like bluegill or crappie
- Shellfish trimmings in small amounts, such as shrimp shells
For the ratio, a reliable baseline is 1:1 by weight of fish to sugar. Sugar draws moisture out of the fish, feeds the microbes, and preserves the batch while it liquefies. If your scraps are extra wet—lots of guts or thawed material—increase the sugar slightly to about 1:1.2.
For example, 5 pounds of chopped fish frames pairs with 5 pounds of brown sugar. If the fish is dripping wet, use 6 pounds. Measuring by weight is more consistent than measuring by volume.
Build the Fermentation Batch in a Sealed Container
Now assemble the batch so fermentation stays anaerobic and controlled. Start with a thin layer of sugar on the bottom of the bucket. Add fish, then cover it completely with sugar. Repeat the layering until the container is 70–80% full.
Follow this build sequence:
- Add a half-inch sugar cushion to the bottom.
- Layer fish, then fully cover with sugar each round.
- Press down firmly to compact materials and release air pockets.
- Finish with a thick sugar cap at least one inch deep.
Seal the lid and label the bucket with the date and ratio. During the first week, “burp” the container once daily to release gas pressure. Open it only briefly—under ten seconds—then reseal tightly. As fermentation slows, you can burp less often.
Pro tip: place a clean weight, like a zip-top bag filled with sugar, on top of the fish to keep solids submerged. Exposed fish above the sugar line is where mold starts and odors spike.
Ferment and Monitor the Mix Until It Stabilizes
Fermentation needs time and light oversight. Keep the bucket sealed in a shaded spot with steady warmth. A garage or shed at typical room temperature works well in most climates. If the container swells, burp it briefly and reseal quickly to limit oxygen exposure.
You’ll notice a predictable pattern. Early bubbling is strong for the first 7–10 days. The odor peaks during this phase, then calms down. By week three, bubbling slows and the mix looks more uniform, with fewer floating chunks.
Weekly, swirl the container gently to re-wet solids stuck above the liquid line. Avoid aggressive shaking, which introduces oxygen and can stall the anaerobic microbes. A thin layer of harmless foam may appear. Thick, fuzzy growth suggests contamination and should be removed.
Pro tip: a sour, fermented smell is normal. A sharp rotten-meat smell often means too much oxygen or heat. Trust your nose but don’t chase a completely odor-free process—that’s not realistic with fish.
 Layering fish scraps with sugar in a bucket limits oxygen exposure and controls odor.
A common mistake is opening the bucket daily “to check.” That slows fermentation and invites flies. Weekly monitoring is enough after the first active week.
Strain, Store, and Label the Finished Fish Emulsion
Once fermentation has settled, separate the liquid from the remaining solids. Set up a clean bucket with a funnel or colander lined with fine mesh or several layers of cheesecloth. Pour slowly and let gravity do the work. Squeeze gently—over-squeezing pushes fine sludge through and creates clogs later.
Follow these steps:
- Strain into a dedicated container never used for food.
- Re-strain through finer mesh if you plan to use a hose-end or pump sprayer.
- Compost the strained solids or bury them deeply to avoid pests.
Store the finished emulsion in dark, airtight jugs with minimal headspace. Keep them cool. A refrigerator is ideal, but a cool basement works. Heat shortens potency and increases odor. Label every container with the batch date, fish type, and dilution reminder.
 Dark bottles and minimal headspace help preserve potency and reduce odor in storage.
Pro tip: if sediment settles, shake before use, then strain again if applying through a sprayer. Thin milk jugs collapse and leak—use sturdy bottles instead.
Dilute and Apply Fish Emulsion Correctly
Correct dilution is the difference between healthy growth and burned, weak plants. The concentrate is potent, so always start mild and adjust based on plant response. Apply to moist soil, not dry media, and avoid foliage during intense sun.
Use these practical dilution targets, finished emulsion to water:
- Seedlings and transplants: 1 part emulsion to 200 parts water
- Leafy greens and herbs: 1:100 every 7–10 days
- Heavy feeders like tomatoes, peppers, and squash: 1:50 every 7–14 days
- Houseplants: 1:150 monthly
- Lawns: 1:100 applied as a soil drench during active growth
In real-world use, a gardener notices pale lower leaves on container tomatoes. They water first, then drench with a 1:50 mix at dusk, repeating in ten days. The expected outcome is deeper green new growth and stronger flowering within two to three weeks.
A common mistake is double-dosing to “make up” for missed applications. That leads to soft, pest-prone growth. Likewise, foliar spraying in heat can scorch leaves, and applying right before heavy rain wastes the fertilizer.
Troubleshooting Common Fish Emulsion Problems
Even careful batches can develop issues. Here’s how to diagnose and fix the most frequent problems.
- Sharp rotten smell: Too much oxygen or heat. Reduce opening frequency and move the bucket to a cooler, shaded spot.
- Thick fuzzy mold on top: Exposed solids above the liquid line. Remove the mold, add more sugar, and keep fish submerged.
- No bubbling after several days: Fermentation stalled, often from cold temperatures or too little sugar. Move to a warmer area and add a small amount of molasses.
- Clogged sprayer: Fine particles passed through the strainer. Re-strain through multiple layers of cheesecloth.
- Leaf scorch after feeding: Concentration too strong or applied to dry soil. Water first, dilute further, and apply in the evening.
If a batch smells truly foul and shows signs of rot rather than fermentation, do not use it. Compost it deeply and start fresh with better inputs.
How Fish Emulsion Compares to Other Organic Fertilizers
Fish emulsion fills a specific role. It works fast because the nutrients are already in liquid form. That makes it ideal for quick green-up and recovery feeding. In contrast, solid amendments like compost or aged manure release nutrients slowly over weeks and months.
Compost builds soil structure and microbial life over time. Fish emulsion feeds plants directly. Many gardeners use both: compost as a soil foundation and fish emulsion as a targeted liquid feed during active growth.
For example, you can compost chicken manure for long-term soil fertility while using fish emulsion for immediate nitrogen needs. Similarly, vegetable waste composted properly creates an excellent base layer before planting.
Fish emulsion is also gentler than many synthetic fertilizers. The nutrient concentration is lower, so the risk of salt buildup is reduced. However, it requires more frequent application because it doesn’t persist in the soil as long.
Storage and Shelf Life: How Long Does It Last?
Properly stored fish emulsion can last several months. Keep it cool, dark, and sealed to preserve potency and reduce odor. Expect some sediment to settle—that’s normal. Shake before each use.
Signs a batch has gone bad include a sharp putrid smell, visible mold growth, or a slimy texture that won’t mix. When in doubt, discard it. The cost of a failed batch is far lower than the cost of damaged plants.
For best results, make smaller batches you can use within one growing season. A 5-gallon bucket of concentrate is often more than a small garden needs. Half-batches reduce waste and keep storage manageable.
Frequently Asked Questions
Can I use any type of fish to make emulsion?
Yes, but fresh, non-oily whitefish scraps work best. Avoid spoiled, heavily salted, or oil-cooked fish, which can stall fermentation or create rancid odors. Small amounts of shellfish trimmings are fine.
How long does homemade fish emulsion take to make?
Most batches stabilize in three to four weeks. Expect heavy bubbling in the first week, a stronger odor phase, then a calmer finish. Warmer temperatures speed the process; cooler conditions slow it.
Does fish emulsion smell bad?
It has a distinct sour, fermented odor during and after production. The smell should not be sharp or rotten. Proper sugar ratios, sealed fermentation, and cool storage keep odor manageable.
Can I spray fish emulsion on plant leaves?
Foliar feeding is possible but risky. Apply very diluted, in early morning or evening, and never during hot sun. Soil drenching is generally safer and more effective for most plants.
Is fish emulsion safe for vegetables?
Yes, when made from clean fish scraps and diluted correctly. Apply to the soil, avoid harvesting immediately after foliar sprays, and wash produce as usual. The U.S. Environmental Protection Agency provides guidance on safe fertilizer use.
Will fish emulsion attract pests to my garden?
The liquid itself can attract flies and animals if spilled or stored improperly. Once diluted and worked into the soil, the risk drops significantly. Bury solids deeply or compost them to avoid attracting raccoons and rodents.
Conclusion
Making fish emulsion fertilizer for garden use is a practical way to turn fish scraps into a nitrogen-rich liquid feed. The process comes down to consistent handling: choose fresh non-oily inputs, maintain a proper sugar ratio, ferment anaerobically, strain carefully, and dilute before applying.
Start with one small batch and a single garden bed. Observe how your plants respond over two weeks, then adjust your dilution and schedule. When you’re ready to expand, fish emulsion pairs beautifully with solid amendments like compost for long-term soil health. Your garden gets faster green-up today, and your soil keeps improving season after season.

One Comment