How to Plan a Family Friendly Garden Step-by-Step Layout
Most people assume how to plan a family friendly garden just means adding a swing set and planting a few bright flowers. That mistake creates yards that look nice but don’t work: prickly plants near play zones, slippery paths, and “no-touch” beds that frustrate kids.
The real answer is to design for safety, access, and shared use first, then choose plants and features that support those goals. Think in zones, plan clear sightlines from the house, and build in small “yes spaces” where children can explore without constant policing.
Start with a simple checklist that keeps decisions practical:
- Safe circulation: wide, non-slip paths and no hidden drop-offs
- Kid-proof planting: non-toxic picks, soft textures, and sturdy borders
- Flexible activity areas: room for play, eating, and quiet time
- Low-maintenance routines: easy watering, mulch, and storage
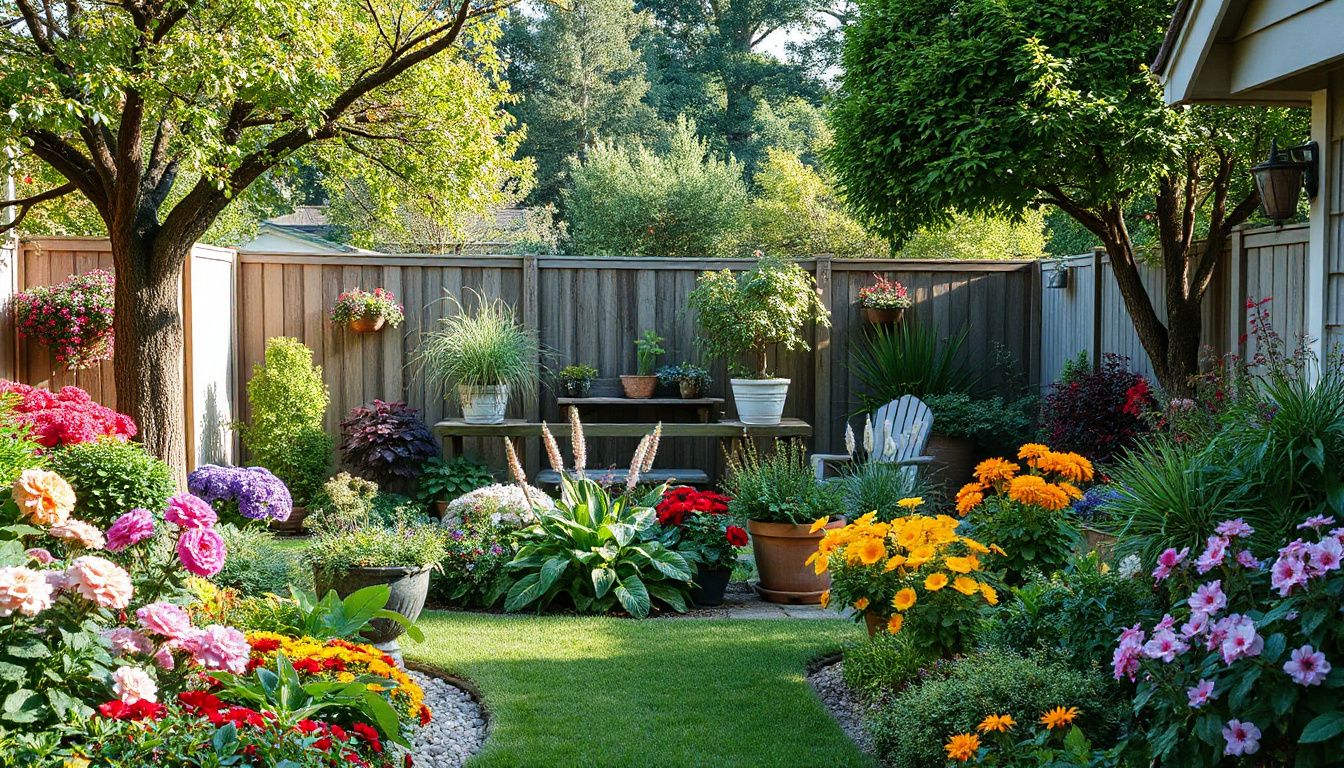
Example: a 6×3 m backyard can fit a loop path, a raised herb bed at adult height, and a “dig patch” with sand/soil mix—so kids can garden daily while adults cook with fresh basil, without trampling the main beds.
Assess Your Space and Set Family Goals (Before You Start)
Now, before you buy plants or sketch paths, you need a clear read on what you’re working with and who the garden must serve. This is the “make it fit real life” stage. A family-friendly garden fails when it’s designed for an ideal weekend, not a normal Tuesday.
Start with a quick site check at different times of day. Notice sun patterns, wind funnels, soggy patches, and where people already walk. Photograph the space morning and late afternoon so you can compare shade lines without guessing.
Measure the basics and write them down. Don’t rely on “about 10 steps across.” Capture:
- Usable dimensions (subtract sheds, bins, and tight side passages)
- Sun exposure (full sun, part shade, deep shade by zone)
- Soil and drainage (compaction, puddling, slopes)
- Existing hazards (ponds, thorny shrubs, unstable edging)
- Utilities (water tap, outdoor power, basement vents)
Then set family goals as a short, ranked list. Keep it specific and time-based: “15 minutes of low-maintenance care on weekdays” is a goal; “easy garden” isn’t. Align goals with ages, abilities, and supervision realities.
Use a simple priority framework to prevent scope creep:
- Must-haves (safety, clear sightlines, secure boundaries)
- Nice-to-haves (raised beds, hammock, wildlife features)
- Not now (anything that adds maintenance or risk)
Practical example: a family with a toddler and a grandparent measured 7m x 9m of usable lawn, found afternoon shade from a neighbor’s tree, and chose three must-haves—flat path for a walker, a small dig zone, and a shaded seating spot. That decision shaped every later choice in how to plan a family friendly garden.

Design a Safe, Accessible Layout with Clear Zones
Look, a family garden works best when it’s zoned like a small park: each area has a job, and the transitions are obvious. Zoning reduces accidents, protects plants, and makes the space easier to supervise. It also stops “play” from spilling into fragile borders.
Begin with circulation. Map the most common routes: back door to bins, patio to shed, gate to clothesline. Turn those desire lines into safe paths first, then design the rest around them.
For accessibility and comfort, aim for these practical layout rules:
- Paths: 1.0–1.2m wide for passing and pushchairs; firm, non-slip surface
- Turning space: allow wider nodes near doors and seating for easy maneuvering
- Edges: avoid sharp metal borders; choose flush edging to reduce trip risk
- Sightlines: keep taller planting where it won’t block views of play zones
Now define clear zones with simple cues—material changes, low hedging, or a slight grade shift. A typical family-friendly layout includes:
- Active zone (play, digging, ball games) on the flattest ground
- Quiet zone (seating, reading, outdoor meals) with shade and wind shelter
- Growing zone (beds, pots, herbs) near water access for quick care
- Service zone (bins, compost, storage) screened but easy to reach
Pro tip: place the quiet zone where you can see the active zone without turning your head constantly. Common mistake: putting the play area behind dense shrubs “to hide clutter,” which reduces supervision and invites damage to planting.
Practical example: on a narrow 5m-wide yard, a straight 1.1m path ran along the house to a back shed, with a 2m-wide play strip on the sunnier side and raised planters on the shadier side. The family used mulch under play equipment and kept thorny plants only in the front garden, away from kids’ routes.
Choose Family-Safe Plants and Materials for Year-Round Use
Now that your zones and circulation paths are set, it’s time to choose plants and materials that won’t create avoidable hazards. Think “touchable,” “non-toxic,” and “low-splinter,” then layer in season-long interest so the garden stays inviting in every month.
Start with plant safety. If toddlers, pets, or visiting kids might nibble leaves or berries, avoid known toxic ornamentals and anything with tempting fruit. Prioritize plants that tolerate handling and recover quickly from the occasional snapped stem.
- Skip high-risk picks: foxglove, oleander, yew, castor bean, lily-of-the-valley, and plants with irritating sap (many euphorbias).
- Choose resilient, kid-friendly options: sunflowers, nasturtiums, calendula, lavender, rosemary, strawberries (in a protected bed), and clumping grasses without sharp edges.
- Reduce stings and scratches: keep roses, barberry, and spiky yuccas out of play routes; place them behind low barriers if you love them.
Next, select materials built for bare feet and messy play. For paths, compacted decomposed granite, smooth pavers, or brushed concrete are easier to sweep than loose gravel. For mulch, choose untreated wood chips or certified playground mulch, and avoid cocoa mulch if pets are around.
Wood needs scrutiny. Use rot-resistant cedar or heat-treated wood; avoid older pressure-treated lumber for edible beds. For finishes, pick low-VOC exterior stains and let everything cure fully before kids use the space.

Practical example: A family with a 4-year-old and a dog replaced thorny shrubs along the main path with lavender and dwarf blueberries in a fenced bed. They swapped pea gravel for decomposed granite, then added a small herb planter at hand height—safe scents, fewer falls, and year-round interest.
Pro tip: label new plants and keep a quick list of what you’ve planted. If a child ever tastes something questionable, that list speeds up advice from poison control.
Build, Maintain, and Adapt the Garden for Growing Needs
Look, the best family gardens aren’t “finished.” They’re built to handle change—kids grow, interests shift, and maintenance time expands or disappears depending on the season of life.
Begin construction with the highest-impact, lowest-regret items: edging, paths, and irrigation. Install drip lines or soaker hoses before planting heavily; it’s cleaner and prevents later digging around roots. Keep hose bibs accessible and store tools in a locked, dry spot.
- Build in phases: hardscape first, then beds, then plants, then extras (trellis, seating, play features).
- Plant for easy care: group plants by water needs, and keep thirsty crops close to the tap.
- Plan maintenance routines: weekly 15-minute checks beat monthly “catch-up” days.
Maintenance should be simple enough for a busy week. Use a short checklist: check for trip hazards, remove fallen fruit, scan for pests, and top up mulch. Teach kids one task each—watering containers, picking herbs, or sweeping paths—so the garden stays shared, not “another chore.”
Adaptation is where long-term success lives. Leave space for bigger bodies and new hobbies: widen a pinch-point path, convert a sandbox zone into a raised bed, or swap a toddler digging patch for a teen-friendly hammock corner. Choose modular elements—movable planters, bolt-on trellises, and lightweight seating—so the layout evolves without demolition.
Practical example: One household started with two 4×8 raised beds and a small chalkboard fence panel. Two years later, they added a third bed for “pizza toppings” (basil, tomatoes, peppers), replaced the chalkboard with a vertical strawberry tower, and shifted the compost bin farther from the patio as the kids began hosting friends.
Common mistake: overplanting in year one. Leave breathing room. It’s easier to add plants than to rescue crowded ones.
What to Do Now
Now you’re ready to turn the plan into a routine your family can actually stick with. The fastest way to keep momentum is to set a simple schedule, assign roles, and buy only what you’ll install this week. Keep your notes in one place so decisions stay consistent as the garden evolves.
Use this quick checklist to finish how to plan a family friendly garden without overcomplicating it:
- Pick a start date and block 2–3 short work sessions on the calendar.
- Create a shopping list tied to your first build tasks (not “nice-to-haves”).
- Assign responsibilities by age: watering, sweeping paths, checking gates, harvesting.
- Set a monthly review to adjust zones, storage, and routines as kids grow.
Example: A busy family starts with one weekend to install edging and a small herb bed, then uses a 10-minute nightly “garden reset” to keep tools stored and paths clear. Choose your first small project today, then schedule the next two sessions before you buy anything.


2 Comments