How to Stay Cool While Camping: Step-by-Step Setup
Wondering how to stay cool while camping when the tent feels like an oven by 9 a.m.? They can stay comfortable by combining smart campsite selection, airflow, sun management, hydration, and heat-safe routines—without hauling expensive gear.
This guide lays out practical steps for reducing heat load during the day and sleeping cooler at night. It covers what to pack, how to position a tent for shade and breeze, and how to use simple cooling tactics that work in dry heat and humidity.
Readers will learn how to:
- Pick the right site (shade, elevation, wind direction, and ground cover)
- Set up for airflow (venting, rainfly strategy, and reflective shade)
- Manage body heat (hydration, electrolytes, clothing, and timing)
- Sleep cooler (sleep system choices and nighttime cooling habits)
Example: at a mid-summer lakeside campground, they can pitch the tent under morning shade, face the door into the prevailing breeze, and hang a tarp 12–18 inches above the rainfly to create an air gap. A damp bandana on the neck and a liter of water with electrolytes can make the afternoon hike safer and noticeably more comfortable.
Assess Heat Risks and Set a Cooling Goal
Now they’ll get more strategic: heat management starts with a quick risk check and a clear target. A camper who knows their limits makes better decisions before the day gets punishing.
First, they should scan the forecast for heat index, not just temperature. Humidity, wind, and overnight lows determine whether the body can recover. If nighttime stays above 75°F, they should plan for aggressive cooling and earlier wake times.
Next, they’ll assess exposure at the site. Direct sun, reflective sand or rock, and still air can make a “90°F day” feel far worse. They should also factor personal risk: kids, older adults, pregnancy, certain meds, and prior heat illness raise the stakes.
They can set a simple cooling goal that’s measurable and realistic. Examples include keeping their resting heart rate normal, maintaining clear urine, or limiting mid-day activity to 15-minute blocks.
- Environmental goal: create shade that covers the tent and seating area by 10 a.m.
- Hydration goal: drink 16–24 oz per hour in peak heat, with electrolytes.
- Behavior goal: stop strenuous hiking when heat index hits 95°F.
Practical example: a pair camping in Moab sees a 102°F high and 78°F low. They set a rule to finish hikes by 9 a.m., run a shaded “cool zone” at camp, and take 10-minute water-dousing breaks every hour.
Before You Start: Pack a Hot-Weather Cooling Kit
Look, the fastest wins come from packing with intent. A hot-weather kit reduces improvising when sweat, sun, and fatigue start stacking up.
They should build the kit around three needs: shade, airflow, and rapid skin cooling. The best items are lightweight, multipurpose, and easy to access without unpacking the whole car.
- Shade: tarp or reflective sunshade, extra guylines, sturdy stakes, and a small repair tape roll.
- Airflow: battery fan(s), spare batteries or power bank, and a breathable camp chair or mesh lounger.
- Rapid cooling: cooling towel, spray bottle, bandana for neck-wetting, and a small basin for foot soaks.
- Hydration support: 2–4L water capacity per person, electrolyte packets, and an insulated bottle.
- Sun protection: wide-brim hat, UPF shirt, and broad-spectrum sunscreen.
Pro tip: they should pack these items in a single “heat bag” that stays on top. Common mistake: bringing only water and sunscreen, then realizing there’s no shade hardware or fan power when wind dies.

Practical example: a family heading to a lake packs one tarp, two fans, and electrolyte packets in a tote. At noon, they rig shade in five minutes and rotate kids through towel-and-spray cool-downs every 30 minutes.
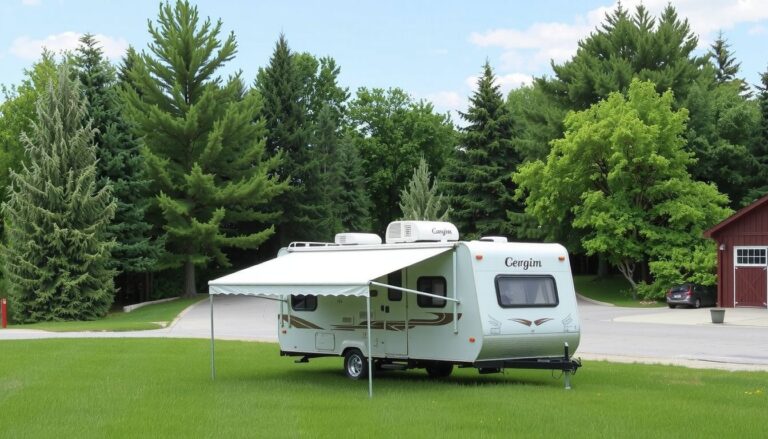
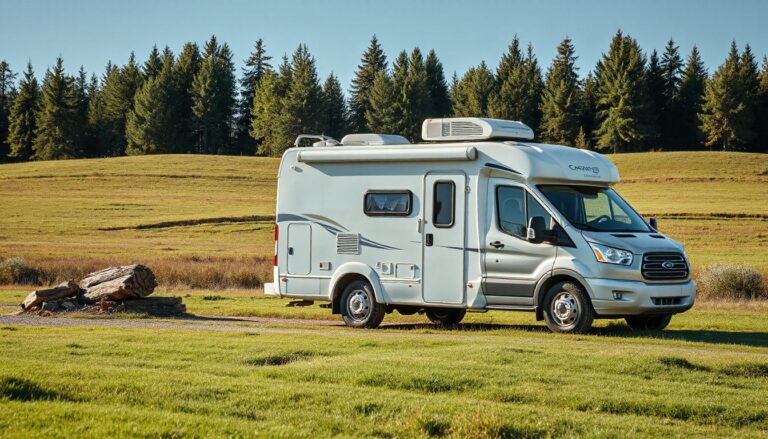
Choose a Cooler Campsite and Pitch for Shade
Now they’ll start winning the heat battle before the tent even goes up. Site choice and orientation can drop perceived heat fast, often more than any gadget. The goal is simple: shade early, shade long.
They should first scan the area for natural shade that lasts past mid-morning. A tall tree line to the east helps most because it blocks the first blast of sun that turns tents into ovens. They should avoid pitching under dead branches or leaning trees.
Next, they’ll use terrain like a tool. Slightly higher ground catches more breeze, while low basins trap warm air and humidity. If the campground is near water, they should be cautious: lakes can raise nighttime humidity and make sleep feel hotter.
- Pick durable shade: dense canopy, rock outcrops, or a pavilion edge if rules allow.
- Face the door away from sunrise: reduce direct morning solar gain.
- Keep distance from heat sources: grills, fire rings, and sun-baked asphalt radiate heat.
- Check ground cover: grass stays cooler than bare dirt or sand.
Pro tip: if shade is limited, they can hang a reflective tarp as a “roof” with an air gap above the tent. Common mistake: draping a tarp directly on the rainfly; it blocks airflow and can trap heat.
Example: at a state park loop with scattered trees, they choose a pad with morning shade from pines, point the door northwest, and set a high tarp 12 inches above the tent. By 9 a.m., the interior stays noticeably cooler than neighboring sites in full sun.
Build Airflow: Vent the Tent and Add Wind-Friendly Layouts
Once the spot is set, they’ll treat airflow like a system. Hot air has to escape, and cooler air needs a clear path in. Small layout changes can create steady cross-ventilation.
They should start with the tent itself. Rainfly vents should be propped open, and doors or mesh panels should be unzipped as conditions allow. If bugs are heavy, they can rely on mesh while keeping solid fabric minimized.
- Align to prevailing wind: place the tent so wind hits a mesh panel, not a solid wall.
- Create a “high-low” vent path: open low vents for intake and high vents for exhaust.
- Use a vestibule smartly: keep it cracked open, not sealed tight.
- Add a fan: aim it across the sleeping area, not straight down.
They’ll also manage the “wind shadow” around camp. Coolers, vehicles, and privacy screens can block breeze and turn a site stagnant. Spacing gear away from the tent preserves airflow and reduces radiant heat buildup.
- Keep the tent 6–10 feet from cars or large walls of gear.
- Place chairs and kitchen downwind so they don’t block intake airflow.
- Dry wet items away from the tent to avoid humidifying the sleeping zone.
Pro tip: on still nights, they can run a fan at the door to pull cooler air in, then crack a high vent to exhaust heat. Common mistake: sealing the rainfly completely “just in case,” which often makes the tent hotter than outside air.
Use Water and Evaporation to Cool Skin and Core Temperature
Once shade and airflow are handled, they can pull the biggest lever left: evaporative cooling. When water evaporates off skin or fabric, it carries heat away and can drop perceived temperature fast. It works best in dry air and with any breeze.
They should start with skin-level cooling that doesn’t waste water. A quick rinse of forearms, neck, and behind the knees helps because those areas sit close to major blood vessels. Then they can sit in moving air and let evaporation do the work.

- Wet bandana method: Soak a bandana, wring it out, and wear it on the neck; re-wet every 30–60 minutes.
- Evap towel: Drape a damp microfiber towel over shoulders; keep it damp, not dripping.
- Mist + fan combo: A light spray plus a handheld fan beats heavy soaking and reduces water use.
- Feet cooling: Dip feet in a shallow basin or stream edge for 2–5 minutes, then air-dry.
Pro tip: they should keep one bottle reserved for “cooling water” and store it out of sun. Common mistake: soaking clothes at midday in humid weather; it can feel clammy and trap heat if there’s no airflow.
Example: at a desert campground, they can wet a neck gaiter, sit under a tarp edge where wind funnels, and rotate the gaiter between two people while the other one dries on a line.
Eat, Drink, and Time Activities to Reduce Heat Load
Now they’ll manage heat from the inside. Food digestion, dehydration, and poorly timed movement all raise core temperature. A simple routine keeps energy steady without turning the body into a furnace.
They should drink early and consistently, not only when thirsty. For long, sweaty stretches, plain water isn’t enough; sodium losses can drive headaches and fatigue. They can pair water with salty snacks or a low-sugar electrolyte mix.
- Hydration cadence: small sips every 10–15 minutes during activity.
- Electrolytes: add sodium after heavy sweating or if urine stays dark.
- Cooling foods: fruit, yogurt, wraps, and chilled pasta salads over heavy fried meals.
- Caffeine/alcohol: limit in peak heat; both can worsen dehydration and sleep quality.
Timing matters. They should plan hiking, wood gathering, and camp breakdown for early morning or late evening, then protect midday for shade, water cooling, and low-effort tasks. Common mistake: pushing a “quick” noon hike that turns into heat stress when wind dies.
Example: on a 92°F day, they can hike from 6:30–9:30 a.m., eat a salty wrap and melon at 10, rest through 3 p.m., then cook after sunset when appetite and temperature rebound.
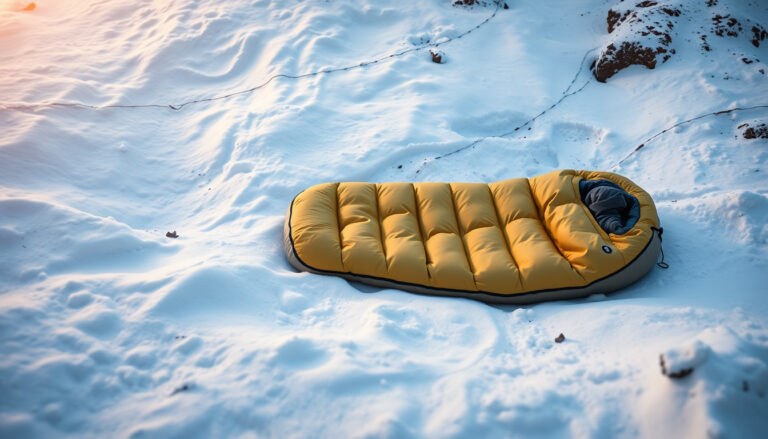
Sleep Cooler: Optimize Bedding, Clothing, and Night Venting
Now the focus shifts to sleep systems—how to stay cool while camping often comes down to what touches skin for 7–9 hours. A hot tent can be survivable at dusk, then miserable at 2 a.m. Small swaps in bedding, clothing, and venting cut heat buildup fast.
They should start with bedding choices that reduce insulation and trap less moisture. A thick sleeping bag can overheat even when the air feels “warm, not hot.” The goal is a setup that breathes and still manages sweat.
- Use a summer sleeping bag (or a bag unzipped as a quilt) instead of a 3-season bag.
- Choose a breathable pad: uninsulated or low-R pads feel cooler than high-R winter pads.
- Swap fabrics: cotton percale or lightweight linen sheets feel cooler than brushed polyester.
- Keep a small towel to wipe sweat so bedding stays drier and cooler.
Clothing matters because it controls sweat evaporation. They’ll sleep cooler in a loose, light-colored base layer that moves moisture, not in tight synthetics that cling. If bugs allow, sleeping without socks and with sleeves rolled up increases heat loss.
Night venting should be deliberate. They can open opposing vents/doors for crossflow, then use a headlamp to ensure mesh is fully exposed and rain flaps aren’t blocking airflow. A small battery fan aimed across—not at—the face improves evaporation without drying eyes.
Example: In a humid lakeside campground, they can unzip the bag fully, sleep on a low-R pad with a percale sheet, wear a loose merino tee, and crack two vents plus the door mesh. That combination usually drops perceived heat enough to stay asleep.
You’re Ready
Now they’ve got a complete, field-tested plan for how to stay cool while camping without overpacking or overthinking. The win comes from stacking small decisions that keep heat from building up, then reacting fast when conditions shift. Look, hot trips happen—what matters is having a repeatable routine they can run at any campsite.
A practical example: on a 90°F weekend, they can set a simple “heat check” every hour—quickly assess thirst, skin temperature, and energy—then adjust before discomfort turns into risk. That one habit prevents most heat problems.
- Do a midday reset: re-check shade, airflow, and hydration supplies.
- Watch early warning signs: headache, chills, nausea, or confusion.
- Commit to a cutoff: pause strenuous tasks when heat peaks.
Next step: they should pack their kit, pick a date, and run one “hot-day rehearsal” close to home to validate their setup before the next backcountry trip.
Related read: How to Sharpen an Axe With a Grinder Without Overheating