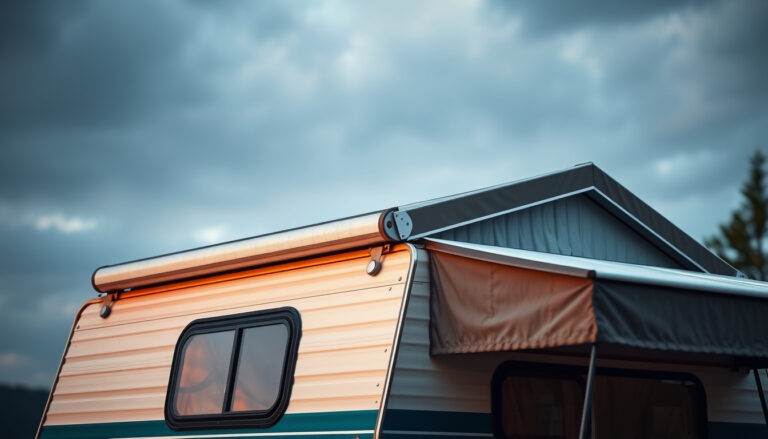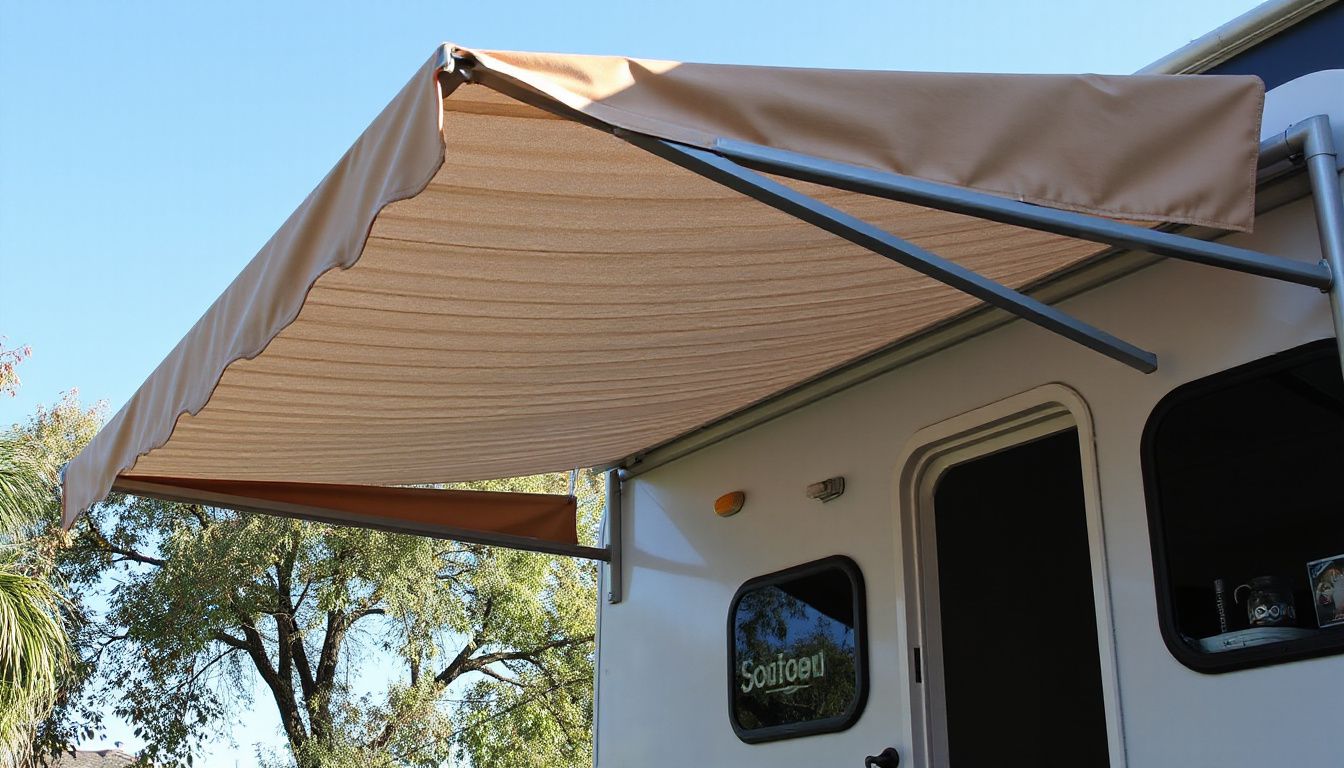
How to Replace RV Awning Fabric on Electric Awning Safely
Replacing the fabric on an electric RV awning ranks among the most intimidating DIY repairs for RV owners—and for good reason. You are working with a spring-loaded roller, overhead hardware, and a motor that can activate unexpectedly if you miss a power source. Get a step wrong, and a simple fabric swap becomes a bent arm, a stripped rail, or an urgent trip to the emergency room.
Yet here is the reality: this project is entirely doable in a driveway or campsite when you follow a disciplined sequence. The core process is straightforward—cut power, lock the roller, slide out the old vinyl, feed in the new material, and re-tension. The details separate a clean, professional-looking result from a wrinkled, crooked mess that flaps at highway speed. For more on this, see our guide on how to replace camper awning fabric.
This guide walks through the complete job with the precision of an experienced technician: exact measurements, tool staging, safe power isolation, proper removal technique, alignment tricks, tensioning, and post-install checks. You will also find common failure points most tutorials skip—the inline fuse nobody checks, the crushed roller track that jams new fabric, and the subtle tracking drift that ruins a fresh installation within weeks.
Confirm Your Awning Style and Measure Fabric Correctly
Before ordering anything, you must confirm the replacement fabric matches your specific electric awning hardware. Electric awnings vary significantly by brand—Dometic, Carefree, Lippert, Solera, and others use different roller tube diameters, end cap profiles, and polycord bead sizes. A "close enough" fabric purchased online is the fastest route to wrinkles, binding, and a valance that never hangs straight.
Start by identifying the awning brand and model. Look for the ID label on the roller tube itself, inside the front cover channel, or stamped on the awning arms. If the sticker has faded beyond reading, match by visual cues: arm shape, end cap geometry, and whether the fabric uses a standard 1/4-inch or 5/16-inch polycord bead. When ordering, specify vinyl or acrylic and confirm it is a direct replacement for your system—not a universal piece that "should fit most models."
Measure the Fabric Span, Not the Awning Size
This is where most first-timers go wrong. The "size" printed on the awning box refers to overall hardware width. The actual fabric requirement is almost always smaller by several inches because the arms and end caps consume space on both ends.
For most electric awnings, measure the fabric width from the centerline of one awning arm to the centerline of the other. On some systems, manufacturer guidance specifies measuring between inner end cap faces instead. Check your brand's spec sheet before marking anything.
Take these three measurements:
| Measurement | What It Determines |
|---|---|
| Fabric width (arm center to arm center, or end cap reference per spec) | The exact replacement fabric width to order |
| Projection (extension distance from coach wall to lead rail) | How far the awning rolls out and coverage size |
| Polycord bead diameter | Whether the fabric will slide correctly into both rail and roller channels |
A practical caution: an RV owner measures an "18-foot awning" and orders an 18-foot fabric. The correct fabric width turns out to be 17 feet 2 inches because the arms and end caps occupy the remaining span. The result is fabric that bunches at both ends and refuses to tension evenly. Measure the actual span—never rely on the marketing size.
Gather Tools, Parts, and Safety Gear Before You Climb
Fabric replacement flows smoothly when everything is staged before you touch a ladder. Electric awnings introduce one critical concern that manual units do not: stored spring energy and the possibility of unexpected motor movement if any power path remains live. Plan for control, stability, and clean handling of the new fabric.
Parts and Wear Items
- Replacement fabric — the correct width, projection, and polycord size confirmed in the previous section
- New polycord — only if your fabric does not have the bead sewn in
- Retention screws — stainless replacements in case the originals strip during removal
- Optional new valance — if the old one is faded, cracked, or brittle
Tools
- Cordless drill/driver with assorted bits
- Hand screwdriver (for delicate final tightening where a drill can over-torque)
- Hex key set (metric and SAE—be ready for either)
- Tape measure and a marker or painter's tape
- Utility knife with fresh blade
- Light silicone spray for channels
- Spring clamps or fabric clamps
- Clean drop cloth or moving blanket
Safety Gear
- Safety glasses — overhead work throws debris and old sealant chips
- Cut-resistant gloves — awning rail edges are sharp aluminum
- Stable ladder rated for your weight plus tools
- Wheel chocks and leveling blocks if the site is uneven
A common planning mistake is assuming you can do this solo. A helper is not a luxury here—it is practically mandatory. One person supports the lead rail and keeps fresh fabric off the ground while the other feeds the polycord. This prevents grit from scratching vinyl and stops acrylic fabric from snagging on concrete or gravel. Pro tip: label every removed fastener in a small parts tray and photograph both ends before disassembly. Reassembly becomes error-proof.
Power Down and Secure the Electric Awning Completely
Now that you have the right fabric and a staged work area, make the awning physically safe before touching any hardware. Electric awnings store energy in two places: the motor's electrical system and the spring-loaded roller tube. A rushed start can bend arms, pinch fingers, or send the roller spinning.
Isolate Every Power Source
Cut power at the source—not just at the wall switch. Turn off the coach battery disconnect, pull the awning's specific fuse or breaker, and if your RV has a solar controller feeding the house batteries, confirm the awning circuit is dead. Then test the wall switch to verify nothing moves.
Many rigs have an inline fuse near the awning control module, separate from the main panel. A technician once cut battery power on a 30-foot Class C but forgot that inline fuse. The switch still nudged the roller an inch—enough to shift the tube with hands in danger. Find and remove every power path before proceeding.
Position and Stabilize the Hardware
Extend the awning about 12 to 18 inches. This gives you access to the fabric without fully loading the springs or arms. If wind is present, wait. A light gust against an extended awning turns a stable job into a fight, and the roller can become a sail.
Then secure the hardware:
- Lock the arms — engage travel locks if equipped, or use strap clamps to prevent swing.
- Support the roller — place a step ladder at each end so the tube cannot drop if a bracket shifts unexpectedly.
- Stabilize the coach — set the parking brake and deploy stabilizers to reduce rocking while you work overhead.
Mark each end cap position with painter's tape and photograph the motor head wiring before removing anything. Re-pinching a wire during reassembly is a frustrating, avoidable failure.
Remove the Old Awning Fabric from Rail and Roller
With the awning immobilized, remove the old fabric methodically. The goal is to release the material from the coach-side rail and the roller tube without twisting the tube, tearing the rail channel, or losing small fasteners.
Work One Channel at a Time
Start at the awning rail mounted on the RV sidewall. Locate the fabric's polycord bead and find any stop screws at either end of the rail channel. Remove those screws and keep them separate from end cap hardware—mixing them up causes alignment issues later.
Move next to the roller tube channel. Most electric awnings use a second polycord track on the roller with one or two retaining screws. Remove those as well. Once all stop screws are out, the fabric should slide rather than rip.
Slide Out with Support
- Pull evenly — one person guides at the coach rail while another supports the roller end.
- Apply a light silicone spray to the track if the bead drags.
- Cover sharp bracket corners with painter's tape to prevent snagging.
If the fabric refuses to budge, inspect for hidden screws, old sealant buildup, or a kinked track. A plastic trim tool lifts stubborn sealant without gouging painted aluminum. In practice, fabric often jams halfway due to a crushed section of roller track near the motor head—gently opening the channel with a flat punch and re-lubricating usually solves it without replacing the roller.
Keep the old fabric rolled as it comes out to control debris, and note which side faced outward. Matching orientation on the new piece avoids a subtle but annoying mistake during installation.
Install and Align the New Fabric Without Twisting
This is where clean alignment prevents wrinkles, edge fray, and tracking drift for the life of the fabric. Work slowly and keep the material square to both the awning rail and the roller tube at every step.
Feed Both Channels Together
Confirm the fabric orientation first. Most replacements have a finished hem for the outer edge and a beaded polycord edge that slides into the rail and roller channels. If your fabric has a valance, the valance should hang toward the coach when installed.
Follow this sequence:
- Feed the polycord into the awning rail at the coach side. Leave rail stop screws out until final positioning.
- Slide the fabric a few feet, then start the second polycord into the roller channel. Engaging both early reduces twisting.
- Advance both channels together, alternating gentle pushes so the fabric stays centered and does not "walk" to one side.
- Set lateral position: equal overhang at both ends, or match the manufacturer's end-cap clearance if specified.
A light mist of silicone spray on the channel—not the fabric—helps if the bead drags. Resist the urge to pull hard on one side to "make it go." That stretches the bead and creates permanent waves that no amount of tensioning will fix.
If the driveway slopes, the roller wants to drift downhill during feeding. Have a helper brace the roller end while you work the bead, keeping the fabric square. A diagonal start shows up later as a crooked valance line that cannot be corrected without removing the fabric.
Re-install rail stop screws before moving on and confirm the fabric sits flat with no folds trapped in the channels.
 Feeding the new polycord bead evenly prevents wrinkles and tracking drift later.
Test Operation and Re-Tension the Roller
With the fabric seated, verify movement before locking everything down. This is the safest time to catch misalignment, binding, or a loose bead—before the awning is under full tension and before you have re-installed every cover.
Restore Power Carefully
Confirm hands, tools, and ladders are clear of the arms and roller before restoring power. Then run the awning in short bursts, watching both ends for even tracking.
- Extend 12–18 inches, stop, and check that the fabric rolls straight without drifting toward one arm.
- Extend halfway, inspect the top wrap for wrinkles, then retract and confirm it layers evenly.
- Fully extend and verify pitch and arm geometry look normal, with no fabric rubbing the end caps.
If the fabric walks to one side, correct it by slightly shifting the material in the rail, then retest. A common error is trying to "fix" tracking by forcing the arms or adding washers—tracking drift is almost always a fabric centering issue, not an arm geometry problem.
Re-Tension per Manufacturer Spec
Follow the awning manufacturer's method for setting spring pre-load. The technique varies by brand: some require counting turns on the roller's tension adjustment, others use a motor-side set procedure. Mark the roller with painter's tape before starting so you can count turns accurately. Never release the roller unexpectedly—keep controlled pressure at all times.
If the awning retracts but leaves a loose flap at the top, you likely need one more controlled turn of pre-load, per spec, so the fabric wraps tight instead of sagging.
Finish with Final Checks and a Break-In Recheck
The job is not won on the first cycle. Real-world use reveals what a quick test does not, so plan a verification routine after installation and again after your first drive day.
Immediate Final Checks
- Confirm all fasteners are reinstalled and snug—but not over-torqued.
- Seal any disturbed screw holes with appropriate sealant to prevent water intrusion.
- Verify LED wiring, if present, is not pinched or chafing against moving parts.
- Perform one full extend/retract cycle while listening for clicking, binding, or motor strain.
- Confirm smooth tracking with no edge creep toward either arm.
After the First Trip
Sun exposure and highway vibration settle new fabric. After your first drive day, extend the awning fully and recheck alignment. If the edge has shifted from your reference mark, correct it before the next departure. A small adjustment now prevents uneven wear and a permanently crooked roll.
Properly tensioned fabric should wrap evenly with no cone shape or loose top flap.
For RV owners also dealing with water intrusion elsewhere on the rig, addressing a leaking roof around the sealant line follows a similar philosophy: find the true source, clean the surface, and seal methodically rather than patching over symptoms. Similarly, keeping your waste holding tank sanitized regularly prevents the kind of buildup that requires expensive deep cleaning later.
Frequently Asked Questions
How much does it cost to replace RV awning fabric professionally?
Professional replacement typically runs $400 to $900 for most electric awnings, including labor and a standard vinyl fabric. Cost varies by awning size, fabric type (acrylic costs more than vinyl), and whether the valance is replaced too. DIY installation with a fabric ordered online usually lands between $150 and $350 for the material alone.
How long does it take to replace RV awning fabric?
Plan on two to four hours for a first-time DIY install with a helper. Experienced RVers often complete the swap in under two hours when hardware is in good condition. Extra time is needed if stop screws are seized, the roller track is crushed, or the awning requires significant cleaning before new fabric goes in.
Can I replace the awning fabric without removing the awning from the RV?
Yes. For most electric awnings, you can replace the fabric while the hardware stays mounted. The key is extending the awning partially, locking the roller, and removing the fabric from both channels without disturbing the arm brackets. This saves significant time compared to full awning removal.
How do I know if my awning fabric is vinyl or acrylic?
Vinyl fabric has a smooth, glossy, plastic-like feel and is heavier. Acrylic fabric feels more like canvas—woven, softer, and breathable, often with a matte finish. Vinyl is standard on most OEM electric awnings; acrylic is common as an upgrade. The fabric label on the roller tube usually identifies the material.
What is the best RV awning fabric material?
Vinyl is budget-friendly, waterproof, and easy to clean, but it can mildew if stored wet and becomes brittle with prolonged UV exposure. Acrylic resists fading and breathes to prevent mildew, but costs more and may allow light through. For full-time sun exposure, acrylic often lasts longer; for occasional camping, vinyl provides excellent value.
Do I need two people to replace RV awning fabric?
Strongly recommended. One person feeds and aligns the polycord while the second supports the roller and keeps the new fabric off the ground. Solo installation is possible on shorter awnings with careful clamping, but it significantly increases the risk of misalignment, snags, and fabric damage.
Conclusion
Replacing fabric on an electric RV awning is a satisfying weekend project that saves hundreds of dollars over professional installation—but only when you respect the spring-loaded hardware and electrical system. The sequence matters: confirm exact fabric measurements, gather every tool and part before starting, isolate all power sources, remove the old material without twisting the roller, feed the new fabric square, tension to spec, and verify with a real-world break-in check.
The most common failures—wrong fabric width, missed inline fuses, skipped stop screws, uneven feeding, and improper tension—are all preventable with the method above. Work slowly, use a helper, and photograph everything before disassembly. If you are comfortable with this level of hardware care, the rest of your RV's preventive maintenance, from sanitizing the black tank system to inspecting seals, becomes far less intimidating.
Your next step: climb up with a tape measure and a phone camera, identify your awning's brand label, and capture the three critical measurements before ordering anything. Those ten minutes of prep save you from the most expensive mistake in this entire job.