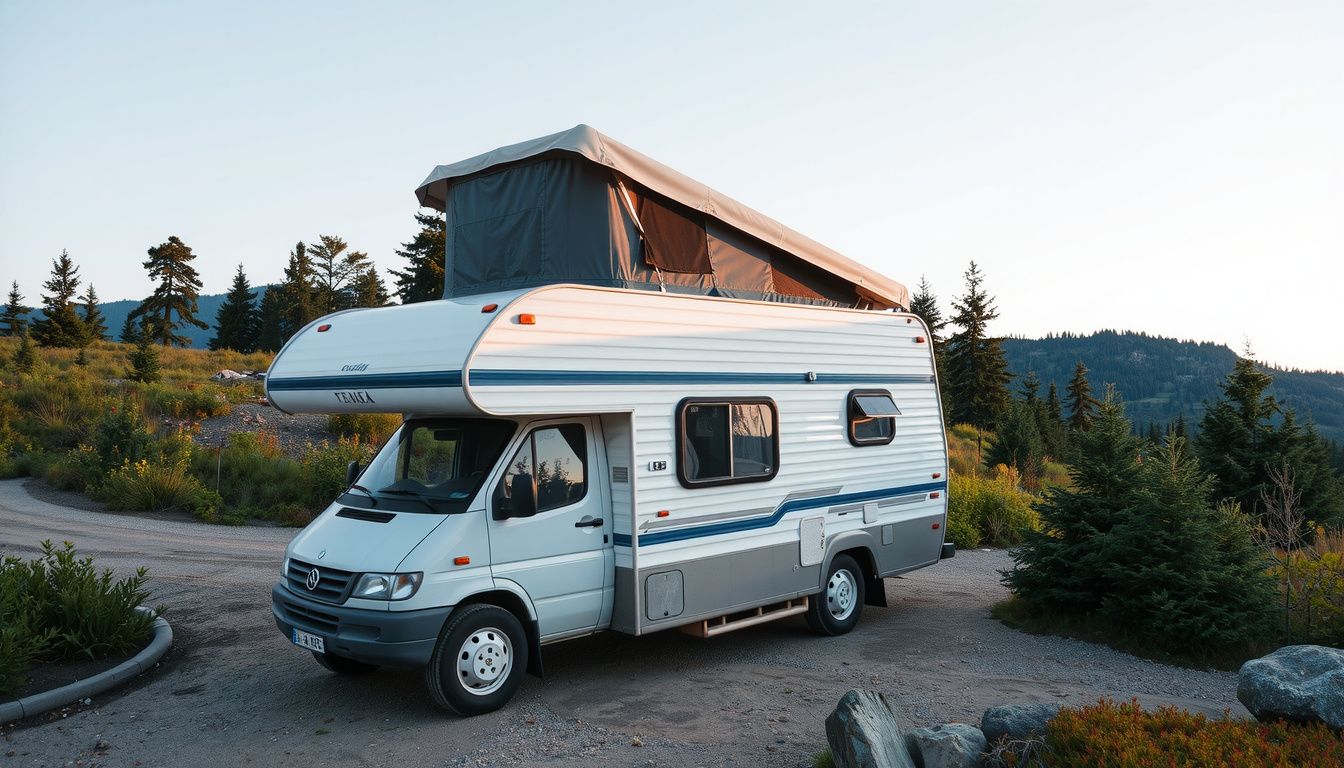
How to Fix a Camper Roof: Step-by-Step Leak Repair
A camper roof leak rarely announces itself at the true entry point. Water can travel along roof rafters, drip down a wall cavity, and appear six feet from the actual breach. Many owners learn this the hard way after slathering sealant over a ceiling stain while the real gap — often a cracked vent flange or a failing seam — keeps letting water in.
The fix that lasts is methodical: identify the roof material, trace the leak to its source, repair any structural damage, and only then reseal and test. This guide walks through each stage in the order professionals follow, with the details that prevent the frustrating "re-seal and fail again" cycle. You can also read our guide on how often to feed small fish.
Assess the Roof and Plan the Repair
Before climbing the ladder, you need a clear picture of what you are working with. The repair method changes significantly depending on the material covering your camper.
Identify the Roof Material
Common camper roof surfaces include:
- EPDM rubber: Often looks like a rubber membrane with a chalky, oxidized surface. It feels slightly grippy and has visible seams.
- TPO: Typically feels more like vinyl or plastic, stays cleaner than EPDM, and reflects heat better.
- Fiberglass: Hard, smooth, and often glossy. Common on molded front caps and some entire roofs.
- Aluminum: Thin metal with visible ribs or seams, frequently found on travel trailers and truck campers.
If you are unsure, check the RV manual, look for a label near the ladder or roof edge, or contact the manufacturer with your VIN. Using the wrong cleaner or sealant on a rubber roof can cause bubbling, delamination, or chemical damage. You can also read our guide on best camping mattress for couples.
Locate the True Leak Source
A two-part inspection saves hours of misdirected work. Start outside, then move inside.
Outside inspection: Look for cracked or lifted sealant, soft spots, exposed screw heads, gaps around vents, skylights, antennas, ladder mounts, and the A/C frame. Pay special attention to anything that penetrates the roof membrane — in practice, most leaks start at these penetrations, not in open membrane fields. Also inspect the front and rear cap seams, which flex constantly while driving.
Inside inspection: Check for stained ceiling panels, swollen trim, musty odors, and damp insulation around roof penetrations. Use a moisture meter if you have one; it removes guesswork when defining the extent of water damage.
 Inspect every roof penetration — vents, skylights, and antenna bases are the most common leak sources.
Test Before You Guess
A controlled hose test provides better answers than visual inspection alone. Have one person stay inside with a flashlight while another runs low-pressure water over small sections for 5–10 minutes each. Avoid high-pressure spray — it can force water into places it would not normally enter and create false "leaks."
A practical scenario: A travel trailer shows a wet corner above the bed after rain. During a hose test, no water appears until the operator wets the front clearance lights. The real failure is a cracked butyl seal behind the light base, not the roof vent. The plan shifts from coating the whole roof to removing the light, cleaning, re-bedding with butyl tape, and sealing the top edge.
Decide Between a Spot Repair and a Structural Fix
A simple planning rule: if the roof decking feels spongy underfoot, the job is not just sealing — it is structural. Soft spots mean wet wood, delamination, or rot beneath the membrane. Spot sealing will not fix that; the area must be opened, dried, and rebuilt. If the decking feels solid and the damage is limited to sealant or a small puncture, a targeted repair is appropriate.
- Pro tip: Take photos and mark every defect with painter's tape so nothing gets missed during cleaning and resealing.
- Common mistake: Sealing over dirt, old silicone, or wet surfaces. New products won't bond to those surfaces, and the leak returns quickly.
Planning the repair carefully is the same disciplined approach you'd use when assessing any structural issue on an RV — rushing this step multiplies problems later.
Gather Tools, Materials, and Safety Gear
Stage everything before stepping onto the roof. Repeated trips up and down a ladder waste time and increase fall risk. Materials must match the roof surface; the wrong sealant can peel, crack, or damage certain membranes permanently.
Tools and Cleaning Supplies
- Tools: Cordless drill/driver with proper bits, nut drivers, plastic putty knives, utility knife with hook blades, tape measure, caulk gun, roller for seam tape.
- Cleaning: Shop rags, non-abrasive pads, manufacturer-approved cleaner for your roof type, isopropyl alcohol for final wipes when compatible.
- Fasteners: Stainless or coated screws matching the original length, gauge, and head type. Replacement vent or skylight hardware as needed.
Sealants, Tapes, and Patches
- Self-leveling lap sealant for horizontal flanges, vents, and seams. It flows out smooth but must sit on a level surface.
- Non-sag sealant for vertical edges, sidewall transitions, and around curved trim.
- Butyl tape for re-bedding fixtures like vents, skylights, and antenna bases. It remains pliable and fills irregular gaps.
- Roof repair tape (often butyl-backed) for bridging small tears and reinforcing long seams.
- Membrane patch kits matched to EPDM or TPO for punctures and small cuts.
Roof cleaning is a transferable skill — the same non-abrasive, chemical-safe discipline you would use when removing grime from a boat hull applies to keeping a rubber membrane healthy.
Safety Gear and Working Conditions
A stable ladder with a stand-off, soft-soled shoes, and a spotter on the ground are non-negotiable, especially on tall or crowned roofs. Avoid working in wind, rain, or direct midday heat when the membrane becomes slippery. Many sealants and tapes bond best at moderate temperatures, typically around 50–80°F (10–27°C).
- Pro tip: Check the product label for cure time and temperature windows before starting. Some sealants remain tacky for hours; others cure in minutes.
- Common mistake: Using household silicone. It fails on most RV roofs and leaves a residue that prevents future products from adhering.
- Common mistake: Skipping surface prep supplies. Most repair failures stem from poor cleaning, not inferior materials.
With the right kit staged, you can work methodically instead of improvising halfway through.
Remove Failed Sealant and Repair Soft Spots or Holes
The roof now needs a clean, stable surface before any new product goes down. Old sealant that is cracked, loose, or smeared over dirt will not bond and often hides deeper damage.
Strip Only What Has Failed
Use a plastic scraper and a stiff nylon brush to remove loose, cracked lap sealant. Plastic is safer than metal on rubber roofs, which tear easily. If sealant is stubborn, a manufacturer-approved sealant remover can soften it, but all residue must be cleaned off before new sealant is applied.
- Lift and peel loose edges first, then scrape down to firmly bonded material.
- Clean the exposed seam with the correct cleaner for your roof type.
- Stop scraping if the membrane starts to fuzz, tear, or thin.
Address Soft Spots Properly
A spongy feel underfoot usually means wet wood beneath the membrane, most often around vents, skylights, ladder mounts, or the front cap seam. Press around the area to define the boundary of damage, then open only as much as needed to confirm whether the decking is damp, delaminated, or fully rotted.
For small localized damage, cut out the compromised decking, dry the cavity completely with fans or gentle heat, and install a patch of like material — typically plywood of matching thickness. Fasten the patch into solid framing, never into soft wood. If you had to cut the membrane, patch it with the roof manufacturer's system or compatible repair tape before resealing edges.
 A damaged roof deck must be cut out, dried, and replaced before new sealant can bond properly.
A practical example: A 2-inch crack in lap sealant at a bathroom vent may look minor, but scraping it clean can reveal damp, darkened decking in a 6-inch ring. Cutting a small inspection window, replacing a palm-sized plywood section, and patching the membrane prevents the cycle of constant resealing.
- Pro tip: Dry the area completely — often 24 hours or more with fans — before closing it up. Trapped moisture causes rot to continue behind the patch.
- Common mistake: Replacing rusted fasteners with standard steel. Use stainless or coated screws to prevent corrosion streaks and future failure.
Reseal, Waterproof, and Test the Camper Roof for Leaks
With the roof structure sound, precision in sealing determines whether the repair lasts. Sealant is not paint; it is a gasket that must bridge clean surfaces while moving with temperature swings, road vibration, and roof flex.
Apply Sealant Correctly
- Mask edges with painter's tape if a clean bead line matters, especially near sidewall trim.
- Apply self-leveling lap sealant in a continuous bead on horizontal surfaces. It flows out smooth but needs a level surface.
- Apply non-sag sealant on vertical seams and edges where self-leveling would run.
- Re-bed flanges with butyl tape first, then seal the top edge.
- Cover all fastener heads and terminate beads with a smooth ramp, not a blunt edge.
Keep sealant thickness consistent. Thin skim coats split early; excessive buildup adds weight and stress without improving sealing.
Reinforce with Tape or Coating
For long seams or recurring problem areas, compatible seam tape over clean, dry joints provides a durable bridge. On aging roofs with widespread micro-cracking, a roof coating system can extend service life — but only after seams and penetrations are properly sealed and the surface is prepped to the coating manufacturer's standard. The Recreation Vehicle Industry Association publishes maintenance guidance that reinforces the importance of following manufacturer-specific cleaning and coating protocols.
- Pro tip: Work in stable weather. Many sealants need warm, dry conditions to cure correctly.
- Don't trap solvents: Let cleaners flash off completely before sealing. Solvent trapped under sealant causes bubbling and bond failure.
Test Systematically
Let sealants cure fully per the label, then run a controlled leak test. A gentle hose flow is better than a pressure blast, which can force water past seals that would never leak in rain. Start at the lowest seam and wet one section for 5–10 minutes while a second person watches inside with a flashlight. Mark any drip location, then stop and trace upward to the entry point.
A practical example: After resealing a front cap seam, you test from the sidewall up. No leak appears until water reaches the clearance light above the seam; the drip shows at the cabinet corner. That tells you the entry point is higher than the stain. Reseal the light base and re-test before calling it done.
- Common mistake: Testing too soon, before sealant cures. This can wash out fresh product and create false leaks.
- Common mistake: Soaking the entire roof at once. Section-by-section testing isolates the true entry point.
While you are on the roof, this is also a logical time to inspect other roof-mounted systems. Keeping the ventilation stack clear is part of the same maintenance discipline as keeping the black tank system functional.
Prevent Future Leaks with a Maintenance Routine
A solid repair only lasts if the roof is treated as a maintained surface, not a one-time project. The following routine locks in the results:
- Recheck seams, vents, and edges after the first drive and after major storms. Road vibration can loosen fresh sealant.
- Clean the roof on a schedule — at least twice a year. Dirt hides new cracks, and organic debris holds moisture against the membrane.
- Document products used, cure dates, and repair locations. This speeds up future touch-ups and prevents incompatible product mixes.
- Inspect interior ceilings and walls seasonally for new stains, even when no outdoor leak is obvious.
A real-world scenario: after a weekend of highway crosswinds, a quick ladder check can catch a slightly lifted corner before it becomes a ceiling stain. Set a recurring calendar reminder for a 10-minute roof inspection and do the first walk-through this week. The same proactive mindset applies when you are maintaining the waste tanks or checking other camper systems.
Frequently Asked Questions
How much does it cost to fix a camper roof leak?
A DIY spot repair typically costs $50–$200 for sealant, tape, and cleaning supplies. A professional reseal of seams and vents usually runs $400–$1,000 depending on roof size and labor. Structural repairs involving wood replacement can exceed $1,500, while full roof replacement ranges from $3,000 to $8,000 or more.
Can I use Flex Seal or household silicone on a camper roof?
Avoid household silicone and general-purpose spray sealants on camper roofs. Silicone often fails under RV movement and leaves a residue that prevents proper products from adhering later. Use RV-specific self-leveling lap sealant, non-sag sealant, or membrane-compatible tape matched to your roof type.
How long does a camper roof repair last?
A properly prepped and sealed penetration or seam can last 3–7 years before needing re-inspection or touch-up. Roof coatings can last 5–10 years with regular cleaning. However, every roof ages and moves; annual inspection is the only way to catch failures before they become leaks.
Can I repair a camper roof in cold or rainy weather?
Most RV sealants and tapes require dry conditions and temperatures above 50°F (10°C) to bond and cure correctly. Cold makes products stiff and slow to cure; moisture prevents adhesion. If a leak appears mid-winter, apply a temporary tape patch designed for emergency use, then do the permanent repair in proper weather.
When should I replace the entire camper roof instead of repairing it?
Consider full replacement when soft spots exceed roughly 30% of the roof area, when the membrane is extensively cracked or brittle, when multiple repairs have failed, or when water damage has reached the interior walls. Patching large areas becomes more expensive and less reliable than a new membrane.
How do I find a leak that is not visible from the roof?
Use a hose test: one person runs low-pressure water over small roof sections while another watches inside with a flashlight. Start at the lowest seams and penetrations, working upward section by section. The interior drip location is often lower and farther away than the actual entry point.
Conclusion
Fixing a camper roof correctly is less about the sealant itself and more about the sequence: identify the true entry point, repair any hidden structural damage, prepare the surface thoroughly, and only then reseal and test. Skipping any one of those steps invites the same leak to return — often worse than before.
Your next step is straightforward: perform a 10-minute roof inspection this week. Mark every crack, soft spot, and lifted seal, then decide whether it is a DIY spot repair or a job for a professional. The small time commitment now prevents a much larger repair bill — and a ruined trip — later.





One Comment