How to Make Compost in 7 Days: Fast Hot Compost Method
Many people assume how to make compost in 7 days is a gimmick, or they try to “speed it up” by tossing kitchen scraps in a bin and walking away. That mistake creates a cold, smelly pile that barely breaks down. The faster path isn’t magic; it’s controlled biology.
A true 7-day compost run relies on a hot compost method: the right carbon-to-nitrogen mix, enough moisture, and frequent turning to keep oxygen high. When those levers are managed, microbes generate heat quickly and chew through soft materials in days, not months. The result is a usable, young compost that can be finished by curing a bit longer.
To hit the 7-day window, they’ll focus on a few non-negotiables:
- Small particle size (chopped scraps, shredded leaves)
- Balanced inputs (roughly 2–3 parts “browns” to 1 part “greens”)
- Moisture and air (damp like a wrung-out sponge, turned often)
Example: a gardener fills a 3×3-foot pile with shredded cardboard, fresh grass clippings, and coffee grounds, then turns it daily. By day four, the center reaches hot-to-the-touch temperatures, and by day seven, most ingredients look crumbly and dark.
Confirm It’s Realistic: What “7-Day Compost” Requires
Now the reality check: a true 7-day turnaround is possible, but only under controlled, high-activity conditions. They’re not aiming for a finished, garden-ready humus in a week. They’re producing a hot, partially stabilized compost that’s safe to cure for a few more weeks.
The non-negotiable is heat. A pile must reach roughly 130–160°F (54–71°C) and stay active through frequent turning, balanced inputs, and steady moisture. If the pile never heats, it won’t break down fast enough, and odors or pests can show up.
They’ll need the right “recipe” and structure. Fast composting depends on a tight carbon-to-nitrogen balance (often close to 25–30:1), small particle size, and enough volume to hold heat. A tiny bucket of scraps won’t do it.
- Mass: at least a 3 ft x 3 ft x 3 ft pile (or equivalent bin) to retain heat.
- Moisture: like a wrung-out sponge; too wet turns anaerobic, too dry stalls.
- Oxygen: turning daily (or near-daily) to keep microbes aerobic and fast.
- Shredded inputs: smaller pieces decompose quicker and heat more evenly.
Common mistake: treating “7-day compost” as a set-and-forget method. Look, the speed comes from labor and management, not a magic ingredient.
Practical example: A homeowner pre-shreds fall leaves, mixes them with fresh grass clippings, wets the blend, then turns the pile every morning. By day 3, the core hits 145°F; by day 7, the material is visibly darker and crumbly, but they still cure it in a separate bin before using it around seedlings.
Gather Materials and Set Up the Pile Before You Start
Next, they should stage everything before the first layer goes down. The fastest piles are built “all at once,” not dribbled in over a week. That means collecting enough browns, greens, water access, and tools to turn the pile without delays.
They’ll want a dedicated footprint that drains well and allows airflow. Bare soil is ideal because it lets beneficial organisms migrate in, but a pallet base or wire bin also works if drainage is strong.
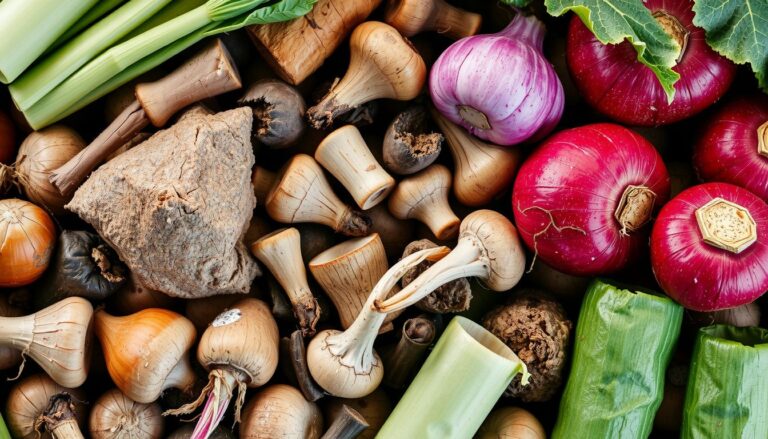
- Browns (carbon): shredded leaves, straw, shredded cardboard (no glossy coating).
- Greens (nitrogen): grass clippings, coffee grounds, fresh plant trimmings, manure (if available).
- Tools: garden fork or compost aerator, hose with spray nozzle, thermometer, tarp.
They should prep materials for speed. Shred leaves, tear cardboard into small pieces, and chop bulky stems. Smaller particles create more surface area, which helps microbes work faster and heat builds evenly.
Build the pile in alternating, mixed layers, then blend lightly as they go. The goal is uniform distribution of greens and browns, not a lasagna stack that traps wet pockets. They should water each lift until it’s evenly damp, then cap the pile with a brown layer to reduce odors and flies.
Pro tip: keep a tarp nearby to cover the pile during heavy rain; saturation kills airflow. Common mistake: using too many kitchen scraps without enough dry browns, which leads to slime and a sour smell.

Build the Pile for Rapid Heat: Layer, Moisten, and Measure
Now the work gets physical. Fast composting depends less on “magic ingredients” and more on building a pile that can heat evenly, hold moisture, and breathe.
The target is a compact, insulated mass with balanced inputs. If the pile is too small, it won’t heat. If it’s too wet or too dense, it turns anaerobic and stalls.
Start with a loose base that won’t mat down. A 3–4 inch layer of small twigs or coarse wood chips keeps air moving at the bottom and prevents a soggy core.
Layer “greens” and “browns” in thin, repeatable lifts. Aim for roughly 2 parts browns to 1 part greens by volume, using shredded material to increase surface area and speed microbial action.
- Greens: fresh grass clippings, food scraps, coffee grounds, manure
- Browns: shredded leaves, torn cardboard, straw, wood shavings (untreated)
- Accelerators (optional): finished compost, garden soil, or a compost starter
Moisten as they build, not at the end. Each layer should feel like a wrung-out sponge—damp, but not dripping when squeezed.
Measure the pile’s size and shape for heat retention. A practical target is about 3 ft x 3 ft x 3 ft; larger is fine, but it must still be turnable daily.
Common mistakes: thick “lasagna” layers, unshredded cardboard sheets, and dumping wet kitchen scraps in one pocket. Those create cold zones and odors.
Pro tip: If food scraps are used, bury them in the center as they build. That limits pests and concentrates heat where microbes work fastest.
Follow the 7-Day Schedule: Turn, Monitor, and Adjust Daily
Once the pile is built, the schedule becomes the engine. Daily turning supplies oxygen, redistributes moisture, and moves cooler outer material into the hot core.
They should check temperature every morning before turning. A compost thermometer is ideal; without one, a warm-to-hot center and visible steam after turning are useful cues.
- Day 1: Take baseline temperature, then turn thoroughly; break clumps and mix edges inward.
- Days 2–6: Turn daily; adjust moisture with a light spray if dry, or add browns if wet.
- Day 7: Turn once more and assess finish—dark, crumbly, earthy smell, and reduced original materials.
Moisture adjustments must be small and frequent. If the pile looks dusty or won’t heat, they should mist while turning. If it smells sour or looks slimy, they should mix in dry browns and turn twice that day.
Here’s a practical example. A homeowner building a 3x3x3 pile with shredded leaves, grass clippings, and coffee grounds hits 145°F by Day 2. On Day 4, the pile drops to 120°F and smells “off.” They mix in a half-bag of shredded cardboard, turn aggressively, and the odor clears by evening; the next morning it rebounds to 140°F.
Common mistakes: skipping a turn, “topping up” with new scraps mid-week, and soaking the pile to fix dryness. Those reset the clock.
Pro tip: Keep a simple log (temp, smell, moisture feel). It makes corrections obvious and keeps the 7-day pace realistic.

Troubleshoot Common Problems: Odor, Low Heat, and Excess Moisture
Now the pile’s moving fast, so small mistakes show up quickly. When a 7-day system goes off-track, it’s usually one of three issues: odor, low heat, or excess moisture. Each one has a specific cause and a clear fix.
Odor almost always means the pile has turned anaerobic. That happens when it’s too wet, too compacted, or overloaded with food scraps and grass without enough dry carbon.
- Fix it: Turn immediately, break up clumps, and mix in dry browns (shredded cardboard, dry leaves, wood shavings).
- Pro tip: If it smells like ammonia, reduce high-nitrogen inputs and add browns until the smell fades.
- Common mistake: “Burying” wet scraps in the center without balancing carbon.
Low heat is usually a volume, moisture, or nitrogen problem. If the core won’t climb, microbes aren’t getting the conditions they need to multiply.
- Fix it: Increase pile size, moisten to a wrung-out sponge feel, and add a measured nitrogen boost (fresh grass, coffee grounds).
- Pro tip: Insulate with a tarp at night if temperatures drop sharply.
- Common mistake: Turning too aggressively when the pile is already struggling to warm.
Excess moisture slows oxygen flow and invites odor. It often comes from rain exposure or too many watery greens like melon rinds.
- Fix it: Add dry browns, turn to aerate, and cover the pile while still allowing airflow.
- Pro tip: Keep a “dry stash” of shredded paper on hand for quick corrections.
Example: If a gardener turns the pile on Day 3 and gets a sour smell plus dripping handfuls, they can mix in two buckets of shredded cardboard, turn again, and cover. By the next day, the smell typically drops and heat rebounds.
Finish, Cure, and Use the Compost Without Harming Plants
By the end of the rapid cycle, the material should look darker and more uniform, but it may still be biologically “hot.” Using it too early can stress seedlings, tie up nitrogen, or burn roots. The safest move is a short cure period.
Finish checks help confirm it’s ready to stop active turning. The pile should no longer reheat strongly after a turn, and it should smell earthy, not sharp.
- Texture: Mostly crumbly; a few small woody bits are fine.
- Smell: Forest-soil scent, not ammonia or sour notes.
- Temperature: Trending down toward ambient and staying there.
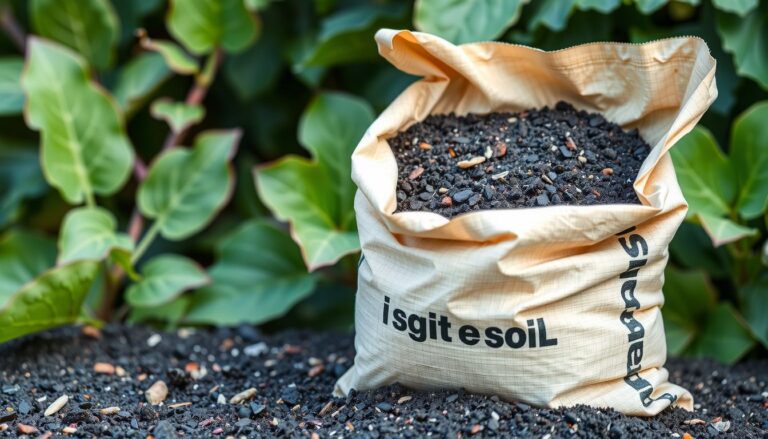
Cure it for 2–4 weeks when possible. They can move the compost to a separate bin or a breathable sack, keep it lightly moist, and turn it once a week to finish stabilizing.
- Pro tip: If they must use it sooner, reserve it for top-dressing established plants, not seed trays.
- Common mistake: Mixing “young” compost directly into a seed-starting mix.
Use it safely based on crop sensitivity. For gardens, they can apply a 1–2 inch top-dress around perennials, or mix 10–20% cured compost into bed soil for vegetables.
Example: A homeowner finishes a fast batch and wants to plant lettuce. They cure the compost for two weeks, then blend one part compost with four parts native soil in the bed. The lettuce establishes quickly, with no yellowing from nitrogen drawdown.
Next actions: store any extra compost covered but breathable, label the batch date, and start the next pile while the current one cures.
Next Steps
Now it’s time to treat the finished batch like a soil amendment, not a magic powder. When they’re confident the material smells earthy and no longer heats up after turning, they can move from “fast composting” to “smart use” without stressing plants. Keep the goal simple: consistent results, week after week.
They should lock in a repeatable routine that fits their space and schedule:
- Label a dedicated bin for “active” vs. “curing” compost to avoid mixing stages.
- Set a weekly reminder to restock browns and keep a small “greens” container handy.
- Record one quick note per batch (start date, peak heat day, finish date) to refine the process.
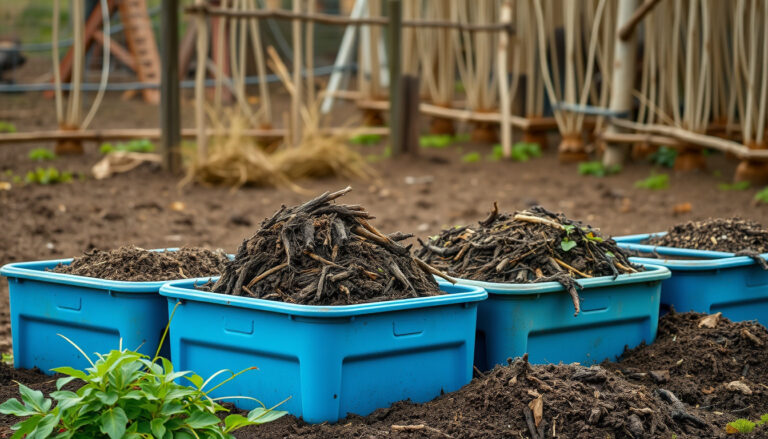
Real-world example: a small household can run a 20–30 gallon tote system, feeding scraps into one tote while the other cures, then rotating every week. Next, they should start a fresh pile today and commit to repeating the cycle once to master how to make compost in 7 days.
Related read: How Deep to Make Raised Garden Beds for Healthy Roots