How to Winterize a Camper to Live In: Step-by-Step Setup
How to winterize a camper to live in when temperatures drop below freezing and you still need reliable heat, running water, and safe power? You can, but only if you treat your RV like a small house and protect its most fragile systems first. Done right, how to winterize a camper to live in becomes a repeatable checklist, not a guessing game.
Look, winter RV living is less about “one big upgrade” and more about layered protection. You will focus on heat retention, plumbing freeze prevention, moisture control, and electrical readiness. Miss one layer and you may end up with frozen lines, condensation damage, or a furnace that cannot keep up.
Here is what you will set up, step by step:
- Insulation and air sealing (windows, doors, underbelly, vents)
- Plumbing protection (heated hose, tank heaters, pipe insulation, safe antifreeze where appropriate)
- Heating strategy (furnace maintenance, supplemental heat, thermostat habits)
- Condensation management (ventilation, dehumidification, mold prevention)
- Power and propane planning (battery health, shore power limits, refill cadence)
Practical example: if you are parked in Colorado and nights hit 10°F, a heated water hose plus insulated spigots and tank heaters can keep water flowing, while skirting and sealed window film reduce furnace run time. Now you are living comfortably, not just “surviving” winter.
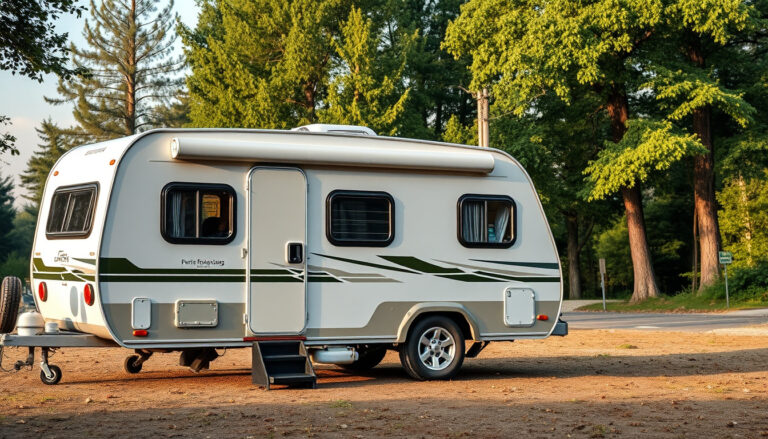
Before You Start: Choose Your Winter Strategy and Gather Supplies
You have the big picture. Now you need a plan that matches your climate, your camper, and how often you move.
Start by choosing a winter strategy. Stationary setups can handle heavier insulation and skirting, while travel-heavy setups rely more on quick-seal fixes and heat management. Your goal is simple: reduce heat loss first, then protect systems.
Use these questions to lock in your approach:
- How cold will it get? Occasional 28°F nights require less than weeks below 10°F.
- Will you stay put or move weekly? Moving breaks skirts, loosens tape, and changes wind exposure.
- Do you need running water? If yes, plan for heated hoses or a protected water bay.
- What power is reliable? Shore power supports electric heat; boondocking demands propane discipline.
Next, gather supplies in one run. Shopping mid-freeze is when you overpay or settle for the wrong materials. Look for products rated for low temperatures and outdoor exposure.
Core supplies most full-time winter campers use:
- Butyl tape, RV-safe sealant, and expanding foam (minimal-expansion for windows/frames)
- Reflective insulation panels, foam board, and weatherstripping
- Pipe insulation sleeves, heat tape (UL-listed), and a heated water hose if needed
- Infrared thermometer, moisture meter (optional), and a CO/propane detector with fresh batteries
Look, buy the right safety gear too. A working carbon monoxide detector is not optional, and neither is a fire extinguisher with an in-date gauge. If you are adding electric heaters, confirm your circuit limits and use heavy-gauge cords only when the manufacturer allows it.
Practical example: a couple living in a 28-foot travel trailer in Colorado chose a “stationary” plan for December through February. They bought foam board for skirting, a heated hose, and two rolls of butyl tape in one trip, then staged everything in labeled bins so repairs stayed fast during windstorms.
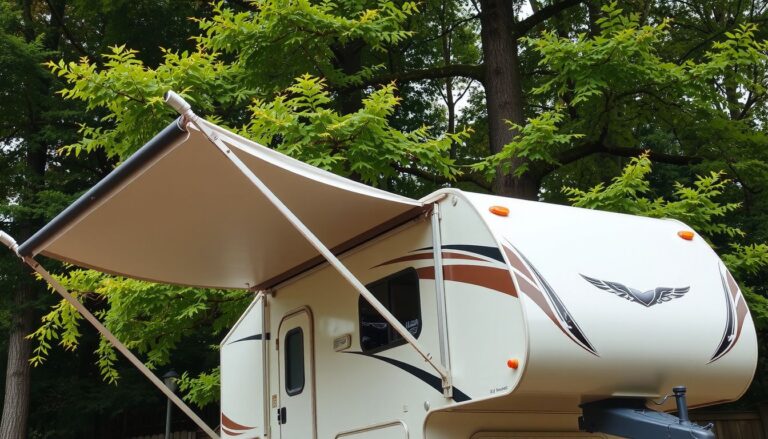
Seal and Insulate the Camper to Stop Drafts and Heat Loss
Once your strategy and supplies are set, start with the building envelope. Draft control is the cheapest “heater upgrade” you can make.
Begin by finding air leaks. Do it on a windy day if possible, or run a fan inside and feel for airflow around openings. An infrared thermometer helps you spot cold streaks without guessing.
Work in this order for the best payoff:
- Doors and hatches: Replace worn weatherstripping and adjust latches so seals compress evenly.
- Windows: Add shrink film kits or interior storm panels; use reflective inserts at night.
- Slide-outs: Inspect bulb seals and wiper seals, then treat with the correct conditioner.
- Penetrations: Seal around plumbing, wiring, and propane line entries with RV-safe products.
Now add insulation where it actually works. Focus on large, flat surfaces and known thermal bridges. Under-bed storage bays, exterior compartments, and the cab-over area (in motorhomes) are common culprits.

Use materials correctly. Foam board insulates well but must be cut tight and secured; reflective insulation performs best with an air gap. Expanding foam is effective, but here’s the thing: overfilling can warp frames and trap moisture where you do not want it.
Common mistakes that cause cold spots or damage:
- Sealing weep holes or intended drainage paths around windows
- Using household silicone that fails on RV materials and temperature swings
- Covering furnace returns or blocking airflow with thick rugs and stored gear
Practical example: a full-timer in Minnesota found a persistent 10°F temperature drop near the dinette. An infrared scan showed cold air entering at the slide corner. Replacing the worn wiper seal and adding a fitted interior foam insert cut the draft immediately and reduced nightly propane use.
Pro tip: after sealing, monitor interior humidity. If condensation increases, you may need more ventilation or a dehumidifier, because tighter campers hold moisture longer.
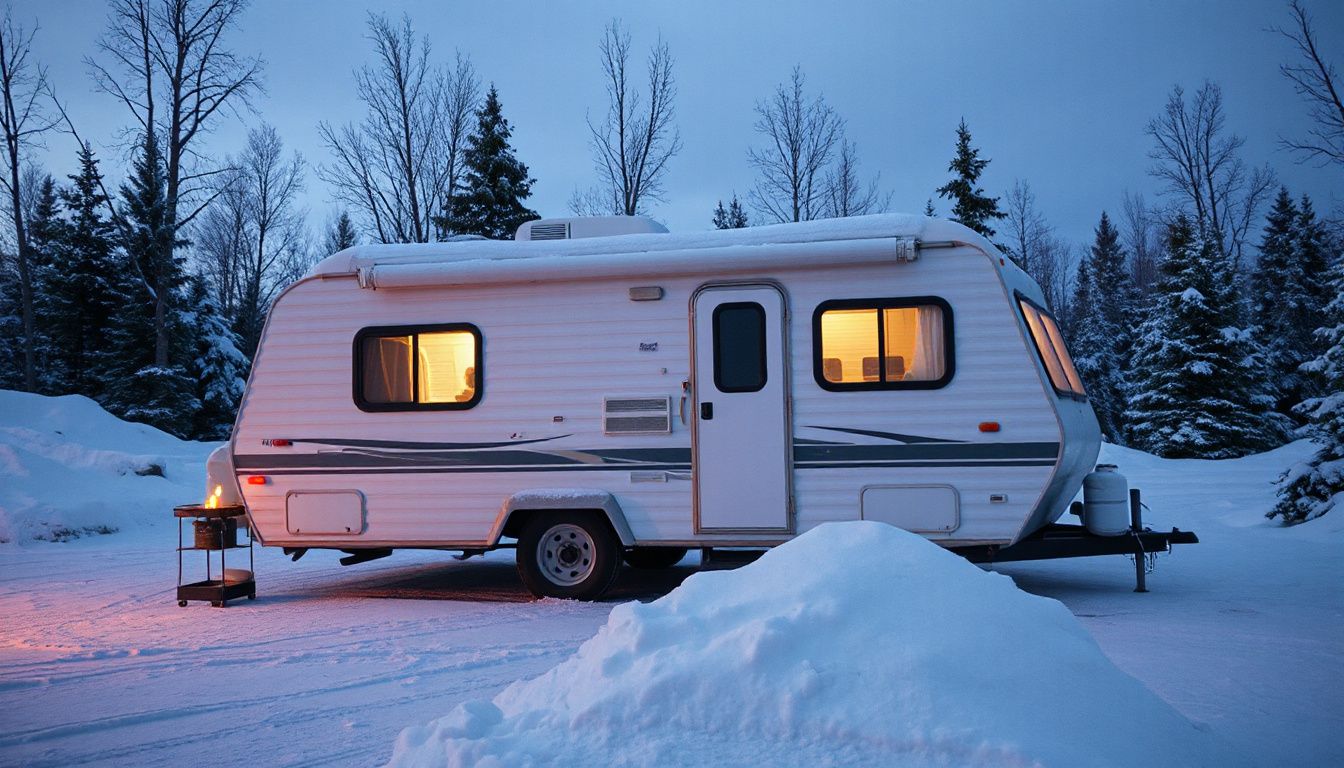
Protect the Water System: Keep Lines Flowing and Tanks From Freezing
Now that drafts are under control, protect the system that fails first in real cold: water. A frozen line can split quietly, then dump gallons into the underbelly when it thaws. Preventing freeze-ups is cheaper than repairs. Always.
Start by choosing your water mode. If you can, use city water only when temperatures stay above freezing and rely on your fresh tank when nights drop hard. A short, protected run of plumbing inside the RV is easier to keep warm than an exposed hose outside.
Set up your heated water hose correctly. Plug it into a GFCI outlet, keep the connection points off the ground, and add insulation sleeves over the spigot and RV inlet. Look for drips; a slow leak turns into an ice plug.
- Drain and protect exterior components: Insulate the city-water inlet, low-point drains, and any exposed PEX runs.
- Keep the wet bay warm: Add a small thermostatic 120V heater only if the space is ventilated and wiring is rated. Don’t use an open-element heater.
- Manage tanks: Use 12V tank heaters or heating pads on fresh/gray/black tanks if your rig supports them.
- Protect the sewer line: Keep the termination valves closed and dump only when tanks are 2/3 full to reduce “poop-sicle” risk.
Common mistake. Leaving the gray valve open with a slinky hose. The liquid drains, solids and ice stay, and the hose freezes into a rigid pipe.
Practical example: A full-timer in Montana runs from the fresh tank overnight, then connects city water midday when it is 30–35°F. They wrap the spigot with foam and heat tape, and they disconnect the hose before sunset. Simple routine, fewer failures.
If you expect sustained single digits, consider a controlled “partial winterization” of vulnerable sections by adding RV antifreeze to traps and keeping cabinets under sinks open. It is not glamorous. It works.
Set Up Safe, Efficient Heating and Moisture Control Inside
Once water is protected, focus on livability: stable heat and controlled humidity. Warm air without moisture control creates condensation, mold, and warped cabinetry. Dry air without enough heat feels miserable. Balance matters.
Use a layered heating plan. Your RV furnace is usually the only heat source that warms underbelly ducts on many rigs, so it often needs to run some each day. Then supplement with electric heat when shore power allows.
- Primary heat: RV furnace for baseline warmth and protected plumbing (if ducted).
- Supplemental heat: Oil-filled radiator or ceramic heater with tip-over protection.
- Targeted heat: Small fan to push warm air into cold corners and behind furniture.
But here’s the thing: safety is non-negotiable. Test your smoke alarm, propane detector, and CO detector, and replace batteries on a schedule. Maintain clearances around heaters, and never run a generator in a way that can backdraft exhaust toward windows.
Moisture control is the other half. Aim for roughly 30–50% indoor humidity depending on temperature. Use a compact dehumidifier if you have reliable power, and vent moisture at the source.
- Run the bathroom fan during showers and for 15–20 minutes after.
- Crack a roof vent slightly when cooking, even if it feels counterintuitive.
- Wipe windows and frames in the morning to stop water from seeping into trim.
Practical example: In a 26-foot travel trailer in Wisconsin, two adults saw constant window sweating at 68°F. They added a 30-pint dehumidifier, kept one vent cracked, and ran the furnace briefly at night. Condensation dropped within two days, and the bedroom stopped smelling “damp.”

Common mistake. Sealing the RV completely to “save heat.” You will trap moisture, then fight mold. Controlled ventilation, paired with efficient heat, is the professional approach.
Run a Cold-Weather Checklist and Maintain Your Winterized Setup
Now that heat and water are stable, treat winter living like routine maintenance, not a one-time project. A simple checklist catches small failures before they become frozen valves, dead batteries, or a soaked subfloor. Look, the goal is boring predictability. That is what keeps you comfortable.
Run this quick check daily during hard freezes and weekly in milder cold. Keep notes. Patterns matter, especially when conditions swing from thaw to refreeze overnight.
- Verify heat delivery: confirm warm air reaches the underbelly/utility bay (if ducted) and that vents are not blocked by rugs or storage.
- Confirm water flow and temperature: run each faucet for 10–15 seconds; feel for sluggish flow, sputtering, or “ice-cold only” at one fixture.
- Inspect for moisture: check window tracks, corners of slide-outs, and behind cushions for condensation; wipe and ventilate as needed.
- Check propane and CO safety: test CO/LP alarms, verify regulator isn’t icing, and confirm spare cylinders are accessible.
- Monitor power: review battery state of charge, shore cord warmth at the plug, and any extension connections for heat discoloration.
Pro tip: use inexpensive wireless sensors. Place one in the wet bay, one near the floor by the entry, and one outside. If the wet bay drops near 35°F, you have time to intervene before a freeze.
Common mistake: “set it and forget it” with skirting, heat tape, or space heaters. Wind shifts, cords loosen, and thermostats drift. Recheck fasteners, inspect heat tape indicator lights, and keep combustibles at least 3 feet from heaters.
Practical example: a full-timer in Montana notices the kitchen faucet slows only at dawn. The wet-bay sensor logs 33°F overnight, so they add a small duct booster, reseat the utility door gasket, and reroute a sagging hose. The next morning, the bay holds 40°F and flow returns to normal.
When you’re learning how to winterize a camper to live in, consistency wins. Keep a small kit ready: spare fuses, hose washers, a hair dryer for emergency thawing, and a flashlight for nightly checks.
Now that your winter routine is in place, the last step is answering the practical “what if” questions that come up once you are actually living in the rig day after day.
Frequently Asked Questions
How cold is too cold to live in a camper full-time?
It depends on your insulation, heat source, and wind exposure. As a rule, plan extra safeguards below 20°F. If your furnace runs constantly or interior humidity spikes, you are at the limit. Relocate, add heat, or reduce exposed plumbing immediately.
What’s the safest way to run electric heaters in an RV overnight?
Use one quality ceramic heater per circuit, plugged directly into the wall. Avoid extension cords and power strips. Confirm shore power can handle the load, and keep clearance around the heater. Pair with a working smoke/CO alarm and a tip-over shutoff model.
Should I keep a trickle of water running, or is that a waste?
A small drip can help at the faucet most likely to freeze, but it is not a primary strategy. Prioritize warm airflow to the plumbing area and stable interior temps. If you do drip, monitor tank levels and confirm your dump plan will not freeze.
How do I stop condensation on RV windows without making it colder inside?
Vent strategically. Crack a roof vent and run the fan on low while heating, then add insulated window covers at night. Wipe frames daily. If needed, run a small dehumidifier when on shore power. Dry air feels warmer and protects cabinets.
What should I do if my campground pedestal keeps tripping in cold weather?
Reduce load fast. Turn off one heater, switch the water heater to propane, and stagger high-draw appliances. Inspect your cord for heat damage and confirm the pedestal is not iced or loose. If it keeps tripping, ask for a different site or an electrician.
You’re Ready
You have done the hard part: you have moved from “winter prep” to a repeatable system. That is the difference between camping in the cold and living comfortably through it. The verdict is simple: a winter-ready camper is one you can monitor, adjust, and keep stable.
Now, lock in your operating habits. Keep a short weekly routine that you actually follow. Look, consistency beats heroic fixes at 2 a.m. Focus on three outcomes: steady interior temperature, controlled humidity, and predictable power use.
- Track indoor temp and humidity, then adjust venting and heat before condensation appears.
- Balance electrical loads so you do not overload a single circuit or pedestal.
- Inspect seals, cords, and exposed fittings after wind, snow, or towing days.
Here is a real-world example. A full-time couple in a 30-foot travel trailer in Montana kept tripping breakers every night. They solved it by running one heater on low, switching the water heater to propane, and using a small dehumidifier only during daytime shore power. Stable. Quiet. No midnight resets.
If you are still searching for how to winterize a camper to live in, treat your setup like a small home with a maintenance schedule. Your next actions: document your ideal thermostat settings, label your circuits, and keep a dedicated cold-weather kit (spare fuses, heat tape, hose fittings) in one bin. When the next cold snap hits, you will be ready before it arrives.