How Long to Cook 3 lb Tri Tip on Grill For Perfect Doneness
A 3-pound tri-tip is one of the most rewarding cuts you can put on a grill—when you get the timing right. Get it wrong, and you're slicing into dry, gray beef that no sauce can save. Get it right, and you're serving rosy, tender slices with a deeply browned crust and serious beefy flavor.
The honest answer to how long to cook 3 lb tri tip on grill is: it depends. Your grill type, the thickness of the roast, the starting temperature of the meat, and your target doneness all shift the numbers. But here's the good news—tri-tip is forgiving, and once you understand the two-zone method and trust your thermometer over the clock, you'll nail it every single time. You can also read our guide on blackstone grill how to use.
In this guide, we'll break down exact time ranges for gas and charcoal grills, give you pull temperatures for every doneness level, and walk through the full process from seasoning to slicing. No guesswork, no dry roasts—just a reliable system you can repeat.
Why Time Alone Won't Tell You When Tri-Tip Is Done
Here's the hard truth: a stopwatch doesn't know how thick your tri-tip is, how hot your coals are, or whether you opened the lid three times to check on it. The internal temperature of the meat is the only reliable signal that matters. For more on this, see our guide on how long to grill a tri tip for.
A 3-pound tri-tip typically measures 2 to 3 inches thick at the center, tapering down to a thinner tail. That uneven shape means the thin end will cook much faster than the thick center. If you cook by minutes alone, you'll end up with one perfectly cooked middle and one overdone tail.
The USDA recommends cooking beef to a minimum internal temperature of 145°F for safety, but for tri-tip specifically, most pitmasters pull the roast off earlier—around 125–130°F for medium-rare—and let carryover cooking finish the job during the rest. This is standard practice in the barbecue community, but if you prefer your beef more done, adjust your pull temp accordingly.
The Carryover Cooking Effect
This is where most home cooks get tripped up. When you pull a roast off the grill, the residual heat continues to travel inward. A tri-tip that comes off at 125°F will typically climb to 130–135°F during a 10–15 minute rest. That's the difference between a perfectly rosy center and an overcooked one.
The rule is simple: pull the roast 5–10°F below your target serving temperature.
How Long to Cook a 3 lb Tri Tip on a Gas Grill
Gas grills offer the most consistent heat, which makes them ideal for beginners or anyone who wants predictable results. The key is using a two-zone setup—one side on high for searing, one side on medium-low for gentle finishing.
For most 3-pound tri-tips on a gas grill, expect 35–55 minutes total cook time. Here's a more detailed breakdown:
| Stage | Temperature | Time |
|---|---|---|
| Indirect cook (lid closed) | 300–350°F | 25–40 minutes |
| Direct sear (lid open or closed) | 450–550°F | 4–8 minutes (2–4 min per side) |
| Rest (tented with foil) | Room temp | 10–15 minutes |
Step-by-step for gas grill success:
- Preheat all burners on high for 10–15 minutes with the lid closed
- Turn off the center burner (or one side on a two-burner grill) to create a cool zone
- Stabilize the grill at 325°F on the indirect side
- Place the tri-tip on the cool zone, fat side up, with the thickest part facing the heat source
- Close the lid and cook undisturbed for 25–30 minutes
- Check internal temperature with an instant-read thermometer
- Move to the hot zone and sear 2–3 minutes per side
- Pull at your target temperature (see chart below)
- Rest tented for 10–15 minutes before slicing
A common mistake is opening the lid constantly to peek. Every time you lift that lid, you dump heat and extend your cook time. Trust the thermometer, not your eyes.
How Long to Cook a 3 lb Tri Tip on a Charcoal Grill
Charcoal grills run hotter at the grate and produce stronger browning, which means your finish time can be faster than gas. But you'll need to manage airflow carefully to maintain a stable indirect zone.
For a 3-pound tri-tip on charcoal, expect 40–65 minutes total time:
| Stage | Temperature | Time |
|---|---|---|
| Indirect cook (lid closed, vents adjusted) | 275–325°F | 30–50 minutes |
| Direct sear over coals | 500–650°F | 3–7 minutes (60–90 sec per side) |
| Rest (tented with foil) | Room temp | 10–15 minutes |
Step-by-step for charcoal grill success:
- Light a full chimney of charcoal and let it burn until coals are ashed over
- Bank the coals to one side of the grill, leaving a clear cool zone
- Add a small chunk of oak or mesquite for smoke flavor if desired
- Adjust the bottom vent to bring the lid thermometer to 300°F
- Place the tri-tip on the cool zone, away from direct heat
- Close the lid with the top vent positioned over the meat
- Rotate the roast once or twice if one side is cooking faster
- Move to direct coals for the final sear
- Pull at your target temperature
- Rest tented for 10–15 minutes
The biggest advantage of charcoal is smoke flavor. A single wood chunk adds a subtle smokiness that complements the beefy richness of tri-tip without overwhelming it.
Tri-Tip Internal Temperature Chart for Perfect Doneness
Time is a guideline; temperature is gospel. Use this chart to know exactly when to pull your roast off the grill.
| Doneness | Pull Temp | Serving Temp (after rest) |
|---|---|---|
| Rare | 120°F | 125–130°F |
| Medium-rare | 125°F | 130–135°F |
| Medium | 135°F | 140–145°F |
| Medium-well | 145°F | 150–155°F |
| Well-done | 155°F | 160–165°F |
For most people, medium-rare is the sweet spot for tri-tip. The marbling renders just enough to keep the meat juicy, but the center stays tender and pink.
How to Take an Accurate Temperature Reading
Where you insert the probe matters just as much as when. The thickest part of the tri-tip is in the center of the large end, away from any fat seams or bones. The thin tail will always read higher, so ignore it when you're taking your official measurement.
Insert the thermometer sideways into the thickest portion, aiming toward the center. If you're using a leave-in probe, position it before the roast goes on the grill so you don't have to keep opening the lid.
The Right Way to Set Up Your Grill: Two-Zone vs Direct Heat
Tri-tip is thick enough that a direct-heat-only approach rarely works well. Cooking an entire 3-pound roast over high heat will char the outside before the center gets anywhere near medium-rare. The two-zone setup gives you control—gentle heat to cook through, then intense heat to build a crust.
Two-zone setup on gas: Preheat all burners, then turn one side to medium-high and the other to low or off. This gives you a hot side for searing and a cool side for finishing.
Two-zone setup on charcoal: Bank all lit coals to one side with a grill brush or tongs, leaving the other side empty. The empty side is your cool zone for indirect cooking.
Why it works: The cool zone cooks the meat evenly from edge to center, while the hot zone builds browning and flavor at the finish. You get the best of both worlds—an evenly cooked roast with a caramelized, crusty exterior.
If you're using a pellet grill or smoker without a direct sear option, you can achieve similar results by finishing in a cast-iron skillet on the stovetop. The same principles apply: low, steady heat first, then high heat for the crust.
Step-by-Step Method for Grilling Tri-Tip
1. Season the Roast
Pat the tri-tip dry with paper towels—moisture is the enemy of browning. Season generously with kosher salt, using about 1 to 1½ teaspoons per pound. Add coarse black pepper, garlic powder, and smoked paprika for a classic Santa Maria-style rub. Salt enhances flavor and helps develop that deep brown crust, while pepper adds warmth and the paprika brings a subtle smokiness.
For best results, salt the meat 30–60 minutes before grilling. This gives the salt time to penetrate, season the interior, and pull moisture to the surface where it can evaporate during the sear.
2. Sear for Color and Flavor
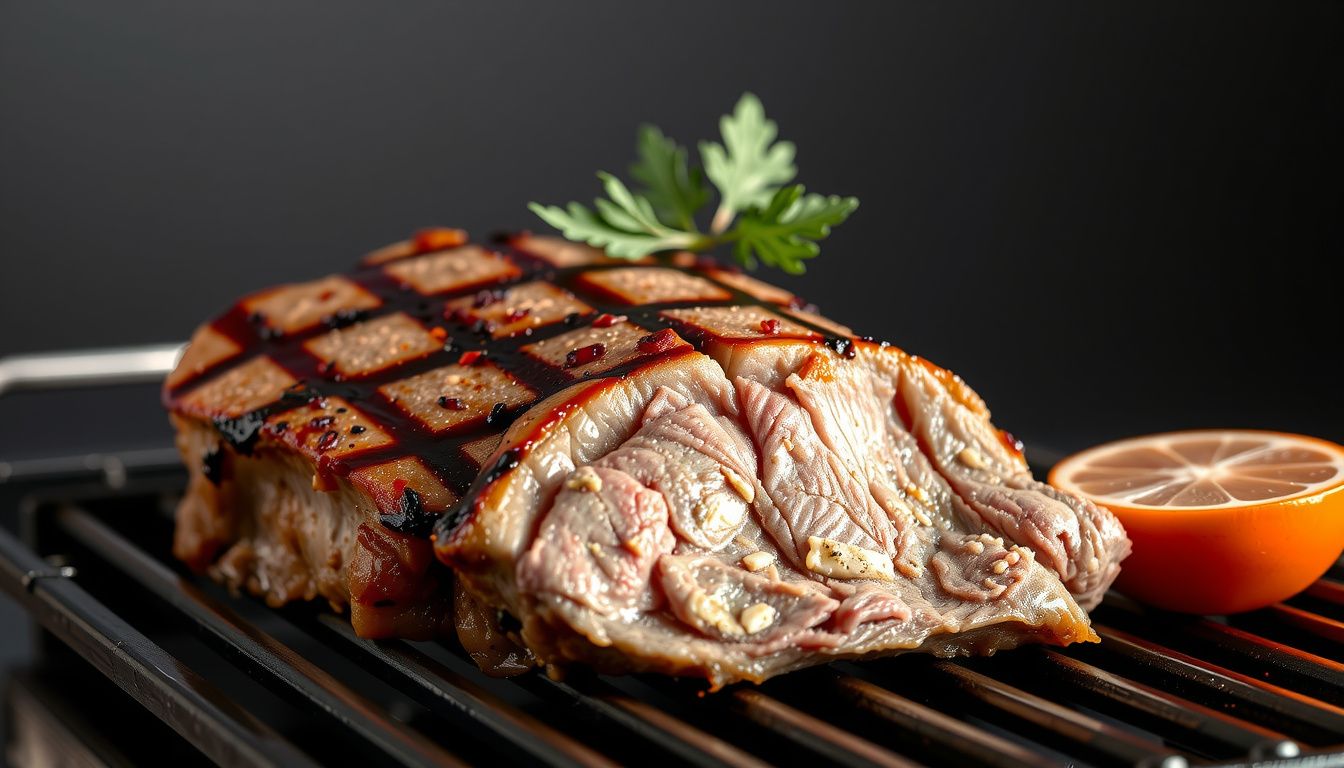
Place the tri-tip over the hot zone with the lid open. Sear 2–4 minutes per side, rotating 90 degrees halfway through each side for even browning and a nice crosshatch pattern. The goal here is a deep mahogany crust, not a fully cooked roast. You're building flavor, not finishing the cook.
3. Finish Over Indirect Heat
Move the roast to the cool zone, close the lid, and let it cook gently until it reaches your target pull temperature. This is the slow, steady phase that brings the center up to temperature without scorching the outside. If your roast is uneven in thickness, rotate it once or twice so the thick end faces the heat source longer.
4. Rest Before Slicing
Once the roast hits your pull temperature, remove it from the grill and tent it loosely with foil. Let it rest 10–15 minutes. This gives the juices time to redistribute throughout the meat. Slice immediately, and you'll lose a pool of juice on the cutting board—resting keeps that moisture in the slices where it belongs.
5. Slice Against the Grain
Tri-tip has a unique grain pattern—it changes direction partway through the roast. Locate the grain shift, cut the roast in half at that point, then slice each section perpendicular to the grain at a slight bias. Aim for slices about ¼-inch thick. Cutting against the grain shortens the muscle fibers, making each bite more tender.
Common Tri-Tip Mistakes That Ruin a Good Roast
Even experienced grillers make these errors. Here's what to avoid:
Skipping the rest. The single most common cause of dry tri-tip is slicing too soon. Those 10–15 minutes of rest are non-negotiable for a roast this size.
Trusting time over temperature. Every grill runs differently. Two 3-pound tri-tips from the same store can cook at different rates based on thickness and marbling. Always pull based on internal temperature.
Flipping constantly. Leave the roast alone during the indirect phase. Flipping every few minutes prevents browning and makes it impossible to maintain a stable grill temperature.
Using a meat thermometer that reads inaccurately. A cheap thermometer can read 10°F off, which is the difference between medium-rare and medium-well. Invest in a reliable instant-read thermometer and test it in ice water occasionally to verify accuracy.
Ignoring hot spots. One side of your grill always runs hotter than the other. Rotate the roast occasionally to ensure even cooking, especially during the indirect phase.
Over-marinating with acid-heavy marinades. Acid can make the surface mushy and actually prevent proper browning. A simple dry rub is usually the better choice for beef this flavorful.
FAQs About Grilling Tri-Tip
Should I grill tri-tip with the lid open or closed?
Closed. Keeping the lid down maintains consistent convection heat and prevents the surface from drying out while the center comes up to temperature. Open the lid only briefly for flipping or temperature checks.
How often should I flip tri-tip on the grill?
Less is more. Flip when the surface has set and browned—usually once during the indirect phase and once or twice during the sear. Nervous flipping prevents browning and destabilizes the cooking environment.
Should I marinate tri-tip before grilling?
Marinades are optional but not necessary. Tri-tip has enough inherent beef flavor to shine with just salt, pepper, and maybe garlic. If you use a marinade, avoid heavy acid and always pat the surface dry before hitting the grates.
How do I know when tri-tip is done without a thermometer?
You can use the "hand test" as a rough guide—comparing the firmness of the meat to the muscle at the base of your thumb. But honestly, a thermometer is far more reliable. The juice color test (clear vs pink) is less accurate than most people think.
Does carryover cooking affect tri-tip?
Yes. A thicker roast like tri-tip can rise 5–10°F during the rest, depending on how hot the sear was and how thick the roast is. Pull early and let the carryover do the finishing work.
Final Summary
The most reliable way to answer how long to cook 3 lb tri tip on grill is to commit to a method: two-zone heat, an accurate thermometer, and a patient rest. On a gas grill, plan for 35–55 minutes total. On charcoal, extend that to 40–65 minutes. In both cases, pull the roast at 125°F for medium-rare, tent it, and let carryover cooking bring it to a perfect 130–135°F.
Master this process once, and you'll have a repeatable system that works regardless of grill, weather, or cut. The clock gets you close—the thermometer gets you perfect.
Before you fire up the grill, make sure you're working with a clean cooking surface. Our guide on keeping your grill running smoothly isn't what you need—but if you're expanding your outdoor cooking skills, check out our beginner-friendly steak options for when you want to mix things up. And for a completely different grilled meal, our breakdown of proper burger cooking times covers another backyard staple.
For safety guidelines on cooking beef to proper internal temperatures, the USDA provides official recommendations for minimum doneness levels.