How To Winterize a 4 Stroke Outboard Motor Step-by-Step
Many owners assume how to winterize a 4 stroke outboard motor just means running it dry and throwing on a cover. That shortcut can leave fuel varnish in the injectors or carb, moisture in the gearcase, and corrosion starting where it can’t be seen.
The real answer is a short, repeatable routine that protects fuel, lubrication, and cooling passages before storage. Done right, it prevents hard starts, seized components, and surprise spring repairs. Look, it’s less about “winter” and more about stopping damage while the motor sits.
A solid winterizing pass typically includes:
- how to winterize a 4 stroke outboard motor with treated fuel and a stabilized system
- Changing engine oil and filter to remove acids and contaminants
- Checking or replacing lower unit gear oil to catch water intrusion early
- Flushing and fogging (where appropriate) to reduce corrosion risk
- Battery care and proper storage position to avoid water pooling
Example: a boater parks a 115hp four-stroke in October with untreated ethanol fuel. By April, it cranks but won’t idle, and the shop finds clogged passages—an avoidable bill that a 20-minute stabilizer run and oil change would’ve prevented.
Confirm Storage Conditions and Gather Supplies Before You Start
Now they’ll want to set the stage before touching the engine. Storage conditions drive the whole workflow, because moisture, freezing temps, and poor ventilation can undo otherwise solid prep in a few weeks.
First, they should confirm where the outboard will sit: on the boat, on a stand, or tilted on a trailer. The goal is stable support, good drainage, and protection from rodents and salt-laden air.
- Temperature: below-freezing risk means water must be fully drained and protected.
- Ventilation: avoid sealed tarps that trap condensation against metal.
- Orientation: store in a normal vertical position so the gearcase drains correctly.
Next, they should gather supplies so the job doesn’t stall mid-step. Product labels matter; using a 2-stroke fogging routine on a modern 4-stroke can create mess without real benefit.
- Marine fuel stabilizer (ethanol-rated), clean fuel container, and measuring cup
- Flush muffs or a flush port adapter, garden hose, and a timer
- Basic hand tools, shop towels, and a flashlight for inspection
Practical example: a boater storing a 115 hp 4-stroke in an unheated pole barn should plan for hard freezes and dust. They’ll want a breathable cover, a stable stand, and all supplies staged so the motor isn’t left half-prepped overnight.
Pro tip: they should keep the owner’s manual open to the winterization and flushing pages; some brands specify idle time and tell-tale flow checks. Common mistake: assuming “covered” means “dry,” then discovering corrosion around fasteners in spring.

Stabilize Fuel and Flush the Cooling System
With the workspace ready, they can move into the two steps that prevent most spring-start headaches: fuel stabilization and cooling-system flushing. Done in the right order, it reduces varnish in injectors and removes salt, silt, and organic buildup.
They should start by treating the fuel. Measure stabilizer for the tank’s actual fuel volume, not the tank’s rated capacity, then add it and run the engine long enough to pull treated fuel into the lines and fuel rail.
- Fill the tank to reduce condensation, leaving safe expansion space.
- Use ethanol-compatible stabilizer and follow the dose on the bottle.
- Idle 10–15 minutes, or per manual, so treated fuel reaches the engine.
Next, they should flush the cooling system. If using flush muffs, the water must fully cover the intake screens and the hose should be turned on before the engine starts. They should watch for a steady tell-tale stream and normal temperature behavior.
- Run fresh water 10–20 minutes, longer after saltwater use.
- Check tell-tale flow; clear debris if it’s weak or intermittent.
- Shut the engine off before turning off the hose to avoid overheating.
Pro tip: after flushing, they should let the motor sit vertical to drain completely. Common mistake: revving on muffs; low water supply can’t keep up and the impeller can be damaged.
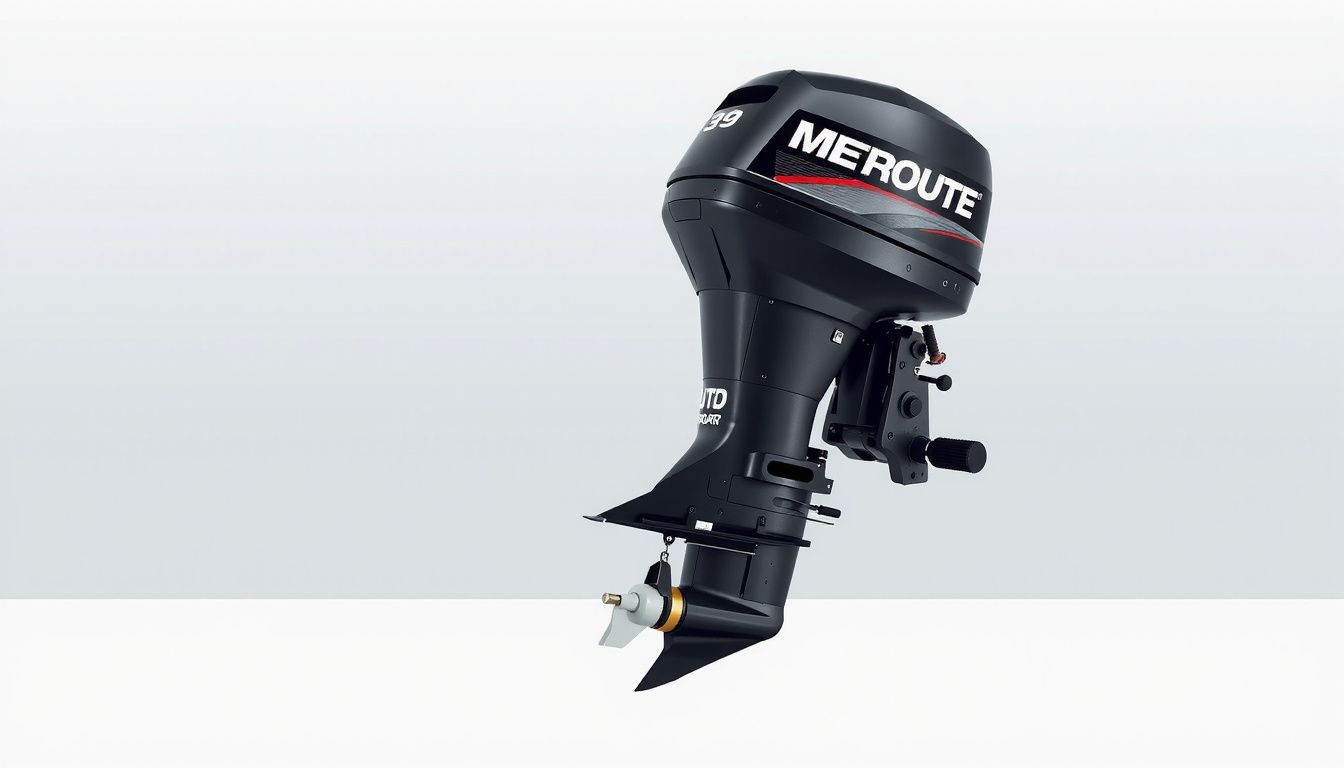
Change Engine Oil and Gearcase Lubricant
Now they’ll shift from water and fuel prep to the fluids that actually carry contaminants. Old oil holds acids and moisture, and leaving it in place over winter can etch bearings and journals. For a four-stroke, clean oil going into storage is cheap insurance.
They should warm the engine briefly on a hose or in a test tank, then shut it down and keep it level. Warm oil drains faster and pulls more suspended debris out with it. They’ll remove the drain plug and filter, then refill to spec and verify the level on the dipstick.
- Drain engine oil while warm; replace the crush washer if used.
- Install a new oil filter; lightly oil the gasket before tightening.
- Refill with the manufacturer’s recommended viscosity and capacity.
- Run the engine 30–60 seconds, then recheck level and leaks.
Next comes the gearcase. They’ll remove the lower (drain) screw first, then the upper vent screw, and inspect the lubricant as it drains. Milky oil means water intrusion; metal flakes suggest gear wear, and either condition warrants service before storage.
- Fill from the bottom until oil exits the vent hole.
- Install the vent screw first, then the drain screw quickly.
- Replace both sealing washers; reused washers often seep.
Practical example: a 150 hp four-stroke that shows milky gear oil after a fall trip likely has a nicked prop-shaft seal from fishing line. Catching it now prevents a freeze-thaw cycle from worsening corrosion inside the case.
Protect Internal Components and Inspect Wear Items
With fresh fluids in place, they’ll protect what can’t be seen and verify the parts that fail quietly. Corrosion starts on cylinder walls, electrical terminals, and exposed linkages. A short checklist keeps spring startup predictable.

They should fog the engine per the manufacturer’s method. Many modern four-strokes prefer fogging through the intake while idling, then shutting down as the engine stumbles; others call for removing spark plugs and fogging each cylinder. They’ll always reinstall plugs to the correct torque and reconnect coils securely.
- Fog cylinders or intake as specified; don’t overdo it.
- Grease pivot points, steering tube, and tilt mechanism fittings.
- Spray corrosion inhibitor on external metal and fasteners.
Now they’ll inspect wear items that can ruin the first outing. They’ll check the prop for dings, remove it, and clear fishing line from the shaft. They’ll also inspect the water pump service interval, anodes for depletion, and the condition of hoses and clamps.
- Anodes: replace if more than 50% consumed.
- Prop hardware: look for damaged cotter pins and washers.
- Belts and hoses: replace if cracked, glazed, or soft.
Practical example: when a boat sits in a damp shed, a lightly corroded battery cable end can create a high-resistance connection. Cleaning the terminal and sealing it with protectant prevents a no-crank situation at the ramp in April.
Store the Outboard Properly and Perform Final Checks
Now they’ll finish the job by storing the outboard in a way that keeps moisture, rodents, and corrosion from undoing all the prep work. Storage mistakes usually happen here—after the “messy” work feels done.
If the motor will be stored on the boat, they’ll trim it fully down so the gearcase drains and water can’t pool in the exhaust housing. If it’s off the boat, it should sit upright on a stable stand; laying it on the wrong side can push residual oil into places it shouldn’t be.
Before covering it, they’ll do a fast final check and lock in protection. A breathable cover beats a tarp that traps condensation, and a small vent or desiccant pack inside the cowl helps in damp climates.
- Remove the prop, grease the shaft, and reinstall or store the prop safely to prevent seizure and deter theft.
- Disconnect the battery (or remove it) and store it on a maintainer in a cool, dry spot.
- Inspect the telltale and intakes for debris; blockages can create a nasty surprise at spring startup.
- Wipe exposed metal with a corrosion inhibitor and touch up paint chips before rust starts.
Example: A coastal owner storing a 115 hp four-stroke in an unheated garage trims the motor down, pulls the prop to grease the shaft, drops two desiccant packs under the cowl, then fits a vented cover. In spring, the fasteners aren’t white with salt, and the prop slides off by hand.
Last, they’ll label the steering wheel or key tag with notes like “battery on maintainer” and “prop greased.” Those reminders prevent missed steps when the season flips back on.
Start Here
Now the winterizing work should be complete, and they can treat the outboard as “put away” rather than “parked.” The best results come from consistency: document what was done, confirm nothing was left loose, and plan the first start-up so spring doesn’t become a troubleshooting session. This is the practical finish line for how to winterize a 4 stroke outboard motor.
Before they walk away, they should lock in three habits that prevent surprises:
- Record the date, engine hours, and products used in a log or phone note.
- Label the motor or key tag with “winterized” and any spring reminders.
- Schedule a spring check date on the calendar (battery, start-up, and leak scan).
Example: A lake boater tapes a note to the steering wheel with the oil type, gear lube brand, and spring launch date, then saves the same details in a notes app. Next step: they should set a 15-minute reminder this week to create that log entry and label, then close the cover and store the keys.