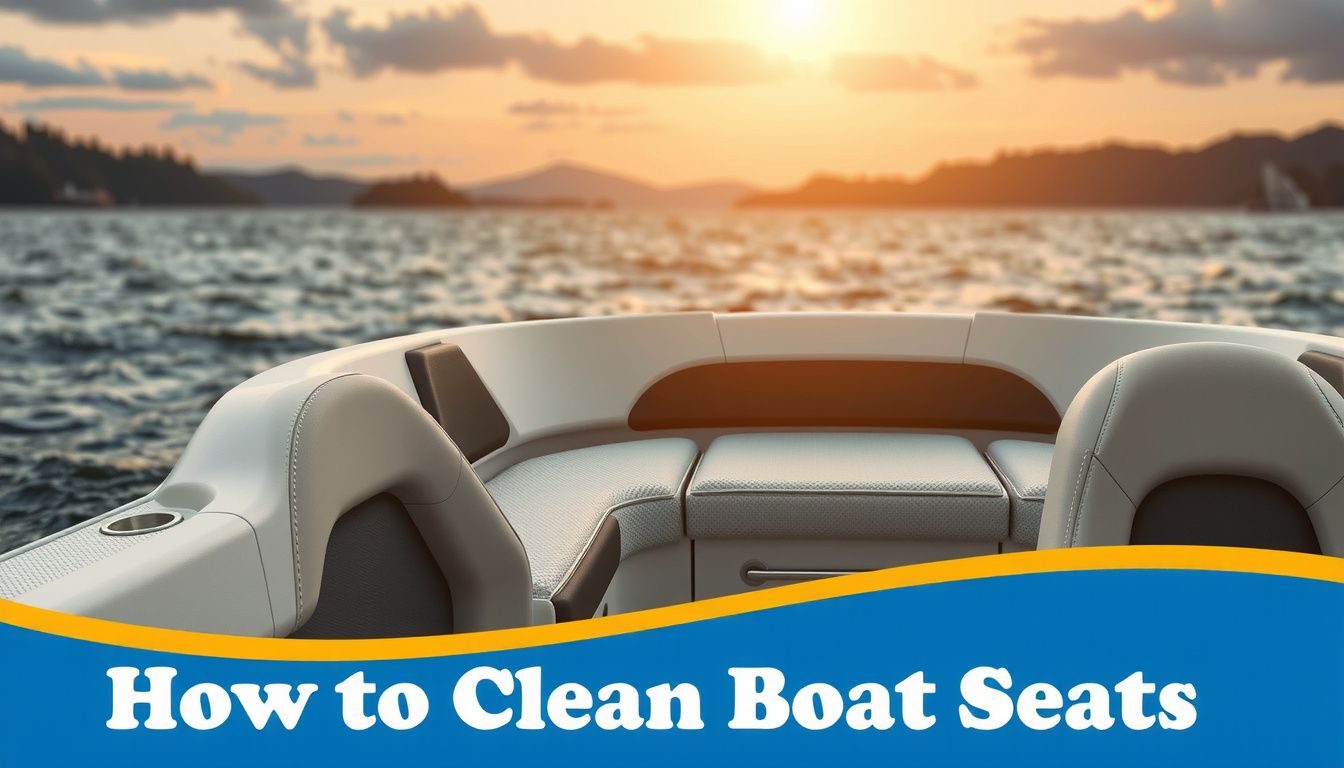
How to Clean Boat Seats for a Fresh, Stain-Free Finish
Wondering how to clean boat seats without fading the vinyl, setting stains, or leaving that sticky “cleaned” feel behind?
The answer is a repeatable routine: identify the seat material, use the mildest effective cleaner, scrub with the right brush, then rinse and protect. Done correctly, it removes sunscreen residue, mildew spots, and fish slime while extending the life of stitching and foam.
They’ll learn a simple process that covers:
- Safe cleaners for vinyl, marine leather, and fabric
- Tool choices (soft brush vs. microfiber) and when to use each
- Targeted stain tactics for mildew, rust marks, and grease
- Rinsing, drying, and UV protection to prevent cracking
Look at a practical example: after a weekend raft-up, a captain finds tan vinyl seats with sunscreen smears and a few black mildew freckles near the seams. They mist a marine-safe vinyl cleaner, agitate lightly with a soft bristle brush, wipe with microfiber, then rinse and dry before applying UV protectant—no bleaching, no slick residue, just a clean matte finish.
Assess Seat Material and Stains Before You Start
Now they’ll get better results by pausing for a quick assessment before any cleaner touches the upholstery. Boat seats vary more than most owners expect, and the wrong product can haze vinyl, strip protectants, or lock stains in place. A two-minute check prevents hours of rework.
First, they should identify the seat surface. Most marine seating is vinyl (PVC), but some boats use coated marine fabric, faux leather, or mixed materials with stitched seams and textured panels. If there’s a manufacturer tag under a cushion or inside a storage compartment, they should read it.
Next, they should classify the stain type. Different soils respond to different chemistry, and guessing wastes time. They should note whether the problem is surface grime, embedded body oils, mildew spotting, sunscreen transfer, or rust-colored water marks.
- Organic: food, drink, bird droppings, tannins (often brown).
- Oily: sunscreen, grease, bug spray residue (often slick).
- Biological: mildew/mold (black or green specks, musty odor).
- Mineral: hard-water spots, rust (orange/white rings).
They should also inspect condition and construction. Look for cracked vinyl, loose piping, frayed stitching, and open seams where liquid can seep into foam. If foam is wet or the seat feels heavy, they’re dealing with more than surface cleaning and should plan extra dry time.
A quick spot-test is non-negotiable. They should pick a hidden area, apply the intended cleaner, agitate lightly, and wait 5–10 minutes. Any discoloration, tackiness, or dulling means they need a gentler product or different dwell time.
Practical example: A captain sees yellow smears on a white bench after a weekend raft-up. A swipe test shows it’s oily sunscreen, not mildew. They choose a vinyl-safe degreasing cleaner, avoid bleach, and focus on short dwell times so the vinyl doesn’t dry out.
Gather Supplies and Prep the Area for Safe Cleaning
Once they know what they’re cleaning, they can set up the workspace so the job stays controlled. Good prep keeps runoff out of the bilge, prevents overspray on gelcoat, and reduces the chance of water soaking into seat foam.
They should assemble tools based on the seat material and stain category. Marine-grade products matter because they’re designed for UV exposure, salt, and vinyl plasticizers. Household cleaners can work, but only when they’re compatible and used carefully.
- Cleaner: vinyl-safe seat cleaner; mildew remover labeled for marine vinyl when needed.
- Agitation: soft nylon brush, detailing brush for seams, microfiber towels.
- Rinse control: spray bottle of fresh water, damp rinse towel, small bucket.
- Protection: vinyl protectant with UV inhibitors (non-greasy finish).
- Safety: nitrile gloves, eye protection, good ventilation.
Prep the boat before spraying anything. They should remove loose gear, lift cushions if possible, and vacuum grit from seams so it doesn’t become sandpaper during scrubbing. If the boat’s in the sun, they should move to shade or clean early; hot vinyl makes cleaners flash-dry and streak.
They should protect surrounding surfaces. A towel or plastic sheet under the work area catches drips, and painter’s tape can shield stitching on adjacent fabric panels. They should also close nearby storage compartments so mist doesn’t settle inside.
Pro tip: They’ll get more consistent results by working in small zones (one seat back or one cushion at a time) and keeping two towels ready: one for wiping cleaner, one for final buffing.

Common mistake: Flood-rinsing with a hose. It pushes dirty solution into seams and foam, creating lingering odor and slow-dry mildew risk.
Practical example: Before cleaning a cockpit lounge, they vacuum the stitching, place an old bath towel along the base to catch runoff, and pre-fill a spray bottle with fresh water for controlled rinsing between passes.
Clean Boat Seats Step-by-Step for Everyday Grime
Now the seats are assessed and the area is prepped, they can move into a repeatable routine that removes sunscreen film, dust, and light scuffs without leaving a slick residue.
The goal is simple: lift grime, rinse it away, then dry the vinyl so it doesn’t attract new dirt. Working in small sections keeps cleaner from drying on the surface.
-
Rinse first. They should mist or lightly rinse the seats with fresh water to float off loose grit that can scratch during wiping.
-
Apply cleaner to the towel, not the seat. A damp microfiber towel with a small amount of vinyl-safe soap reduces overspray into seams and stitching.
-
Wipe in straight passes. They should wipe along the grain and around piping, flipping the towel to a clean side as it loads up.
-
Agitate seams gently. A soft detailing brush works for stitch lines and textured panels; they should use light pressure and short strokes.
-
Rinse and inspect. A quick rinse removes surfactant residue that causes that “sticky cleaned feel.” They should re-wipe any dull, oily patches.
-
Dry completely. They should towel-dry, then let the seats air out with compartments open to prevent trapped moisture.
Pro tips: They’ll get better results by changing towels often and keeping one “rinse towel” dedicated to final passes. If water beads unevenly, that’s usually leftover body oils, not “stains.”
Common mistakes: Letting soap dry on hot vinyl, scrubbing aggressively with a stiff brush, and skipping the rinse. Each one can leave haze or accelerate wear at high-contact spots.
Practical example: After a busy weekend of tubing, they may notice gray smudges where feet rubbed the seat base. A rinse, two light wipe-down passes, then a seam-brush touch-up typically removes it without needing any heavy-duty chemicals.
Remove Tough Stains and Mildew Without Damaging Vinyl
When everyday cleaning doesn’t shift the mark, they should treat stains like a controlled spot-repair. The safest approach is to start mild, escalate slowly, and stop as soon as the stain releases.
They should work one stain at a time and keep dwell time short. Vinyl can discolor if strong products sit too long, especially on lighter colors.

-
Pre-wet the area. A damp towel reduces the chance of a concentrated cleaner “ring” forming around the stain.
-
Spot-apply the right remover. For organic grime and most mildew, they should use a marine vinyl mildew remover or an oxygen-based cleaner per label directions.
-
Short dwell, then gentle agitation. They should allow brief dwell time, then use a soft brush in small circles, focusing on texture valleys.
-
Rinse thoroughly. They should rinse until water runs clear, then wipe with a clean damp towel to pull residue from pores.
-
Repeat once if needed. Two light cycles beat one aggressive scrub, which can abrade the topcoat.
-
Dry and ventilate. Mildew returns when moisture stays trapped; they should dry seams and open storage areas.
Pro tips: They should treat mildew as a moisture problem, not just a surface stain. After cleaning, a vinyl protectant designed for marine UV exposure can reduce future staining and make routine wipe-downs easier.
Common mistakes: Using household bleach, magic erasers, or harsh solvents. Those can strip the vinyl finish, lighten color, and create a permanent dull patch.
Practical example: If they find pepper-like black specks along the rear bench seam after rain, they can pre-wet, apply a vinyl-safe mildew remover for a short dwell, lightly brush the seam, then rinse and dry. If the specks fade but don’t vanish, a second gentle cycle usually finishes the job without damaging the surface.
Rinse, Dry, and Protect Seats to Prevent Future Buildup
Now they’ll lock in the results by rinsing away residue, drying correctly, and adding protection that slows the next round of grime. This is the step that prevents that dull haze, tacky feel, or “reappearing” mildew spots after a few humid days. Done right, it’s also what keeps vinyl supple instead of chalky.
First, rinse lightly to remove any cleaner and lifted soil. A gentle stream from a hose or a damp microfiber works; high pressure can force water into seams and foam. They should keep rinse water moving off the seat, not pooling in stitch lines or around hinges.
- Use clean water and change rinse cloths often to avoid re-depositing dirt.
- Rinse from top to bottom so residue doesn’t run onto finished areas.
- Wipe tight seams and piping last, where soap likes to hide.
Next comes drying, and speed matters. They’ll get the best outcome by towel-drying with microfiber, then letting airflow finish the job with compartments open. If they’re in a humid marina, a small fan aimed across the seats dries faster than blowing straight at them.
- Blot, don’t scrub, to avoid scuffing softened vinyl.
- Open storage lids to vent trapped moisture under cushions.
- Don’t cover seats until they’re fully dry, or mildew will return.
Once dry, protect the surface. A marine UV vinyl protectant that dries non-greasy is the safest choice; they should apply a thin coat, let it haze, then buff lightly. This step is central to how to clean boat seats without attracting new dirt, since excess product becomes a dust magnet.
Practical example: After a weekend of sunscreen and lake water, they rinse, towel-dry, then apply protectant to sun-facing bolsters only. The next outing, sunscreen wipes off with a damp cloth instead of embedding, and the vinyl stays satin—not slick.
You’re Ready
Now they can keep results consistent because they’ve built a repeatable routine for how to clean boat seats without guesswork. Clean seats don’t just look better; they make inspections faster, reduce odors, and help spot small issues before they turn into repairs. The key is staying systematic and not letting grime sit long enough to bond.
Look at a practical example: after a weekend of tubing, a family notices sunscreen smears and snack residue on the aft bench. They handle it the same day, and the seats are back to “guest-ready” before the next outing, with no sticky feel or lingering smell.
- Set a cadence: quick wipe after every trip, deeper clean monthly in season.
- Log what worked: product, dilution, dwell time, and results.
- Store smart: keep a small kit onboard so they don’t skip the easy wins.
Next step: they should schedule a 15-minute post-ride seat check after the next outing and stock a dedicated cleaning kit today.