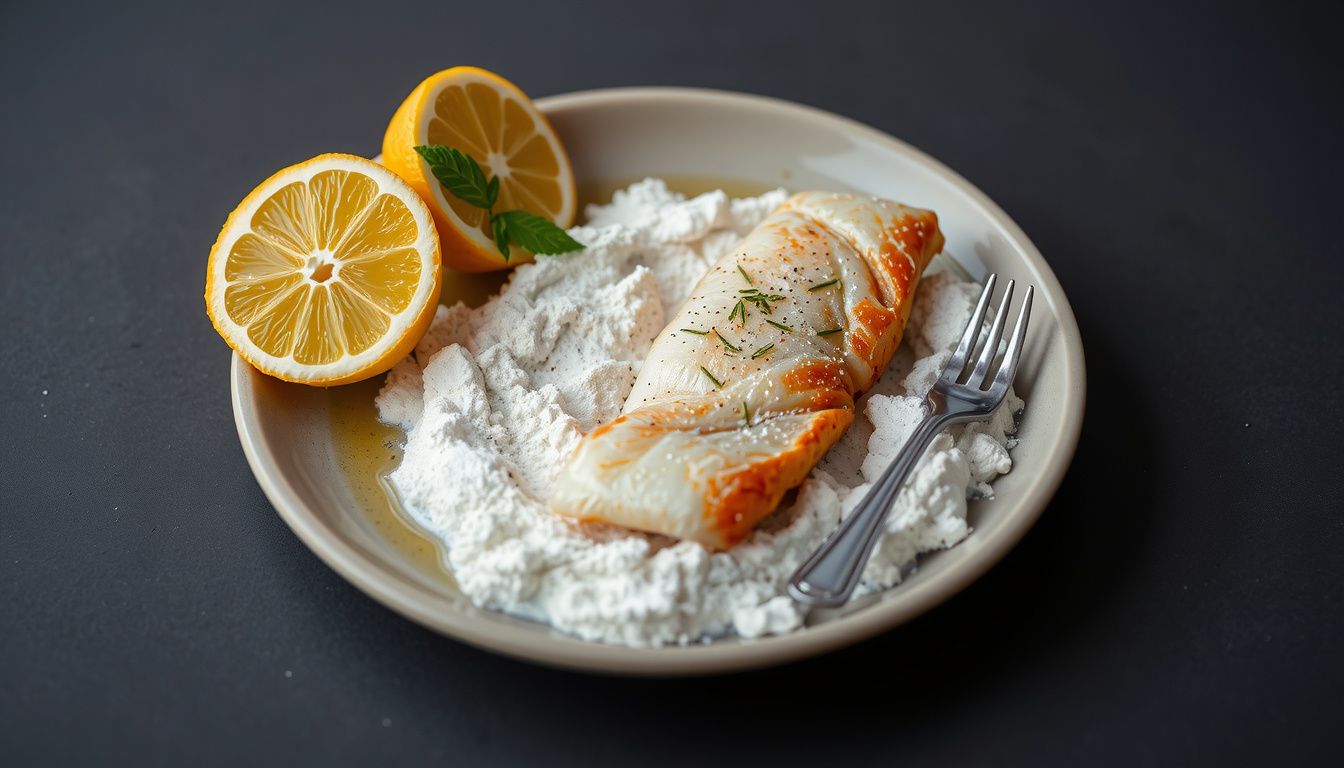
How to Fry Fish With Flour and Egg for Crisp Coating
A golden, shatteringly crisp crust wrapped around tender, flaky fish is one of the most satisfying things you can make in a home kitchen. Yet so many home cooks end up with soggy, greasy, or bald-spotted fillets that shed their coating in the pan. The good news? The problem is almost never the recipe — it's the technique.
Frying fish with flour and egg is a classic three-step process that delivers restaurant-quality results once you understand why each step matters. The flour creates a dry base that helps the egg cling, the egg acts as glue for the final crispy layer, and proper oil temperature seals everything into a crunchy shell while the fish steams gently inside. Master this system, and you'll never fear frying fish again.
This guide covers everything from selecting the right fish and setting up an efficient dredging station to nailing oil temperature, avoiding common pitfalls, and keeping leftovers crisp. By the end, you'll have a reliable, repeatable method for perfectly fried fish every time.
Gather Ingredients, Tools, and Choose the Right Fish
Great fried fish starts before the oil ever hits the pan. The right fish, a well-stocked dredging station, and a few key tools make the difference between a frustrating mess and a crisp, golden success.
Fish Selection: Firm, Mild, and the Right Thickness
Not all fish fry equally well. You want firm, mild-flavored fillets that hold together in hot oil and won't fall apart when you flip them. The best options are:
- Cod — the classic choice; firm, flaky, and mild
- Haddock — similar to cod, slightly sweeter
- Pollock — affordable and forgiving
- Tilapia — thin, mild, and widely available
- Catfish — a Southern favorite with a slightly denser texture
- Walleye — prized for its clean, delicate flavor
Salmon works in a pinch, but its high fat content causes it to brown faster and can overpower the delicate flour-and-egg crust. Save it for grilling instead.
Thickness matters far more than most home cooks realize. Fillets around ½ to 1 inch thick cook through evenly without the coating over-browning. Thinner fillets (like tilapia) need less time in the oil; thicker cuts (like cod loin) need a bit more. If using frozen fish, thaw it completely in the refrigerator overnight and pat it thoroughly dry — surface water is the number one reason coatings slide off.
Pro tip: Fresh fish should smell clean and briny, not "fishy." If it smells off, no coating will save it. The flesh should spring back when pressed gently.
The Ingredient List
| Ingredient | Purpose | Notes |
|---|---|---|
| Fish fillets | The star | 4–6 oz per person |
| All-purpose flour | Base layer and crisp coating | Mix 50/50 with cornstarch for extra crunch |
| Eggs | Binding agent | 1–2 for a family batch |
| Salt and black pepper | Flavor foundation | Season the flour, not just the fish |
| Optional spices | Flavor boost | Paprika, garlic powder, cayenne, dried dill, lemon zest |
| Neutral high-heat oil | Frying medium | Canola, peanut, sunflower, or refined avocado |
| Lemon wedges and sauce | Serving | Tartar, remoulade, or yogurt-herb |
Essential Tools
- Cast iron or heavy stainless skillet — holds heat steadily
- Instant-read thermometer — takes the guesswork out of oil temperature
- Wire rack over a sheet pan — for resting and draining (not paper towels)
- Tongs and a thin metal spatula — for gentle flipping
- Shallow trays or pie plates — for the dredging station
Common mistake: Skipping seasoning until after frying. The flour and egg need salt and spice before the fish hits the oil, or the crust tastes flat and bland. Season the flour generously — it's your only chance to flavor the coating itself.
Set Up the Flour-and-Egg Dredging Station
The dredging station is where crispness is decided. Organized properly, it makes coating quick, even, and mess-free. Set it up haphazardly, and you'll end up with gummy fingers, clumpy breading, and coating that slips off in the oil.

Set up your station left to right: fish, flour, egg, and a resting rack.
The Assembly Line
Arrange your station left to right so the workflow flows naturally:
- Dry fish — pat fillets with paper towels. For extra moisture removal, salt the fish and let it sit 10 minutes, then pat dry again.
- Seasoned flour tray — mix flour with salt, pepper, and your chosen spices. A reliable baseline: 1 cup flour + 1 teaspoon kosher salt + ½ teaspoon black pepper.
- Egg bowl — beat eggs until fully blended. For a lighter, lacier crust, whisk in 1–2 tablespoons of water or milk.
- Dredging zone — coat fish in flour, shake off excess, dip in egg, let excess drip, then place on a clean tray.
- Resting rack — let coated fillets rest 5–10 minutes so the coating "sets" and adheres better in the oil.
The Dry Hand / Wet Hand Rule
This single habit transforms your dredging experience: use one hand exclusively for dry ingredients (flour) and the other for wet (egg). Switch hands between steps, and you'll avoid the gummy "glove fingers" that drop clumps of raw flour into the oil and create patchy, ugly coatings.
Practical example: For four cod fillets, use 1 cup of flour seasoned with paprika and garlic powder, then beat 2 eggs with 1 tablespoon of water. After dredging, rest the fillets on a wire rack while the oil heats.
Pro tip: For extra crunch without breadcrumbs, add 2–3 tablespoons of cornstarch to the flour. It fries up crisper and browns more evenly than flour alone.
Common mistakes: Pressing the fish hard into the flour (creates thick, raw patches) and skipping the rest time (coating can blister and slip off in the oil). Keep your trays shallow and your workflow tidy to avoid both.
Coat the Fish Evenly With Flour and Egg
Now that your station is ready, focus on building an even, dry-to-wet coating that clings through the fry. The goal is a thin flour layer for grip, a complete egg layer for adhesion, then a final flour layer that fries into a crisp shell. Rushing this step shows up later as bald spots or soggy patches.
The Three-Step Coating Method
- Pat the fish dry one more time. Moisture is the enemy here. A tacky or wet surface turns flour pasty, and egg slides instead of bonding.
- Coat lightly in flour, shaking off the excess so the fish looks dusted, not caked.
- Dip into beaten egg, letting the excess drip back into the bowl for 2–3 seconds.
- Return to the flour for a second, thin coat, pressing gently so the flour adheres evenly.
Start with the edges first. Fish fillets often curl or taper, and those thin edges are the first to overcook. Coating the edges thoroughly helps them brown at the same pace as the thicker center.
Pro tip: After dredging, let the fish rest on a rack for 5 minutes. The coating hydrates slightly and clings better in the fryer. This short pause dramatically reduces coating loss.
Common mistakes:
- Over-flouring — thick layers taste raw and shed into the oil, leaving bitter specks
- Skipping the shake-off — excess flour burns and leaves an unpleasant taste
- Letting coated fish sit too long — the coating turns damp and heavy
Practical example: Frying 4 tilapia fillets? Dredge two, rest them on a rack, then dredge the other two. This stagger keeps the coating set without letting it sit so long it turns soggy.
Fry the Fish to a Crisp, Golden Finish
The frying step is all about temperature control and spacing. You're aiming for a steady sizzle — not a violent boil or a silent oil bath. When the temperature is right, the fish browns evenly and the coating stays crisp instead of absorbing grease.
Get the Oil Temperature Right
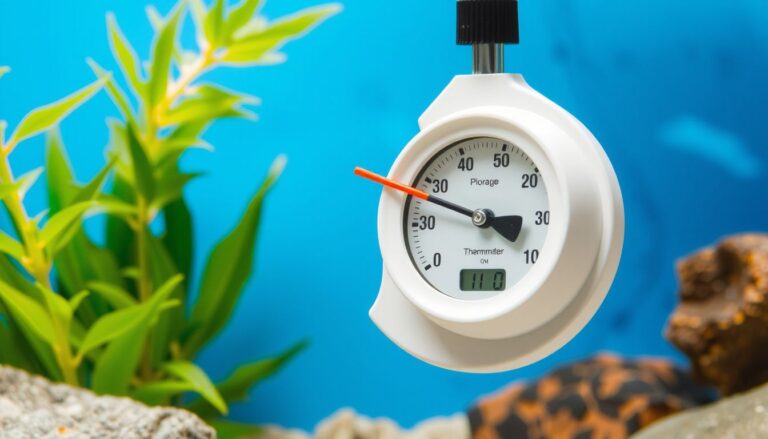
Heat your oil to 350–365°F (177–185°C) and confirm it with a thermometer. If you don't have one, a pinch of flour should sizzle immediately and float — not sink and sit silently. Oil that's too cool makes the coating heavy and greasy; oil that's too hot browns the outside before the fish cooks through.

Maintain a steady 350–365°F for a crisp, evenly browned crust.
The Frying Process
- Lower the fish in gently, laying it away from your body to avoid oil splashes
- Fry in batches so the pan isn't crowded and the temperature doesn't crash
- Flip only once, after the first side is set and releases easily from the pan
Most fillets need 2–4 minutes per side, depending on thickness. Watch for the cues: a deep golden color, vigorous bubbling that calms slightly, and firm edges. If the coating darkens too fast, reduce the heat and let the oil recover before adding more fish.
Don't Fuss With the Fish
Resist the urge to poke, prod, or shuffle the fish around. Early movement tears the coating. A thin metal spatula or fish turner works best — slide it under in one confident, smooth motion and flip.
Pro tip: Let the oil return to 350–365°F between batches. Adding cold fish to overheated oil causes the temperature to swing dramatically, which ruins the crust texture.
Common mistakes:
- Draining on paper towels only — they trap steam and soften the underside. Use a wire rack instead.
- Overcrowding the pan — traps steam and makes the crust soft and chewy
Practical example: Frying two ½-inch cod fillets in a 12-inch skillet? Leave at least 1 inch between pieces. After 3 minutes, flip once, fry 2–3 minutes more, then drain on a rack for 2 minutes before serving. That short rest keeps the crust intact and non-greasy while the fish finishes steaming inside.
Drain, Season, Serve, and Store Leftovers Properly
The final five minutes decide whether your fish stays crisp or turns limp. Protect that crunch with proper draining, immediate seasoning, and a smart serving setup.
Drain on a Rack, Not Paper Towels
Move each piece to a wire rack set over a sheet pan. Airflow keeps steam from softening the flour-and-egg crust. Paper towels trap moisture underneath and can make the coating soggy within minutes.
- Drain on the rack for 2–3 minutes per batch — don't pile pieces on top of each other
- Keep finished pieces warm in a 200°F (95°C) oven on the rack while the last batch fries
- Never cover with foil — it traps steam and destroys the crunch
Season While Hot
Salt needs surface heat to dissolve and cling. Season the top side as soon as the fish hits the rack, then flip and season the second side lightly. A pinch of paprika, cayenne, or black pepper adds depth — or finish with a squeeze of fresh lemon for brightness.
Serving Suggestions
Plate on a clean rack or warmed plates, not a cold stack. Serve your sauce on the side so the crust stays dry: classic tartar, spicy remoulade, or a simple lemon-garlic aioli.
Practical example: For a fish fry dinner, fry in batches and hold the first pieces on a rack in a 200°F oven. When the last batch finishes, season everything, then serve immediately with coleslaw, tartar sauce, and lemon wedges — no soggy pieces in sight.
Storing and Reheating Leftovers
Cool the fish on a rack for 15–20 minutes, then refrigerate in a shallow container lined with paper towels. Leave the lid slightly cracked until everything is fully cold to prevent condensation.
- Reheat in a 400°F (205°C) oven or air fryer for 6–10 minutes until hot and crisp
- Avoid the microwave — it turns the coating soft and chewy
- Use refrigerated leftovers within 2 days for the best texture
Troubleshooting Common Problems
Even experienced cooks hit snags with fried fish. Here's how to diagnose and fix the most common issues:
| Problem | Likely Cause | Fix |
|---|---|---|
| Coating slides off in the oil | Fish wasn't dry, or egg layer was too thick | Pat fish dry thoroughly; shake off excess egg before the final flour coat |
| Greasy, heavy crust | Oil temperature too low | Wait for 350°F minimum; fry smaller batches |
| Coating burns before fish cooks | Oil too hot, or fillets too thick | Lower heat; choose thinner fillets or pound thicker ones |
| Bald spots in the coating | Rushed dredging, or wet fish | Pat dry and coat edges first; let coated fish rest 5 minutes |
| Bitter specks in the crust | Excess flour burned in the oil | Shake off all excess flour; refresh the flour tray as needed |
| Soggy bottom | Drained on paper towels, or piled up | Use a wire rack and avoid stacking |
Putting It Into Practice
Now it's time to make this method a repeatable weeknight win. The real difference comes from staying consistent: same workflow, same timing, and small adjustments based on what you see and hear in the pan.
Look for these "done right" signals before serving:
- Sound: steady sizzle, not loud popping
- Color: even golden tone across the entire surface
- Texture: firm flakes with no wet coating spots
Real-world example: Cooking for two on a busy Tuesday? Fry in small batches, hold pieces briefly on a rack, then plate with lemon and a simple slaw. Start with one test fillet, note what you'd change, then repeat with the remaining pieces. Each batch gets better.
For more seafood inspiration, explore our guide to smoking fish properly or learn the ideal deep-frying times for different fish varieties. If you're planning a full outdoor cookout, our beginner's guide to grilling steaks pairs beautifully with a seafood spread, and these oven-baked BBQ pork chops round out any feast.
Frequently Asked Questions
Why does my batter fall off the fish when frying?
The most common cause is excess surface moisture. Pat the fish completely dry before dredging, shake off excess flour before the egg dip, and let the coated fillets rest on a rack for 5–10 minutes before frying. This allows the coating to hydrate and bond to the fish.
Can I use breadcrumbs instead of a second flour coating?
Yes. Replace the final flour coat with breadcrumbs (plain, panko, or seasoned) for a crunchier, more textured crust. Keep the initial flour and egg steps the same — they create the adhesive base that holds the breadcrumbs in place.
What's the best oil for frying fish?
Use a neutral oil with a high smoke point: canola, peanut, sunflower, or refined avocado oil. These oils can handle the 350–365°F frying temperature without burning or imparting off-flavors to the fish.
How do I know when the fish is fully cooked?
The coating should be deep golden brown and the fish should flake easily with a fork. The internal temperature should read 145°F (63°C) on an instant-read thermometer. As a visual cue, the flesh will turn from translucent to opaque white.
Can I prepare the coated fish ahead of time?
Yes, but only by a few hours. Coat the fish, place on a rack in the refrigerator uncovered, and fry within 2–3 hours. Any longer, and the coating will absorb too much moisture and turn soggy. Don't freeze coated fish — the texture degrades badly.
Why does my fried fish taste greasy?
Greasiness almost always means the oil wasn't hot enough. When oil temperature drops below 350°F, the coating absorbs oil instead of repelling it. Fry in small batches, wait for the oil to recover between batches, and always drain on a wire rack.
Conclusion
Frying fish with flour and egg doesn't have to be a hit-or-miss gamble. The method comes down to four non-negotiable steps: dry the fish thoroughly, build a dry-to-wet coating, fry at 350–365°F in small batches, and drain on a rack rather than paper towels. Each step reinforces the others — skip one, and the whole system breaks down.
The beauty of this technique is its repeatability. Once you internalize the workflow, you can adapt it endlessly: swap the spices, add cornstarch for extra crunch, or switch up your sauce. The fundamentals stay the same because they're rooted in basic food science — moisture control, temperature management, and proper coating adhesion.
Tonight, pick up some fresh cod or tilapia, set up your dredging station, and fry your first batch. Pay attention to the sizzle, the color, and the texture. By the second batch, you'll be adjusting on instinct. By the third, you'll wonder why you ever feared frying fish in the first place.
For more outdoor and kitchen cooking guides, explore our resources on grilling pizza on a BBQ, smoking fish at home, and mastering hamburger grilling times.
If you're looking to expand your cooking repertoire beyond the stovetop, these related guides will help you build confidence across the grill and the oven. For a complete weeknight seafood spread, try pairing your crispy fried fish with a simple homemade slaw and the perfectly timed chicken thighs as a hearty side. And when you're ready to master another protein entirely, our guide to slow-cooked BBQ pork chops in a crock pot offers a set-and-forget alternative that's perfect for busy days.
Remember, the key to consistently great fried fish isn't a secret ingredient — it's a reliable process. Dry thoroughly, season boldly, coat evenly, fry at the right temperature, and drain on a rack. Master those five fundamentals, and you'll produce crispy, golden fillets that rival your favorite seafood restaurant, right in your own kitchen.