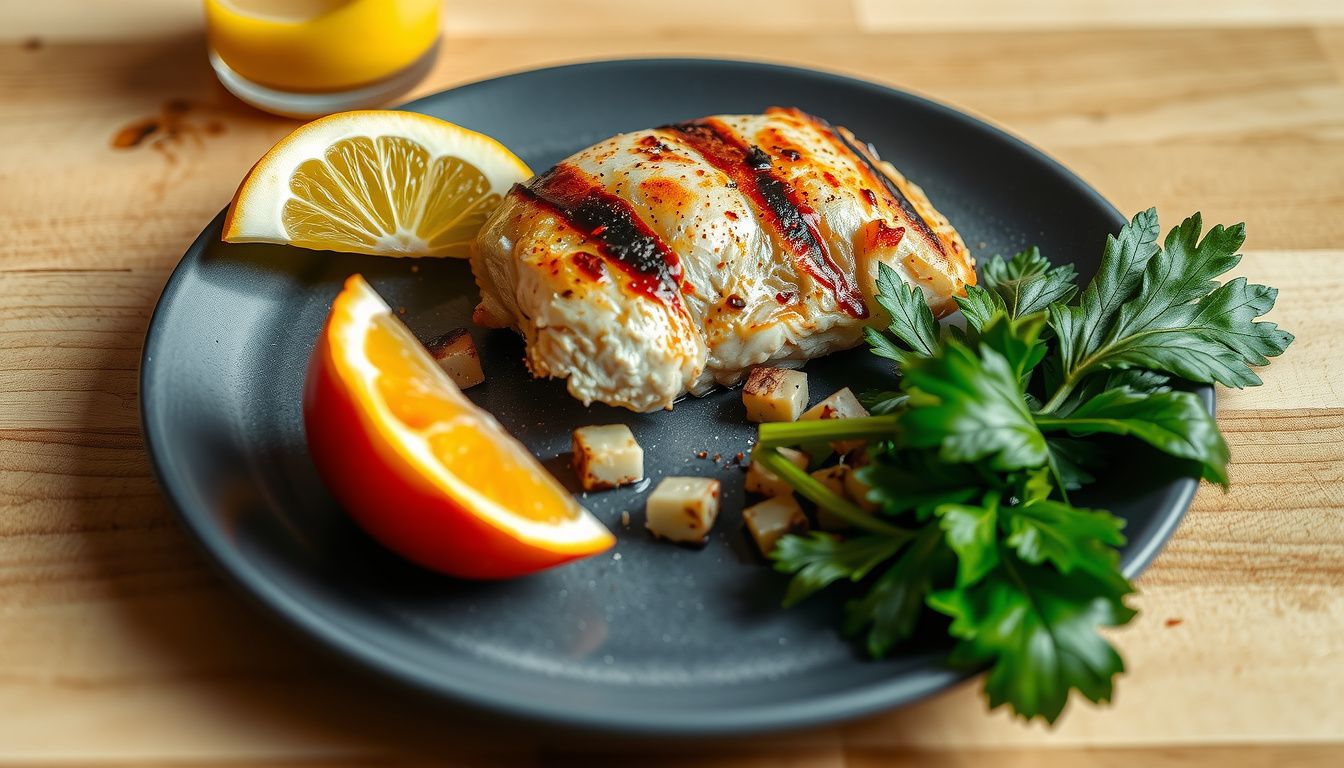
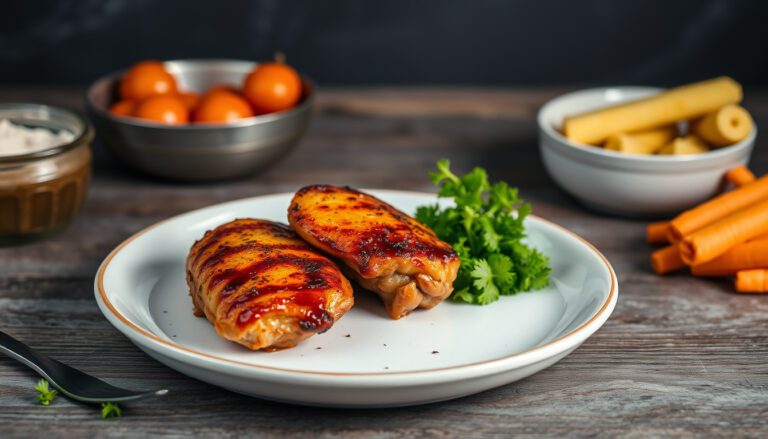
How Long to Grill Thick Chicken Breast for Juicy Results
How long to grill thick chicken breast is the difference between a juicy dinner and a dry, chewy one. Thick cuts look simple, but they’re the easiest to undercook in the center or overcook on the outside.
Grill time depends on thickness, grill heat, and whether the chicken is boneless or bone-in. Look at it like a small system: steady heat, smart flipping, and a reliable temperature check beat guesswork every time.
Most test kitchens and food-safety guidance agree on one non-negotiable: chicken is done at 165°F (74°C) in the thickest part. A quick real-world example: if they’re grilling two 1.25-inch boneless breasts over medium heat, they’ll usually land near 6–8 minutes per side, then rest a few minutes so the juices settle.
They’ll learn the exact timing cues, plus the simple steps that keep thick breasts tender:
- How to set up the grill for direct vs. indirect heat
- When to flip, when to move, and when to rest
- What signs matter (and which ones lie)
Keep reading, follow the timing guide, and grab a thermometer—once they nail this, weeknight grilling gets a lot easier.
What Counts as a Thick Chicken Breast (and Why It Changes Grill Time)
Now, the word “thick” needs a real definition, because grill time isn’t about weight as much as distance to the center. Most cooks should treat a chicken breast as “thick” when the thickest point measures 1 inch (2.5 cm) or more. At that size, the outside can brown fast while the middle lags behind.
Thickness changes grill time because heat moves inward slowly, especially with lean meat. A thick breast needs enough time to reach a safe internal temperature without drying out the surface. That’s why two breasts that both weigh 8 ounces can cook very differently if one is tall and rounded.
Look for these common “thick” scenarios:
- 1 to 1.25 inches: typical “large” breast from the store
- 1.5 inches+: extra-large or air-chilled cuts with a pronounced hump
- Stuffed or folded: effectively thicker even if the raw cut seems average
Practical example: if a breast is 1.5 inches at the thick end, they’ll get better results by using two-zone heat and flipping more often, rather than blasting it over high heat the whole time.
How Long to Grill Thick Chicken Breast: Time Chart by Thickness and Heat
Once thickness is known, grill time becomes predictable. The goal is a juicy breast that reaches 165°F / 74°C in the thickest spot, then rests so the juices redistribute. Time ranges vary with grill strength, lid use, and starting temperature, so a thermometer stays the decision-maker.
For most gas or charcoal grills with the lid closed, these times work as a reliable starting point (flip every 3–5 minutes):
- 1.0 inch: 10–14 minutes total (medium-high heat)
- 1.25 inches: 14–18 minutes total (medium heat)
- 1.5 inches: 18–24 minutes total (medium, finish on indirect)
- 2.0 inches: 25–35 minutes total (mostly indirect after sear)
Practical example: on a preheated gas grill, they can sear a 1.5-inch breast for 2–3 minutes per side over direct heat, then move it to indirect heat until it hits 160–165°F, followed by a 5-minute rest.
Key cue: if the outside is browning too quickly, they should lower the heat or shift to indirect cooking before the center catches up.
Direct vs Indirect Heat: The Best Setup for Thick Chicken Breasts
Now that timing is clearer, the grill setup becomes the deciding factor for texture. Thick chicken breasts need enough surface heat for browning, but not so much that the outside overcooks before the center catches up.

Direct heat sears fast and builds flavor, yet it’s risky for thick cuts because the exterior can dry out while the middle stays underdone. Indirect heat cooks more gently with circulating heat, giving the interior time to reach a safe temperature.
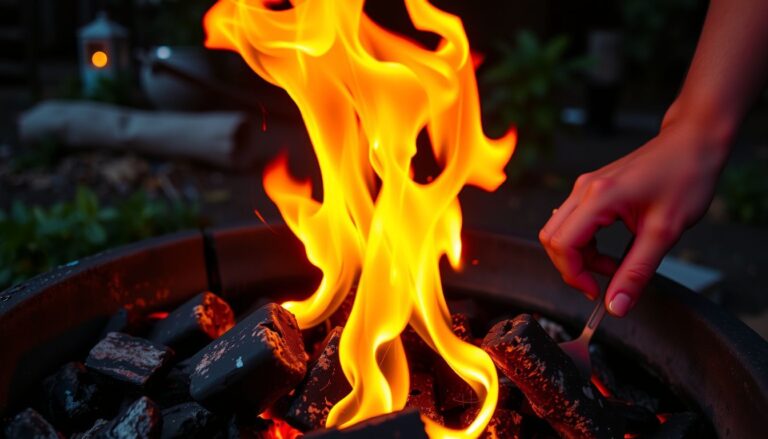
A reliable approach is the two-zone method: one hot side for searing and one cooler side for finishing. Look for a grill surface around 450–500°F on the direct side and roughly 350–400°F on the indirect side, then adjust vents or burners to hold steady.
- Gas grill: preheat all burners, then turn one side down to low (or off) for an indirect zone.
- Charcoal grill: bank coals to one side; leave the other side coal-free for indirect cooking.
- Lid on: keep it closed during indirect cooking to prevent temperature swings.
Practical example: they sear a 1.25-inch breast for 2 minutes per side over direct heat, then move it to indirect heat with the lid closed until it finishes cooking evenly.
Target Temperatures and Doneness Checks (Thermometer, Touch, and Juices)
After the setup is right, doneness should be judged by temperature, not guesswork. For thick chicken breasts, the most dependable answer to how long to grill thick chicken breast is “until the center hits the target temperature,” because grill heat varies.
A fast-read thermometer is the gold standard. They should insert it into the thickest part from the side, avoiding bone if present, and pull the chicken when it reaches 160–165°F. Resting 5 minutes helps juices redistribute and can carry the temperature up a few degrees.
- Thermometer: safest and most consistent; check early, then every 2–3 minutes near the end.
- Touch test: cooked chicken feels firm with a slight spring, not squishy or rigidly tight.
- Juices: clear juices are a clue, but not a guarantee; pink can still occur from smoke or myoglobin.
Practical example: they check at 155°F, move the breast to the cooler zone to avoid scorching, then pull at 162°F and rest it—ending with a juicy slice, not a dry one.
Step-by-Step Method for Grilling Thick Chicken Breast Evenly
Now that the grill is set and doneness checks are clear, the process becomes about control. Thick breasts cook evenly when the outside is managed early and the center is given time to catch up.
Start by patting the chicken dry, then lightly oil it (not the grates) for better contact. If one end is noticeably thicker, they’ll often get a more even result by gently pounding just the thickest area to level it out.
- Preheat and clean the grates so the first contact sears instead of sticking.
- Sear briefly over direct heat to build color and grill marks.
- Move to indirect heat, close the lid, and let it cook through steadily.
- Flip on a schedule (about every 4–5 minutes) to prevent one-sided drying.
- Rest before slicing so juices redistribute instead of spilling onto the board.
Look for consistent browning, not heavy charring. If flare-ups happen, they should slide the chicken away from the flames and keep the lid closed to stabilize heat.
Practical example: a 1.5-inch breast can be seared for about 2 minutes per side, then finished over indirect heat with lid-down flipping every 5 minutes until it hits the target internal temperature, followed by a 5-minute rest.
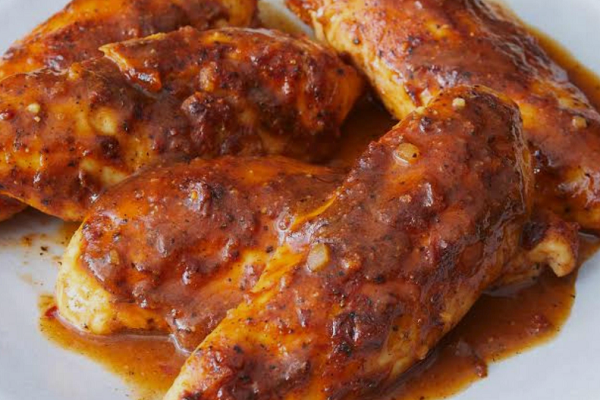
Marinades, Brines, and Rubs: How Seasoning Impacts Cooking Time
Seasoning choices change surface moisture, browning speed, and how forgiving the meat feels at serving. That can subtly shift how long to grill thick chicken breast, even when thickness and heat stay the same.
Brines and salt-forward marinades increase water retention and improve texture, but they can also slow browning because the surface stays wetter longer. A quick pat-dry before grilling helps the exterior color up on time.
- Wet marinades (oil, citrus, yogurt): may brown faster if oil-heavy, but sugar or dairy can scorch over high heat.
- Dry brines (salt + time): often cook more evenly and brown well, but over-salting can tighten the texture.
- Dry rubs (spices, herbs): promote crust; rubs with sugar need gentler heat to avoid burning before the center is done.
They’ll get the most consistent timing by keeping sugar low, wiping off excess marinade, and applying rubs evenly. Thick breasts with sticky sauces are best sauced late, once the interior is nearly finished.
Practical example: if a breast is marinated in a honey-soy mix, they should grill it mostly without extra glaze, then brush sauce during the last 2–3 minutes to prevent blackened spots and false “done” cues from burnt sugar.

Common Grilling Mistakes That Cause Dry or Undercooked Chicken
Now that timing and grill setup are handled, the remaining problems usually come from small execution mistakes. Thick chicken breasts punish shortcuts, especially when they’re cooked like thin cutlets.
One common error is relying on minutes alone instead of verifying doneness. Even if someone knows how long to grill thick chicken breast, wind, grill hot spots, and starting temperature can shift results fast.
Dryness often comes from heat management and handling. Undercooking usually comes from rushing the center while the outside looks “done.”
- Flipping too often, which prevents steady browning and can prolong cooking.
- Pressing with a spatula, squeezing out juices that should stay in the meat.
- Skipping a clean, oiled grate, causing sticking and tearing that leaks moisture.
- Using sauce too early, so sugars burn before the interior finishes.
- Not accounting for carryover heat, pulling too late and overshooting doneness.
Practical example: they grill two 1.25-inch breasts on a gas grill, then keep pressing them “to check.” The surface dries, the thinner edge overcooks, and the center still lags because the lid stayed open during checks.
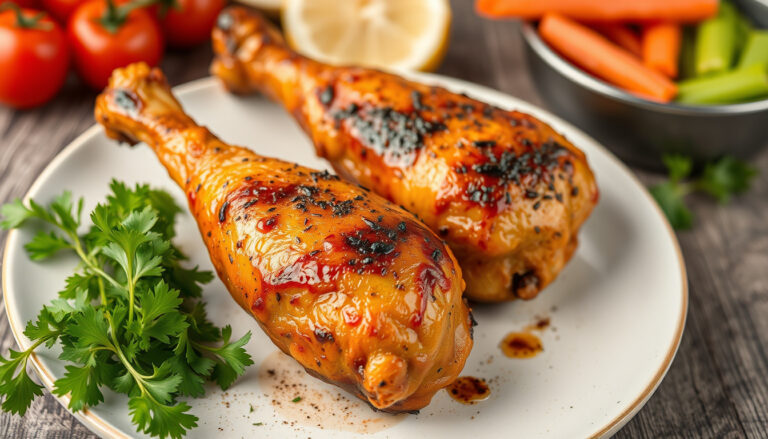
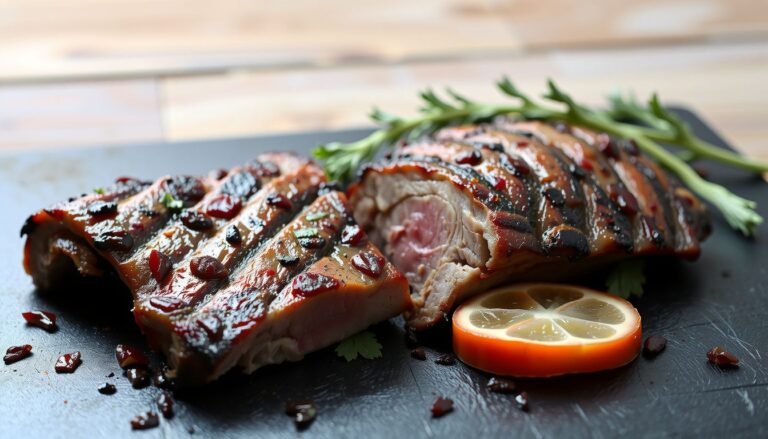
Resting, Slicing, and Serving for Maximum Juiciness
Look, the last few minutes off the grill matter as much as the last few minutes on it. Resting lets muscle fibers relax and reabsorb juices that were driven toward the surface by heat.
For thick chicken breasts, resting prevents the “juice flood” that happens when they’re cut immediately. A simple rule works: rest until the surface sheen settles and the meat feels less tense.
- Rest on a warm plate for 5–10 minutes, loosely tented with foil.
- Slice across the grain into 1/2-inch pieces for tenderness.
- Keep the knife sharp to avoid shredding and moisture loss.
Practical example: they pull a thick breast, rest it 8 minutes, then slice crosswise for a salad. The slices stay glossy and moist, and the center remains tender instead of chalky.
Serving tip: if it’s being held for a few minutes, keep it covered and out of drafts. Letting it sit uncovered on a cold cutting board cools it quickly and dulls the texture.
FAQ: Thick Chicken Breast Grill Times, Frozen Chicken, and Meal Prep
Now that the core method is set, people usually ask how long to grill thick chicken breast when conditions aren’t “perfect.” For a 1.25–1.5 inch breast, most grills land around 16–22 minutes total, flipping every 4–6 minutes, but thickness and grill output can shift that window fast.
Can thick chicken be grilled from frozen? It can, but it’s rarely the best plan for texture. Expect roughly 50% longer than thawed, keep the lid closed, and season after the exterior softens so spices actually stick.
How should meal prep change timing? Cook to safe doneness, then cool quickly and store in shallow containers. For reheating, aim gentle heat so it stays juicy rather than “re-cooking” it.
- Meal prep storage: 3–4 days refrigerated, up to 3 months frozen.
- Best reheat: covered skillet with a splash of broth, or 50% power microwave in short bursts.
- Batch tip: group breasts by thickness so timing stays predictable.
Example: They grill eight thick breasts on Sunday, chill them within an hour, then reheat sliced portions Tuesday in a covered pan with 2 tablespoons broth for 3–4 minutes, keeping edges tender.
Final Thoughts
Now it’s just execution: how long to grill thick chicken breast comes down to thickness, steady heat, and pulling it at the right internal temperature. When the grill stays consistent and the chicken is handled with patience, the result is predictably juicy, not a gamble. Keep the goal simple—safe doneness with minimal moisture loss.
A practical example: if they’re grilling for a weeknight dinner, they can start the chicken first, then grill quick sides (asparagus, corn, or pita) while it finishes and rests. That sequencing keeps the meal on time without rushing the protein. It’s the easiest way to avoid overcooking from “waiting around” with the lid open.
- Plan around thickness, not the clock alone.
- Track doneness with a thermometer, then rest briefly.
- Repeat the same setup to dial in reliable results.
Next step: they should grill one batch, note the thickness and finish temperature, and use those notes to lock in their personal baseline for next time.
One Comment