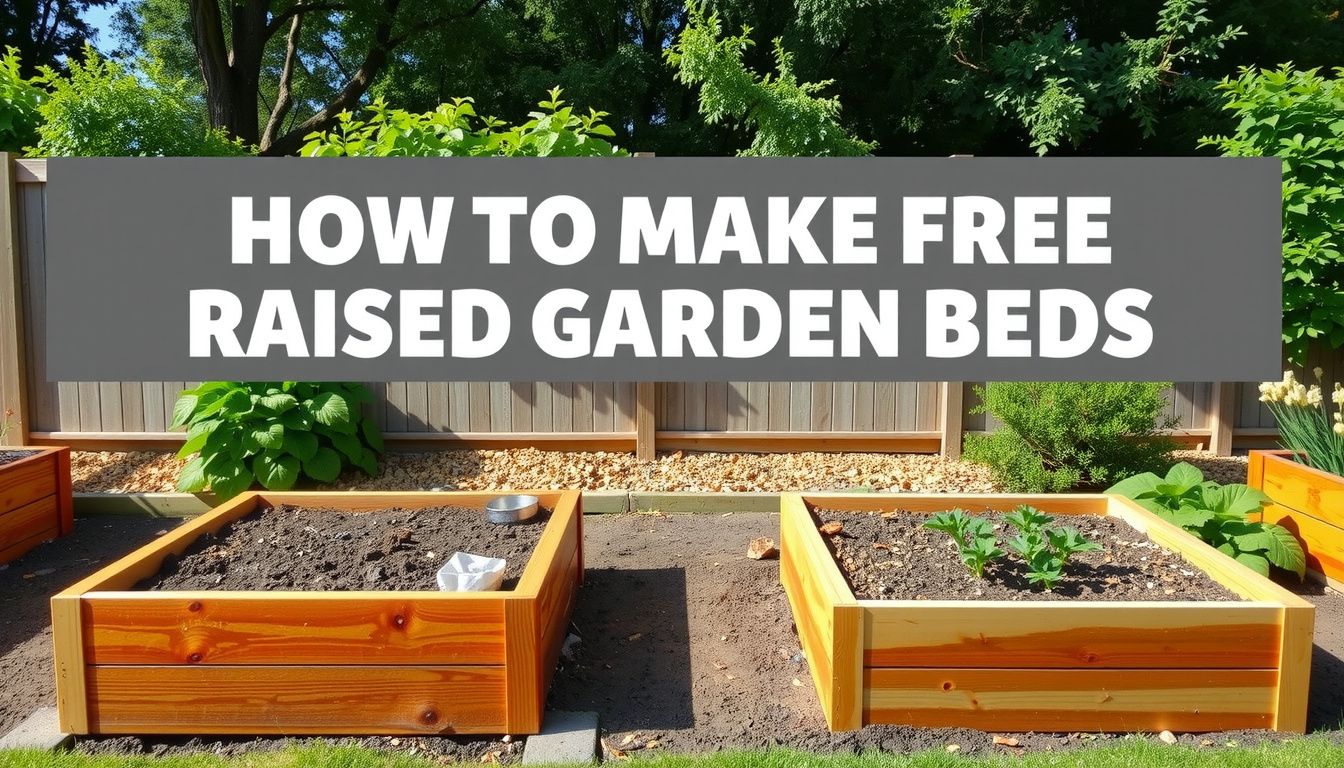
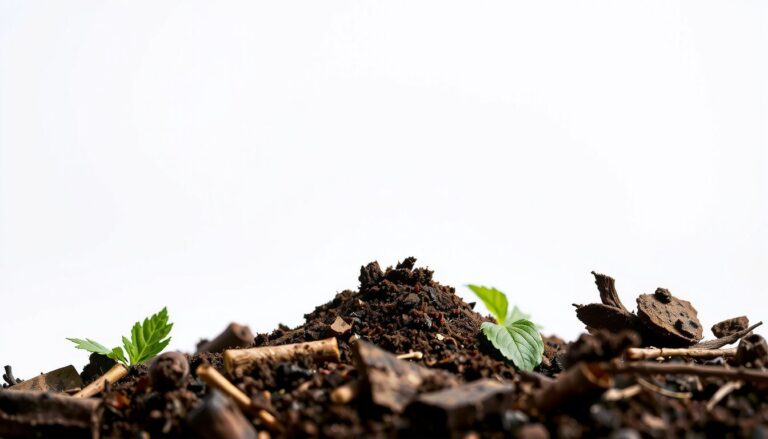
How Deep to Make Raised Garden Beds for Healthy Roots
How deep to make raised garden beds is the question that quietly decides whether plants thrive or struggle. Get the depth wrong, and roots hit a hard stop, water drains poorly, or the bed dries out too fast.
Depth isn’t one-size-fits-all because it depends on what they’re growing, what’s under the bed (native soil vs. concrete), and how they water. Look, a shallow bed can still work, but only when the setup supports it.
Gardeners and extension guides tend to agree on a practical baseline: most vegetables perform well with 12–18 inches of quality growing mix, especially when the bed sits on loosened native soil. That range gives roots room, buffers moisture swings, and makes amendments easier to manage season after season.
For a real-world example, if someone is building a 4×8 bed for tomatoes and peppers over compacted clay, they’ll usually see better results with an 18-inch bed and a few inches of loosened ground beneath it, rather than a 6-inch frame on top of hardpan.
They’ll want to match depth to:
- Crop type (leafy greens vs. carrots vs. deep-rooted fruiting plants)
- Base conditions (native soil, clay, sand, or a paved surface)
- Watering style (hand-watering, drip, or timed irrigation)
Next, they can use simple depth targets for common crops, learn when deeper beds are worth the cost, and avoid the most common mistakes before they start building.
What Bed Depth Controls: Roots, Drainage, and Soil Health
Now, the real reason depth matters is simple: it sets the boundaries for root growth, water movement, and long-term soil biology. When a bed is too shallow, plants hit a hard stop and respond with stunted growth, wilting, or poor yields.
Rooting depth affects how well crops find moisture and nutrients. Deep beds buffer heat and drought because roots can chase water downward. Shallow beds dry fast and force frequent watering, especially in sun and wind.
Drainage is the other side of the equation. A deeper profile holds more water, but it also needs an exit route. If the base sits on compacted clay or plastic sheeting, water can perch and suffocate roots even in a tall bed.
- Roots: space for anchoring and nutrient uptake
- Water: storage versus oxygen availability
- Soil life: stable habitat for worms and microbes
Practical example: a gardener builds a 6-inch bed over hard-packed subsoil and plants tomatoes. After heavy rain, leaves yellow and growth stalls; loosening the native soil 6–8 inches below the bed and increasing depth to 12 inches restores oxygen and vigor.
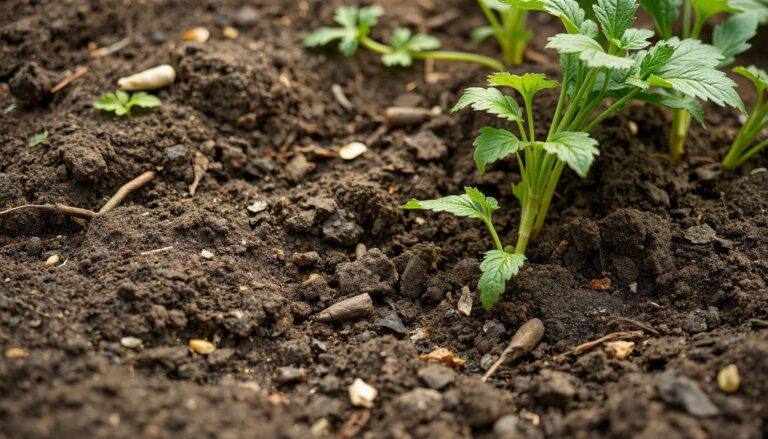
Recommended Raised Bed Depths by Crop Type
Most beginners do best by matching depth to the crop’s “working root zone,” not the height of the boards. The goal is enough loose soil for roots to run, plus a little extra for moisture stability and soil improvement over time.
For many vegetables, 12 inches is the practical baseline because it supports reliable watering cycles and strong root systems. Beds can be shallower if the ground beneath is already loose and fertile; they should be deeper if the base is compacted, rocky, or poorly draining.
- 6–8 inches: lettuce, spinach, arugula, radishes (best with loose ground underneath)
- 10–12 inches: beans, peppers, bush cucumbers, most herbs
- 12–18 inches: tomatoes, squash, broccoli, potatoes (more consistent moisture)
- 18–24 inches: carrots, parsnips, daikon, deep-rooted perennials
Practical example: if they want straight carrots, a gardener chooses an 18-inch bed and fills it with a stone-free mix. The result is fewer forked roots and easier harvesting, even during dry weeks.
When 6–8 Inches Is Enough (and When It Isn’t)
Now that the depth basics are clear, the next decision is whether a shallow build will actually carry the season. A 6–8 inch raised bed works well when plants are naturally shallow-rooted and the bed sits on decent native soil that roots can enter.

It’s a practical choice for quick crops and tight budgets. It also warms faster in spring, which can speed early growth in cool climates.
- Best fits: lettuces, spinach, arugula, radishes, onions, strawberries
- Works well when: the bed is open-bottom and soil below isn’t compacted
- Needs extra care: more frequent watering and steady fertility
When it isn’t enough: heavy clay, construction fill, or a hardpan layer can stop roots cold. Shallow beds also dry out fast in heat, and tall plants can become unstable when roots can’t anchor deeply.
Practical example: a homeowner installs a 2×8 bed for salad greens on loosened lawn soil. It performs great through spring, but summer basil struggles unless they mulch heavily and water daily. The fix isn’t always deeper lumber; sometimes it’s improving the soil underneath first.
Planning for Deep-Rooted Crops: 12–24 Inch Beds
Look, once the crop list includes “big” plants, bed depth turns into a yield decision. A 12–24 inch raised bed gives deep-rooted vegetables room to build strong root systems, hold moisture, and access nutrients longer between feedings.
For many gardens, 12 inches is the sweet spot: deep enough for most vegetables, still affordable to fill. Going to 18–24 inches makes sense when the native soil is poor, compacted, or contaminated, or when the gardener wants maximum control over the soil profile.
- 12 inches: tomatoes, peppers, bush beans, cucumbers, most herbs
- 18 inches: carrots, parsnips, potatoes, squash, larger brassicas
- 24 inches: asparagus, artichokes, intensive root production, weak underlying soil
Practical example: a gardener growing carrots and potatoes over rocky subsoil builds an 18-inch bed and fills it with a loamy mix plus compost. The result is straighter carrots and fewer misshapen potatoes because roots aren’t forced to detour around stones.
Deeper beds cost more to fill, so they benefit from planning: use quality top layers for rooting, and reserve the best mix where plants actually grow.
Soil Below the Bed: Native Ground, Compaction, and Barriers
Now that the bed height is chosen, the next variable sits underneath it: the native soil. A raised bed doesn’t “replace” the ground; it works with it, and that relationship can make the same depth perform very differently.
Start by checking compaction. If a shovel or soil knife won’t slide in easily, roots will stall at the interface and water may perch in the bed. Loosen the top 4–8 inches of native soil before filling, and blend a little finished compost into that loosened layer to help microbes bridge the boundary.
Then look for barriers that effectively reduce usable depth. Common culprits include construction fill, heavy clay pans, buried landscape fabric, and tree roots stealing moisture. If there’s contaminated soil (old lead paint zones, roadside runoff, or unknown fill), the “depth decision” becomes a safety decision, not just a growth one.
- Compacted subsoil: break it up to improve drainage and rooting.
- Hardpan/clay lens: consider a deeper bed or targeted subsoil loosening.
- Contamination risk: isolate the bed and import clean soil.
Practical example: a gardener installs an 8-inch bed over a driveway-removal area and notices wilting despite frequent watering. After loosening the compacted base and removing buried fabric, the bed drains evenly and plants root past the original line within weeks.
Choosing a Bottom: Open Base vs Liner vs Hardware Cloth
With the subsoil assessed, the bottom design becomes the control point for drainage, root access, and pest pressure. Most of the time, an open base is the default because it lets excess water move down and roots explore deeper soil.
An open base works best when native soil is reasonably clean and drains. If weeds are aggressive, a temporary layer of plain cardboard can suppress them without blocking water the way plastic does. Avoid impermeable liners on the bottom; they trap water, reduce oxygen, and can turn “good depth” into a soggy root zone.
Hardware cloth is the go-to when burrowing pests are likely. Use galvanized 1/2-inch mesh, overlap seams, and staple it to the frame so rodents can’t push it aside. It won’t stop insects, but it reliably blocks gophers, voles, and rats from entering from below.

- Open base: best drainage and deepest rooting potential.
- Cardboard (temporary): weed suppression while decomposing.
- Hardware cloth: physical barrier for burrowing mammals.
Practical example: in a neighborhood with gophers, a gardener builds a 12-inch bed and adds 1/2-inch hardware cloth before filling. The bed stays open to the soil for drainage, but carrots and lettuces stop disappearing overnight.
Soil Mix and Fill Height: How Depth Changes What They Need
Now that the bed height is set, the next lever is what goes inside it. Depth changes how the soil behaves, so the mix should match the profile rather than using one “universal” recipe. A deeper bed holds more water and nutrients, but it can also stay colder and wetter in spring if the mix is too heavy.
For shallow beds, the priority is fast drainage and steady fertility because roots occupy most of the volume quickly. For deeper beds, the goal shifts to structure: air pockets, stable moisture, and organic matter that won’t collapse into a dense layer over time.
- 8–12 inches: lighter blend with compost plus a mineral component for drainage
- 12–18 inches: balanced loam-like mix that resists compaction
- 18+ inches: layered approach (coarser at the bottom, finer near the top) to keep oxygen moving
Fill height matters too. Leaving 1–2 inches of headspace reduces runoff and keeps mulch from spilling over. Practical example: a 17-inch bed filled to 15 inches with a compost-forward mix often settles 1–2 inches after a few rains, landing at an ideal working level without exposing roots.
Site Factors That Change Depth Needs: Climate, Water, and Sun
Look, the yard decides a lot of this. The same bed depth performs differently depending on heat, rainfall pattern, and exposure. Depth isn’t just about roots; it’s a buffer against weather swings and irrigation mistakes.
In hot, windy climates, deeper beds dry more slowly and protect plants during missed watering. In cool, wet regions, extra depth can backfire if the mix stays saturated, so growers often keep beds moderate and emphasize drainage and air space. Sun exposure matters too: full-sun beds warm faster, while shade slows evaporation and increases the risk of persistently damp soil.
- Arid or windy sites: lean deeper to stabilize moisture
- Humid, rainy sites: avoid unnecessary depth unless drainage is excellent
- Partial shade: moderate depth plus a lighter mix to prevent sogginess
Practical example: a gardener with a 12-inch bed in full sun on a south-facing patio may need daily summer watering, while increasing to 16 inches can stretch watering intervals and reduce heat stress—without changing crops or irrigation hardware.
Common Depth Mistakes and How to Fix Them
Once they’ve settled on how deep to make raised garden beds, many gardeners still miss the mark on execution. The result is stunted plants, wasted soil, or beds that dry out too fast. These fixes keep depth working the way it should.
Mistake 1: Building tall, then underfilling. A bed that’s 12 inches high but filled to 7 inches behaves like a 7-inch bed. Fix it by topping up after the first few waterings and again after the first month as the mix settles.
Mistake 2: Matching one depth to every crop. They plant carrots, lettuce, and tomatoes in the same zone, then blame “bad soil.” Fix it by zoning: keep shallow-rooted greens in the thinnest area and reserve the deepest section for long-rooted or heavy feeders.
Watch out: Mistake 3: Going deeper without adjusting irrigation. Deeper beds often stay wet below while the surface looks dry. Fix it with this quick check:
- Dig a small test hole 6–8 inches down.
- Squeeze a handful; it should clump, not drip.
- Water only when the mid-depth feels dry.
Example: A gardener fills a 16-inch bed, then waters daily because the top inch crusts. Switching to mid-depth checks and watering every 3 days stops leaf yellowing and improves root growth within two weeks.
Final Thoughts
Now that the big decisions are made, how deep to make raised garden beds comes down to matching the bed to the gardener’s goals and the plants they actually want to grow. A well-chosen depth makes watering easier, roots happier, and maintenance far less frustrating. It also keeps costs predictable because they’ll buy only the soil volume they truly need.
Look at it like a simple checklist before building: measure the available space, pick crops by root needs, and set a depth that fits their budget and mobility. If they’re unsure, they can start with a versatile middle-ground depth and adjust future beds after one season of results.
Here’s a real-world example: a renter with a small patio built one 2×6 bed for salad greens and herbs, then added a deeper second bed later for tomatoes once they saw how quickly the first bed dried out in summer.
Next step: they should choose one bed size, confirm the target depth, and buy materials for a single “test bed” to validate the plan before expanding.
- Prioritize the crops they’ll grow most often.
- Commit to a depth that’s sustainable to water and fill.
- Build one bed first, then scale with confidence.
Related read: How to Prepare Ground for Planting Vegetables in 8 Steps
One Comment