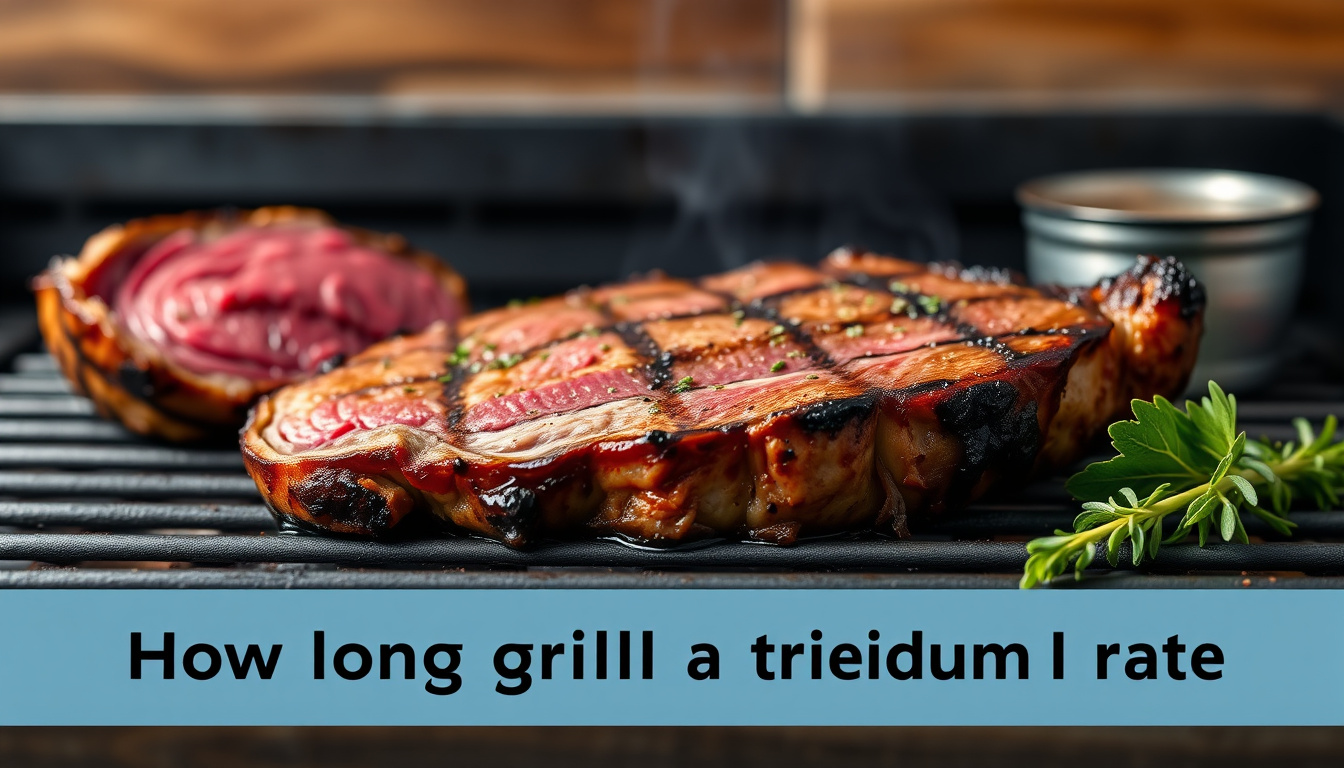
How Long To Grill A Tri Tip For Medium Rare: Timing And Temperature Guide
A beautifully grilled tri-tip is one of the most rewarding cuts of beef you can put on a grill — deeply crusted on the outside, rosy pink and impossibly juicy at the center. But this triangular, unevenly shaped roast frustrates plenty of home cooks. The thin tail overcooks while the thick center lags behind, and before you know it, slices range from gray to underdone on the same cutting board.
The solution isn't more guesswork or a rigid timer. It's understanding how heat, internal temperature, and the resting phase work together. This guide gives you a thermometer-driven method for grilling tri-tip to a consistent medium-rare finish, with practical timing ranges, two-zone fire setup, and the exact temperatures that matter most. You can also read our guide on how long to cook lb tri tip on grill.
The Quick Answer: Medium-Rare Tri-Tip Timing
For a standard 1.5- to 2-pound tri-tip roast, plan on 18 to 24 minutes of total grill time. That breaks down as a high-heat sear of roughly 3 to 4 minutes per side, followed by 10 to 14 minutes over indirect heat until the roast reaches your pull temperature.
For a thicker 2.5- to 3-pound roast, allow 25 to 35 minutes total.
But here's the critical caveat: time alone is unreliable. A 20-degree difference in grill temperature, a roast pulled straight from the fridge, or a breezy afternoon can shift these numbers by several minutes. Use time as a planning tool — and a good meat thermometer as the final authority.
Why the Clock Is Only a Starting Point
Several variables determine how fast your specific tri-tip cooks:
- Roast thickness and weight: A compact 2.5-pound roast cooks faster than a long, thick 2.5-pound roast. Thickness matters more than weight.
- Grill temperature: A ripping-hot charcoal fire finishes the job quicker than a gas grill idling at medium.
- Starting meat temperature: A roast that sat at room temperature for 40 minutes cooks more evenly than one pulled directly from refrigeration.
- Lid management: Every time you lift the lid, heat escapes and your cook time stretches.
- Weather conditions: Wind and cold ambient air pull heat from the grill body, especially on gas grills.
In practice, experienced grillers learn that the USDA's guidance on safe internal temperatures reinforces what their thermometers already tell them: doneness is a temperature question, not a time question.
The Target Temperature for Medium-Rare Tri-Tip
Understanding your numbers before you light the grill prevents the most common mistake: overshooting medium-rare during the rest.
- Pull temperature: Remove the tri-tip from the grill at 125°F to 128°F (52°C to 53°C).
- Final temperature after resting: 130°F to 135°F (54°C to 57°C) — the true medium-rare range.
Carryover cooking raises the internal temperature by about 5 to 7 degrees while the roast rests. If you pull too late — say, at 135°F — the center will coast into medium or medium-well territory and lose that tender, pink character you worked for.
Conversely, pulling below 120°F leaves the center closer to blue-rare, which can feel mushy and under-rendered. That narrow pull window is the difference between a great tri-tip and a disappointing one.
Two-Zone Grilling: The Foundation of a Great Tri-Tip
A perfect medium-rare tri-tip needs two heat environments: intense direct heat for a crust and gentle indirect heat to finish the interior without scorching the outside. This is called two-zone grilling, and it's non-negotiable for a cut with this much surface area and uneven thickness.
Setting Up a Charcoal Grill
Fill a charcoal chimney with briquettes or lump charcoal and light it. When the coals are covered in gray ash, bank them onto one side of the grill in a snug pile. Use a charcoal basket if you have one — it keeps the hot zone contained.
Place the cooking grate in position, close the lid, and preheat for 10 minutes. The side without coals is your indirect zone.
Setting Up a Gas Grill
Turn all burners to high and preheat with the lid closed for 15 minutes. Scrape the grates clean. Just before cooking, turn one burner off completely and reduce the other to medium or medium-low. The lit side is your searing zone; the unlit side is for finishing.
In either setup, oil the grates with a high-smoke-point oil like avocado or canola. Do this right before the meat goes on — oil left to heat for several minutes can polymerize into a sticky film.
Step-by-Step: Grilling Tri-Tip to Medium-Rare
This is the method I return to every time. It combines a bold sear, controlled finishing heat, and a disciplined rest.
Step 1: Trim and Season the Roast
Tri-tip usually comes with a fat cap on one side. Trim it to an even layer of about 1/4 inch — enough to baste the meat as it renders, not so much that it causes flare-ups or chewy pockets.
Season generously. Tri-tip has a relatively mild flavor compared to fattier cuts, so it benefits from an assertive rub. A reliable base:
- 1 tablespoon kosher salt
- 1 tablespoon coarse black pepper
- 1 teaspoon garlic powder
- 1 teaspoon smoked paprika
Apply the rub evenly and pat it into the surface. Let the roast sit at room temperature for 30 to 60 minutes before grilling. Room-temperature meat cooks more evenly than cold meat — a simple step many people skip.
Step 2: Sear Over Direct Heat
Place the tri-tip over the hot zone and sear for 3 to 4 minutes per side with the lid closed between flips. The goal is a deep brown, almost crusted exterior.
Use tongs to sear the edges as well — those thick sides deserve color too. Watch for flare-ups. A small flame kissing the meat is fine; a sustained fire will deposit bitter soot. If a fat flare-up builds, move the roast to the cool zone for a few seconds until the flames settle.
Step 3: Finish Over Indirect Heat
Move the roast to the cool side of the grill. Insert your instant-read thermometer into the thickest part of the roast, avoiding any grill grate contact. Close the lid.
Cook gently until the thermometer reads 125°F to 128°F. Check the temperature at the 10-minute mark and then every 2 to 3 minutes after. In practice, the first time you make a tri-tip on your specific grill, you'll want to watch that temperature climb — it can jump quickly at the end.
Step 4: Rest Under Loose Foil
Transfer the tri-tip to a cutting board and tent it loosely with aluminum foil. Rest for 10 to 15 minutes. This is where carryover cooking finishes the job and the muscle fibers reabsorb the juices that heat pushed toward the center.
A common mistake is resting too long. Beyond 20 minutes, the roast cools past the sweet spot of serving temperature. Ten to 15 minutes is the window you want.
Step 5: Slice Against the Grain
Tri-tip has an unusual grain that shifts direction partway through the roast. Before slicing, study the surface. You'll see the muscle fibers running in one direction at the thick end and angling differently toward the tail.
Slice perpendicular to those fibers — and adjust your knife angle when the grain changes direction. Cut even, 1/4-inch-thick slices against the grain. This shortens the muscle fibers and makes each bite noticeably more tender. It's the same principle you'd apply to a burger on the grill or any beginner-friendly steak on the grill: temperature gets you doneness, but slicing gets you tenderness.
Tri-Tip Timing Reference Table
Use these numbers for planning. Let your thermometer make the final call.
| Roast Weight | Total Cook Time | Sear Time (per side) | Pull Temp (Medium-Rare) | Final Temp After Rest |
|---|---|---|---|---|
| 1.5–2 lbs | 18–24 minutes | 3–4 minutes | 125–128°F | 130–135°F |
| 2.5–3 lbs | 25–35 minutes | 4 minutes | 125–128°F | 130–135°F |
Note: Thickness matters more than weight. A 2-pound roast that's 3 inches thick in the center will behave more like the larger roast. Position the thickest portion slightly toward the hot zone if your grill runs cool on the indirect side.
Common Mistakes That Ruin Tri-Tip
Even confident grillers make these errors. Here's what to avoid.
1. Relying Solely on a Timer
Grill temperature fluctuates with fuel, weather, and how often you open the lid. A timer tells you when to check; a thermometer tells you when it's done. Trust the thermometer for the final decision.
2. Slicing With the Grain
This is the single most common reason a well-cooked tri-tip chews tough. The grain runs in more than one direction, so you can't slice the whole roast on one angle. Watch the fibers and change direction when they do.
3. Pulling at the Wrong Temperature
Pull at 125°F to 128°F for medium-rare. Pull above 130°F and carryover cooking pushes you into medium or beyond. Pull below 120°F and the center won't reach a pleasant eating temperature during the rest.
4. Skipping the Rest (or Dragging It Out)
Slicing immediately pours juices onto the board. Resting too long leaves the meat lukewarm. Ten to 15 minutes under loose foil is the practical sweet spot.
5. Not Positioning for the Shape
Because the tail tapers, it will cook faster than the thick end. Point the thin tail away from your hottest coals or burner, and place the thick end nearer the heat source. This simple positioning trick evens out doneness across the roast.
If you're still building confidence with heat control, the approach here carries over to other proteins — the same discipline shows up when you're figuring out how long to smoke fish or working out timing for bbq chicken thighs. It's always the same relationship: time guides, temperature decides.
Checking Doneness Without a Thermometer
A thermometer is the gold standard, but the touch test is a useful backup once you've grilled enough roasts to calibrate your hands.
Compare the firmness of the thickest part of the roast to the fleshy base of your thumb:
- Rare: Thumb and index finger together — the palm feels soft.
- Medium-rare: Thumb and middle finger together — slightly springy.
- Medium: Thumb and ring finger together — firmer.
- Medium-well: Thumb and pinky together — noticeably firm.
This takes practice and isn't a substitute for a good instant-read thermometer. Use it to confirm what your thermometer already told you.
Dry Rubs and Seasoning Variations to Try
The rub in the step-by-step method is reliable, but tri-tip responds well to bolder profiles. Consider these options:
- Santa Maria style: Equal parts kosher salt, coarse black pepper, and granulated garlic. This is the classic California preparation.
- Coffee-chili: 2 parts finely ground coffee, 1 part ancho chili powder, 1 part brown sugar, plus salt and pepper. The coffee deepens the char.
- Herb-forward: Dried oregano, thyme, and rosemary with salt and cracked pepper.
Whichever rub you choose, apply it at least 30 minutes before grilling so the salt has time to draw moisture to the surface and then reabsorb — that's what builds a better crust.
Resting, Slicing, and Serving
After the 10- to 15-minute rest, your tri-tip should be warm, not steaming. Slice against the grain and arrange on a warm platter.
A medium-rare tri-tip needs very little finishing. A final pinch of flaky salt and a drizzle of the cutting-board juices is plenty. If you're feeding a crowd, this cut pairs beautifully with grilled vegetables, a simple green salad, or warm tortillas for tri-tip tacos.
If you're newer to grilling, building your confidence on forgiving cuts helps — this is why entry-level steaks for beginners are worth practicing before you tackle a tricky roast with an uneven shape. And if you're serving tri-tip alongside other proteins, maintaining steady flame control matters just as much when you're grilling burgers to a specific doneness.
Frequently Asked Questions
What temperature is medium-rare for tri-tip?
graft the roast at?
Medium-rare tri-tip reaches a final internal temperature of 130°F to 135°F after resting. To hit that, pull the roast from the grill at 125°F to 128°F.
How long should you rest tri-tip?
Rest the roast for 10 to 15 minutes under loose aluminum foil. Juices redistribute during this window, and carryover cooking brings the center to the final medium-rare range.
Why does my tri-tip have uneven doneness?
Tri-tip is naturally uneven — thick at one end, tapering at the other. Position the thick end closer to the heat and the thin tail toward the cooler side of the grill. This evens out cooking without any extra effort.
Do you grill tri-tip with the lid open or closed?
Keep it closed as much as possible. Closing the lid traps heat and helps the roast cook from all sides. Open it only to flip, move, or check the temperature.
What's the best way to slice tri-tip?
Always slice against the grain — perpendicular to the muscle fibers. Because the grain changes direction, you may need to turn the roast partway through slicing. Cut into 1/4-inch-thick pieces.
Conclusion
A perfect medium-rare tri-tip isn't about memorizing a single number on a clock. It's about setting up two heat zones, searing with intention, finishing gently over indirect heat, and pulling the roast at 125°F to 128°F. Rest it for 10 to 15 minutes and slice against the grain, and you'll serve one of the most flavorful, tender cuts of beef your grill can produce.
The next time you're planning a cookout, approach your tri-tip the way you'd approach any cut that rewards patience — whether that's baking bbq chicken thighs or learning to control heat for a perfectly done hamburger. Temperature discipline transfers across everything you cook.
So here's your next step: pick up a good instant-read thermometer if you don't already have one, grab a 1.5- to 2-pound tri-tip, and run through this method once on your own grill. Note how your specific setup behaves — where the hot spots are, how quickly the temperature climbs — and you'll dial in future cooks faster. That first perfectly rested, medium-rare slice is worth the practice.