How to Cook Snapper Fillets in Pan for Crisp Skin
A common mistake with how to cook snapper fillets in pan is treating snapper like a thick, forgiving fish and blasting it on high heat until it “looks done.” The result is predictable: a dry center, a stuck skin side, and a pan full of broken flakes. Look, snapper is lean and cooks fast, so the margin for error is small.
Here is the real answer: use moderate, controlled heat, start with a properly dried fillet, and let the fish release naturally before you flip. Timing matters, but technique matters more. When you combine the right pan, a thin film of oil, and a brief rest off the heat, snapper stays moist while the surface turns lightly crisp.
For example, on a weeknight, a 1-inch snapper fillet can go from fridge to plate in under 10 minutes: pat it dry, season, sear, flip once, then finish gently. No complicated breading. No guesswork. Just repeatable steps.
- Prep: dry the fillets well, then season evenly
- Pan control: preheat properly and use enough oil to prevent sticking
- Doneness: cook to opaque edges and a just-flaking center, then rest briefly
Prep Your Snapper and Tools (Before You Start)
Now that you know snapper rewards control, the next win is setup. A clean station and the right pan choice prevent last-second scrambling, which is where fish usually gets overcooked or torn.
Start by confirming what you are working with: fillets can be skin-on or skinless, pin-boned or not, and thickness varies a lot. Those details change how you prep, and they dictate how gentle you must be when you flip.
Gather your tools first. It sounds basic. But here’s the thing: once the fillets hit the pan, you do not want to hunt for a spatula.
- Pan: heavy stainless steel or well-seasoned cast iron (10–12 inches for 2 fillets)
- Spatula: thin fish spatula or flexible offset spatula for clean release
- Tongs: optional, for nudging edges without tearing
- Paper towels: for drying and quick wipe-ups
- Instant-read thermometer: not mandatory, but very reliable for lean fish
Set up your ingredients in small bowls. Keep it tight: oil, butter (if using), aromatics, lemon, and herbs. If you plan a quick pan sauce, have stock or wine measured so it can go in immediately after the fish comes out.
Check the fillets for pin bones by running your fingertips lightly against the grain. If you find any, pull them with tweezers. Do not use pliers from the toolbox; they can crush the flesh and leave ragged holes.
Practical example: you are cooking two 6-ounce snapper fillets for a weeknight dinner. Use a 12-inch stainless pan so the fillets sit flat with space around them; overcrowding traps steam and softens the surface, which makes sticking more likely.
Common mistake: starting with a cold pan because you are “not ready yet.” Preheat the empty pan briefly, then add oil right before the fish goes in. That sequence improves contact and keeps the oil from smoking while you prep.
Season and Dry the Fillets for Better Browning
With your station ready, focus on the fillets themselves. Browning is not luck. It is moisture management, even seasoning, and a surface that can actually sear.
First, dry the fish aggressively but gently. Pat the top, flip, and pat the second side. If the paper towel comes away damp, do a second pass. Wet fish steams, and steamed fish sticks.
If your snapper was previously frozen, expect extra surface moisture. Let it sit uncovered on a plate in the refrigerator for 15–30 minutes after thawing, then pat dry again. That short air-dry step can make a noticeable difference.
Season right before cooking. Salt draws moisture to the surface; if you salt too early, you can undo your drying work. For most fillets, 5 minutes is a practical window.
- Kosher salt: even coverage, easy to control
- Black pepper: use lightly; it can scorch at higher pan temps
- Optional: paprika, garlic powder, or ground coriander for a subtle crust
For skin-on snapper, dry the skin side especially well and lightly score it if it is very tight. Use shallow cuts, spaced about 1 inch apart. This helps the skin stay flat and improves contact, which supports crisping.
Look for an even, thin coat of oil on the surface only if you are using a dry spice blend. Do not drench it. Excess oil can fry the seasonings and leave bitter flecks in the pan.
Practical example: for two fillets, mix 1 teaspoon kosher salt, 1/2 teaspoon pepper, and 1/2 teaspoon paprika. Pat the fish dry, season both sides, and let it sit on the counter for 3–5 minutes while your pan finishes heating. The surface will look matte, not glossy.

Common mistake: using lemon juice or wet marinades before searing. Save acids for the end; they add moisture and can prevent the clean browning you want when learning how to cook snapper fillets in pan.
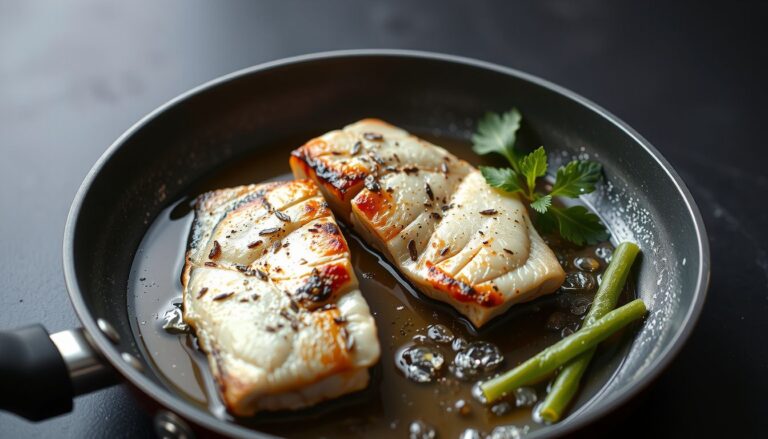
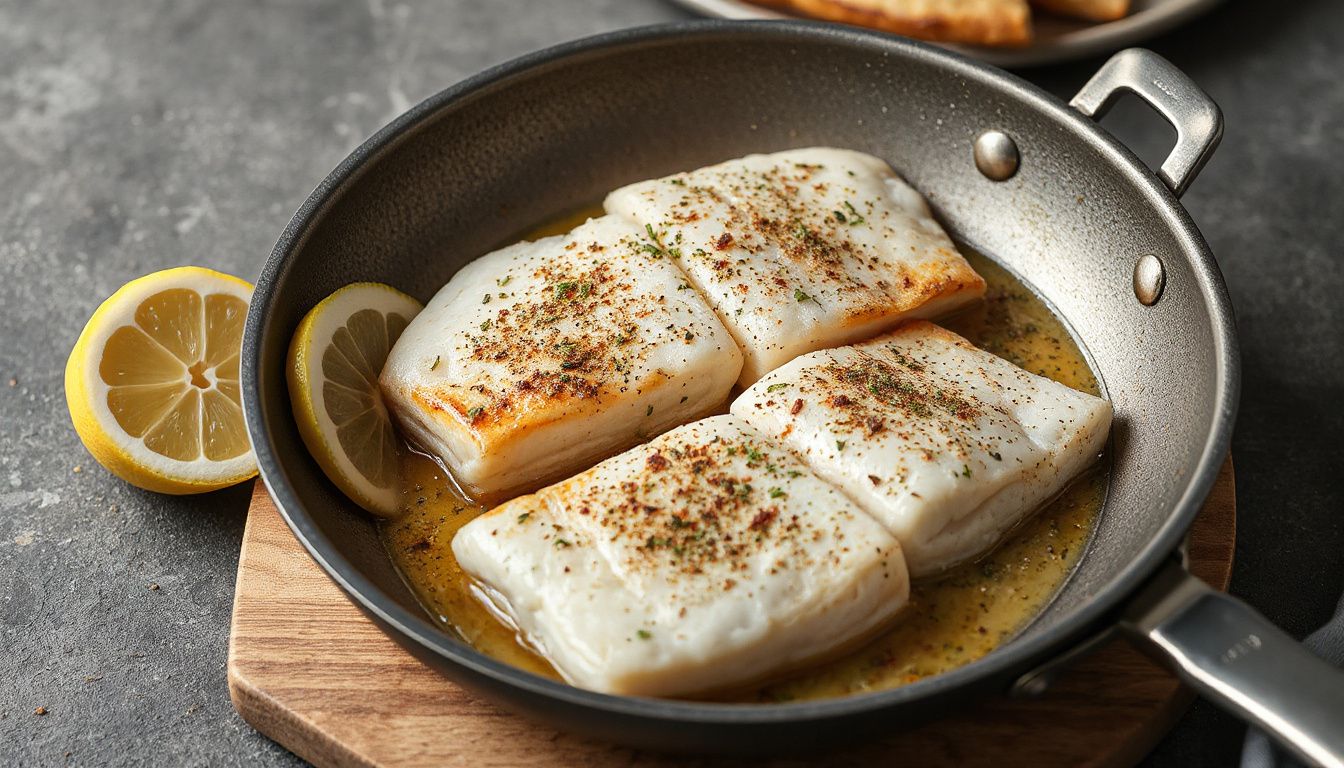
Sear Skin-Side Down to Get Crisp Skin Without Sticking
Now that your fillets are dry, seasoned, and your pan is ready, the next make-or-break moment is the first contact with heat. Skin-on snapper behaves like a thin, tight membrane. It wants to curl, grab, and tear if you rush it.
Start with the pan over medium to medium-high heat, then add a thin film of high-smoke-point oil. Give it 30–60 seconds to shimmer. But here’s the thing: oil that is barely warm encourages sticking, while oil that is smoking can scorch the seasoning before the skin has a chance to crisp.
Place the snapper skin-side down away from you, laying it in gently so it does not splash. Immediately apply light, even pressure with a fish spatula for 10–15 seconds. Short. Controlled. This helps the skin make full contact before it tightens and curls.
Let it sear undisturbed until the skin releases on its own. Don’t “check” every 20 seconds. When the crust forms, the fish will slide more easily; if it feels glued, it is not ready yet.
- Listen: steady sizzling, not aggressive popping.
- Watch the edges: the flesh will turn opaque from the bottom up.
- Use the right tool: a thin metal fish spatula gets under the skin cleanly.
Pro tip: if your fillet has a thick tail end, angle that thinner portion toward a slightly cooler zone of the pan. Uneven thickness is normal, and you can manage it with placement rather than higher heat.
Common mistakes to avoid:
- Moving the fish too soon, which tears the skin and leaves it stuck to the pan.
- Overcrowding, which traps steam and softens the skin instead of crisping it.
- Pressing hard for the entire cook, which squeezes out moisture and dries the fillet.
Real-world example: on a weeknight, if you are cooking two 6-ounce snapper fillets in a 12-inch skillet, sear them skin-side down for about 3–4 minutes without touching them, then test release with a gentle nudge. If they slide, you are ready for the next phase.
Finish Cooking Gently and Check Doneness
Once the skin is crisp and the fillet releases easily, shift your mindset from “browning” to “finishing.” Snapper is lean, so the final minutes decide whether it stays moist or turns chalky. Lower the heat to medium or even medium-low before you flip.
Flip carefully with the fish spatula, supporting the fillet so it does not bend and crack. Cook the flesh side briefly. Often, 30–90 seconds is enough, depending on thickness. If the pan feels too hot, pull it off the burner for a moment; residual heat will keep cooking.
For extra control, you can baste. Add a small knob of butter with a smashed garlic clove or a sprig of thyme, then tilt the pan and spoon the foaming butter over the top for 20–30 seconds. Look, basting is optional, but it helps even out heat and improves surface flavor without overcooking.
Use doneness cues that match snapper’s texture, not arbitrary times:
- Opacity: flesh turns opaque with a slight translucence at the very center.
- Flake: it separates into large, moist flakes with gentle pressure.
- Temperature: 125–130°F for moist, 135°F for firmer (carryover will rise a few degrees).
Common mistake: cooking until the center is fully opaque in the pan. That usually means it will be overdone on the plate. Instead, pull the fillet when it is just shy of perfect and rest it for 2 minutes, skin-side up, to preserve crispness.
Practical example: if your fillet is about 3/4-inch thick at the center, you might sear skin-side down for 3–4 minutes, flip for 45 seconds, then rest. If you check with an instant-read thermometer and see 128°F in the thickest part, you are in a great zone for juicy snapper.
If the fish is browning too fast after flipping, reduce heat and shorten the flesh-side time. If it seems underdone, cover the pan for 30 seconds to trap gentle heat, then re-check. Controlled finishing is the difference between “fine” and restaurant-level snapper.
Serve Immediately and Troubleshoot Common Pan-Seared Snapper Issues
Once the fillets hit your target doneness, move fast. Snapper carries over quickly, and a few extra minutes in a hot pan or on a warm plate can push it from juicy to chalky. If something looks “off,” you are not alone—pan-seared fish is unforgiving, even when your technique is solid.
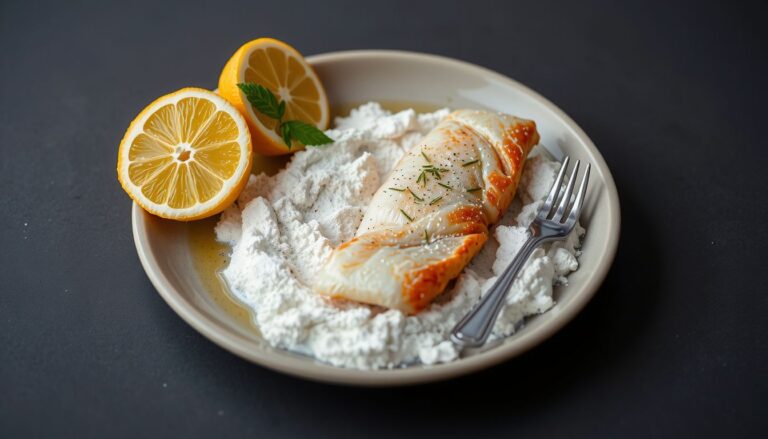
Serve snapper right away with a simple finish that will not soften the crust. Think: a squeeze of lemon, a drizzle of good olive oil, and flaky salt. If you made a quick pan sauce, spoon it around the fish, not over the skin. Crisp skin stays crisp when it stays dry.

Now, fixes—ranked by effort and effectiveness. Start with the fastest interventions first, then work backward to root causes for next time.
-
Plate on a room-temperature plate (low effort, high impact): Hot plates trap steam under the fish. Expected outcome: skin stays crisp 3–5 minutes longer.
-
Rest 60 seconds on a rack or paper towel (low effort, medium impact): This wicks surface oil and reduces sogginess. Expected outcome: cleaner crunch and less greasy mouthfeel.
-
If it stuck, don’t pry—deglaze (medium effort, high impact): Add 1–2 tablespoons water or stock off-heat, then lift with a thin spatula. Expected outcome: intact fillet and a usable pan base for sauce.
-
If it is underdone in the center (medium effort, high impact): Return to low heat, cover 30–60 seconds, then recheck. Expected outcome: opaque, moist center without over-browning.
-
If it is overcooked (low effort, limited impact): Flake and dress with olive oil, herbs, and citrus; serve as tacos or over rice. Expected outcome: palatable texture, better perceived juiciness.
Real-world example: you are cooking snapper for two, and the first fillet releases cleanly while the second tears. Look, it usually means the pan cooled after the first removal. Let the pan recover for 30–45 seconds, add a small splash of oil, and only then place the second piece.
If you are teaching someone how to cook snapper fillets in pan, set expectations: minor sticking happens. The goal is controlled recovery, not perfection, and the results will still be restaurant-level when you serve immediately.
With the fillets served and the usual pan issues handled, the last piece is answering the practical questions that come up when you repeat this on a weeknight. Timing, swaps, and storage. The real stuff.
Quick Answers
How long do snapper fillets take to cook in a pan?
Plan on 6–10 minutes total, depending on thickness. Cook until the flesh turns opaque and flakes with gentle pressure, then pull it early because it will keep cooking off-heat. If you are unsure, cut into the thickest point and check.
Can I cook snapper fillets without skin, and what changes?
Yes, but use a little more fat and gentler heat because skinless snapper dries faster. Start presentation-side down for color, then flip once. Keep the pan lightly oiled, and consider basting with butter for the final minute for insurance.
What’s the best oil or fat for pan-searing snapper?
Choose a neutral, higher-heat oil for the sear (avocado, grapeseed, canola), then finish with butter for flavor if you like. Olive oil works if it is not smoking. Avoid strongly flavored oils unless the recipe is built around them.
How do I store and reheat leftover pan-seared snapper without drying it out?
Cool quickly, then refrigerate in an airtight container for up to 2 days. Reheat gently: a covered skillet on low with a teaspoon of water, or a 275°F oven until just warm. Skip the microwave if you want decent texture.
Next Steps
Verdict: pan-seared snapper is a high-reward, low-margin dinner. When you keep the process controlled, it tastes restaurant-clean—sweet, delicate, and not greasy. When you rush it, it turns bland and brittle. So treat it like a quick cook that deserves your full attention for ten minutes. That is the trade.
Now, make your next run more consistent by standardizing your variables. Use the same pan, the same burner, and similar fillet thickness whenever you can. If your fish varies, adjust only one thing at a time—usually heat level or cook time. Small changes. Big difference.
Here is a practical real-world example: you get home at 6:30 with two 1-inch snapper fillets and a bag of salad. Put plates in the warming drawer (or just keep them room-temp), cook the fish, and toss the salad while it rests. Dinner lands hot, the skin stays crisp, and you are not reheating fish.
For your next attempt, pick one finishing direction and commit. Keep it simple, then iterate.
- Lemon-caper pan sauce for a bright, classic finish.
- Garlic-butter baste with parsley for a richer plate.
- Chili-lime with sliced scallions for a faster, punchier profile.
If you are still dialing in how to cook snapper fillets in pan, log one note after you eat: thickness, total time, and whether you would pull it 30 seconds earlier or later. That one habit tightens your results fast.
Next action: buy fillets cut to similar thickness, cook them once exactly as written, then repeat the same method one more time before you start experimenting. Consistency first. Creativity second.