How to Install an Awning on a Camper Step-by-Step
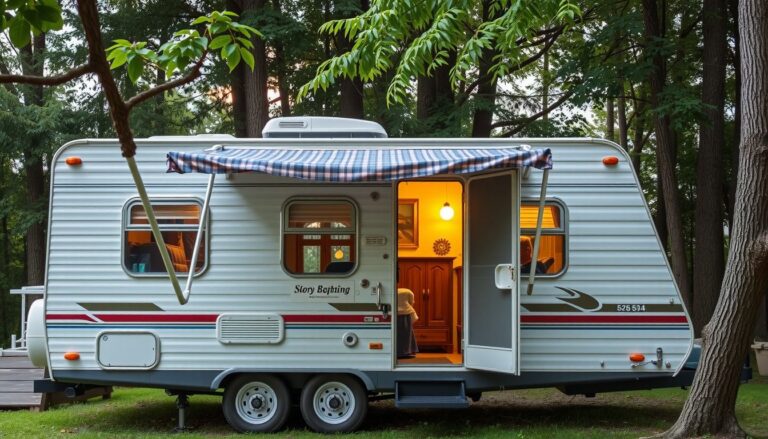
how to install an awning on a camper becomes urgent when they roll into a sunny campground, step outside, and realize there’s nowhere to escape the glare. The chairs heat up fast. The cooler sits in direct sun.
A quick lunch turns into a sweaty scramble back indoors.
This guide shows how to install an awning on a camper with a clear, repeatable process that fits most RV and travel-trailer setups. It walks them from measuring and mounting to sealing fasteners so the awning stays secure at highway speeds and during sudden weather shifts.
Look at a practical example: they’re adding a 10-foot manual awning to a 20-foot camper with an aluminum skin. They’ll locate wall studs, mark the rail line, then mount brackets with butyl tape and stainless hardware to prevent leaks and vibration loosening.
- What they’ll prep: tools, sealants, and a helper for lifting
- What they’ll avoid: misaligned rails, missed studs, and weak fasteners
- What they’ll finish with: a watertight install and smooth awning deployment
Confirm Compatibility and Choose the Right Awning
Now they’re past the “need shade” moment and into decision mode. Before buying anything, they should confirm the camper can physically accept an awning and that the model fits the intended mounting method.
They’ll start by identifying the camper type and roof/sidewall construction. Awnings typically mount to a factory awning rail (most common on travel trailers) or to a flat wall area using a track or bracket kit. If the camper has fiberglass walls, thin aluminum skin, or a laminated structure, they’ll need to plan for proper backing or manufacturer-approved mounting points.
Next, they’ll measure the available length and mounting height. The awning fabric length must match the usable rail space, while the arm length must clear doors, slide-outs, and exterior lights. They should also check the “roll-out” projection so it doesn’t interfere with a slide topper or an entry door swing.
- Measure rail length (end-to-end usable space) and confirm the awning size range.
- Check for obstructions: porch lights, speakers, gutters, ladder mounts, and slide-out flanges.
- Confirm power needs: manual vs 12V electric, and whether a wiring chase exists.
- Match style to use: patio awning vs door awning, and standard vs “box” cassette.
Practical example: They measure 14 feet of clear awning rail on a travel trailer, but the porch light sits 6 inches from the rail end. Choosing a 13-foot awning prevents the arm bracket from landing on the light wiring zone and keeps the door from contacting the lead rail.
Pro tip: They should verify the camper manufacturer’s reinforcement locations (or service manual notes) before drilling. Common mistake: buying by “overall trailer length” instead of measured rail clearance, then fighting bracket placement during install.
Gather Tools, Hardware, and Safety Gear Before You Start
Look, the install goes faster when everything is staged. They should gather tools, confirm the hardware matches the awning kit, and plan for safe lifting because awning assemblies are awkward and can twist unexpectedly.
They’ll begin by opening the awning box and comparing the parts list to what’s included. Some kits ship without butyl tape, sealant, or the correct fasteners for certain wall types. If the camper’s wall is thin or laminated, they may need backing plates or well nuts approved for RV exteriors.
- Tools: tape measure, level, drill/driver, drill bits, step bit, rivet tool (if required), socket set, torque driver.
- Consumables: butyl tape, RV-rated sealant (non-sag), isopropyl alcohol, shop rags, painter’s tape.
- Hardware: stainless screws/bolts, washers, backing plates, wire connectors and heat shrink (electric models).
- Safety gear: eye protection, cut-resistant gloves, stable ladder, wheel chocks.
They should also plan manpower. Most manual and electric awnings install best with two people: one supporting the roller tube while the other aligns the rail and brackets. If working solo, they’ll need padded sawhorses or temporary support blocks to prevent the tube from dropping and creasing the fabric.

Pro tip: They should mark drill depths with tape to avoid punching through interior panels. Common mistake: skipping surface prep—sealant won’t bond well to chalky siding or dusty gelcoat, and leaks follow.
Measure, Mark, and Plan Mounting Locations
Now they’re ready to commit to placement. This step decides whether the awning deploys smoothly, clears doors and lights, and sits level enough to drain water instead of pooling.
They should start by measuring the usable wall length where the awning will live. The safest reference line is usually the camper’s factory seam or a straight body line, not a decal edge that can wander.
Before any holes happen, they’ll dry-fit the key clearances:
- Door swing and grab-handle clearance (including screen doors).
- Windows, marker lights, speakers, vents, and slide toppers.
- Roofline and drip cap interference where an awning rail will sit.
- Leg drop zone so the arms won’t land on steps, propane covers, or storage doors.
They should identify structure behind the skin. Studs or backing plates matter because awning loads are real—wind can turn a bad mount into torn siding. A stud finder rated for RV walls helps, but they should also confirm by checking interior cabinets, trim screw lines, or manufacturer diagrams.
Mark level reference points using painter’s tape, then transfer measurements to the tape. A laser level is fastest, but a 4-foot level works if they check it twice across the run.
Practical example: A 16-foot awning on a travel trailer often fits best with the rail set just below the roof drip edge, but shifted a few inches forward so the rear arm clears the entry door by 1–2 inches when folded. They can mock this by holding an arm bracket template in place and opening the door fully.
Common mistake: centering the awning on the wall without checking where the arms land. Another: measuring from the ground on uneven campsite terrain instead of the camper body line.
Install the Awning Rail and Mounting Brackets
With locations locked in, they’ll install the rail first, then the brackets. The goal is a straight, sealed rail that supports the fabric bead and brackets anchored into solid structure.
They should pre-fit the awning rail along the marked line and cut to length if needed. Before fastening, they’ll run a continuous bead of RV-grade butyl tape or sealant behind the rail, keeping it tight to the top edge where water sheds.
- Hold the rail on the reference line and clamp it in place.
- Pre-drill pilot holes through the rail and into backing/studs where possible.
- Drive stainless screws evenly, working from the center outward to prevent waves.
- Tool a top edge sealant bead to cap the rail and each fastener head.
Next, they’ll mount the upper arm brackets (and any center support brackets) on the marks made earlier. Each bracket should land on structure; if it can’t, they’ll use the manufacturer’s approved backing method, not generic wall anchors.
- Use butyl tape behind each bracket footprint.
- Torque screws snug—over-tightening can crush thin RV walls.
- Seal all perimeter edges and fastener heads with compatible sealant.
Look for consistent alignment: brackets should be plumb, and the rail should remain straight after fastening. A quick check with a level across bracket faces prevents a bind when the arms pivot.

Common mistake: skipping pilot holes and cracking fiberglass or aluminum skin. Another: sealing only the top edge of the rail while leaving bracket edges unsealed, which invites slow leaks.
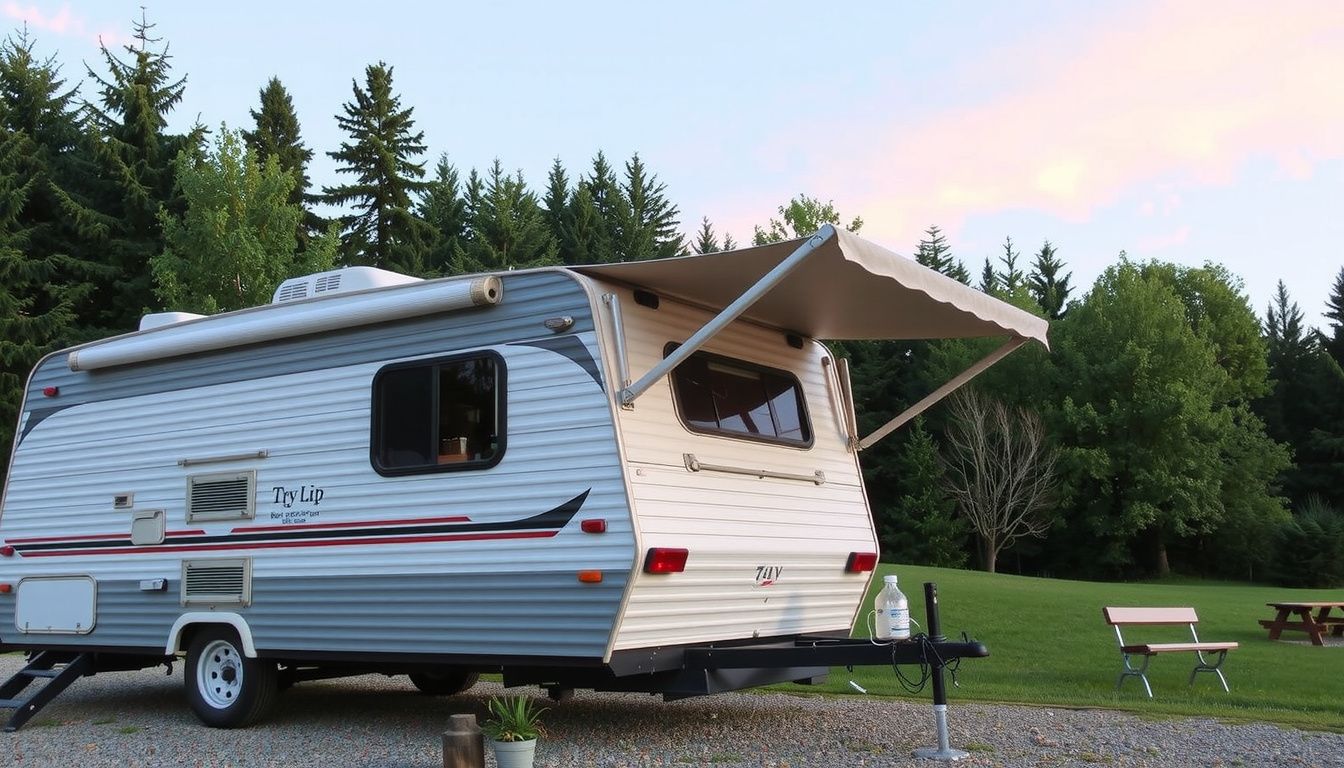
Hang the Awning, Set Tension, and Align the Arms
Now the rail and brackets are set, it’s time to get the awning onto the camper and make it sit square. This phase goes faster with two people, but it still needs slow, controlled movements. A crooked start here usually becomes a noisy, rubbing awning later.
They should stage the awning on padded sawhorses, confirm the fabric roll orientation, and pre-position hardware within reach. Before lifting, they’ll want to verify the roller lock (if equipped) is engaged so the tube can’t free-spin. One slip can unwind the spring and create a dangerous snap-back.
- Feed the awning bead into the awning rail channel, starting at the end with the most clearance.
- Walk the awning along the rail evenly, keeping the fabric centered and the bead fully seated.
- Stop at the bracket locations and loosely attach the top hardware per the manufacturer’s sequence.
- Extend the arms partway, then pin/clip them so the assembly can’t drop while they align.
Next comes tension and arm alignment. They should extend the awning to a mid-open position, then set the pitch knobs or cam locks so both arms carry equal load. If one side feels “lighter,” the tube is likely not centered or an arm is binding.
- Pro tip: Measure from each arm to a fixed camper feature (like a window frame) to confirm symmetry.
- Common mistake: Fully tightening bracket bolts before the arms are aligned; it forces the arms to fight the mount.
- Common mistake: Over-tensioning the roller; it accelerates fabric edge wear and makes retraction harsh.
Example: At a site with a slight slope, they may notice the right arm hangs 1/2 inch lower when half-extended. They should loosen the right bracket just enough to re-square the arm, re-check spacing, then torque hardware to spec.
Seal, Test, and Troubleshoot for a Weather-Tight Install
With the awning hanging straight, they should seal every penetration and verify smooth operation before calling it done. Water intrusion often shows up days later, so this step is where quality control happens. Clean surfaces first; sealant won’t bond to dust or wax.
They should apply a compatible RV sealant over fastener heads and along bracket edges where water can sit. The bead should be continuous, then lightly tooled so it sheds water instead of forming pockets. If the awning rail was fastened during earlier steps, they should also confirm the rail-to-wall seam remains sealed end-to-end.
- Sealant best practice: Use the sealant type recommended for the camper’s siding (aluminum vs fiberglass).
- Pro tip: Mask both sides of the seam with tape, tool the bead, then pull tape for a clean edge.
- Common mistake: Sealing over loose hardware; it hides the issue and the leak returns.
They should then test the awning through multiple cycles. Open fully, set the pitch, and retract while watching for fabric tracking issues. The fabric should roll evenly, the arms should fold without rubbing, and the roller should stop without a “slam.”
- Spray a light mist along the rail and bracket tops to simulate rain.
- Check inside for moisture near fasteners and backing plates.
- Listen for squeaks; lubricate pivot points only if the manufacturer allows it.
Example: If water appears at one bracket after the spray test, they should remove that fastener, inject sealant into the hole, reinstall, and re-tool the bead. If the awning retracts with the fabric walking left, they should re-center the roller by slightly loosening the mount on the side it’s drifting toward, then re-tighten after a clean tracking test.
Putting It Into Practice
Now the install is done, the real win comes from treating it like a system, not a one-time project. A clean finish and reliable operation depend on consistent habits: checking fasteners, keeping moving parts smooth, and watching for early wear. That’s where how to install an awning on a camper pays off long after the tools are put away.
Look, a quick post-install routine prevents most roadside surprises. They should:
- Re-check all fasteners after the first drive and again after the first windy night
- Document part numbers, sealant type, and bracket locations for future service
- Practice deploying and stowing until it’s smooth and repeatable
Real-world example: after a weekend at a coastal campground, they notice minor salt residue and slightly sticky arm movement; a rinse and light lubrication keeps the awning operating like new. Next step: schedule a 10-minute inspection before the next trip and log it in their RV maintenance checklist.