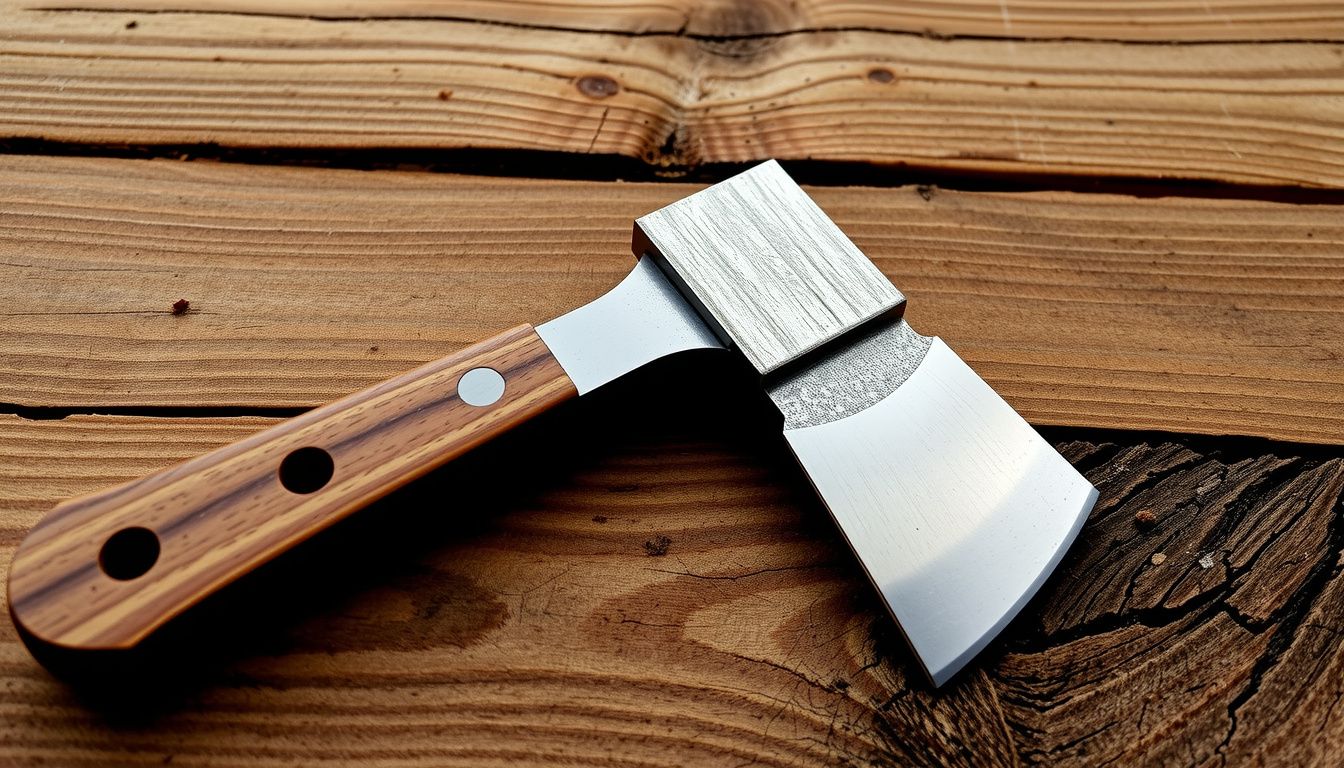
How to Sharpen a Hatchet With a File for a Clean Edge
Wondering how to sharpen a hatchet with a file without ruining the edge or wasting an afternoon? Yes—done right, a simple hand file can restore a clean, biting bevel with control that power tools often can’t match.
This guide walks through the exact setup, filing strokes, and finishing steps that keep a hatchet sharp, safe, and consistent. Look for clear checkpoints so they can confirm progress by feel, sound, and the look of the bevel—no guesswork.
Readers will learn how to:
- Assess the edge for chips, rolls, and uneven bevels
- Secure the hatchet and choose the right file cut and size
- File with steady angles, then deburr and refine the edge
- Test sharpness safely and maintain the edge between jobs
Practical example: after splitting a half-cord of seasoned oak, a hatchet often feels “sharp” but bounces and crushes fibers. A few controlled file passes to reset the bevel, followed by a quick deburr, can bring back clean bites that start a cut on the first swing.
Assess the Hatchet Edge and Choose the Right File
Now they’ll get better results by pausing before any filing starts. A quick inspection shows what the edge actually needs, which prevents over-filing and keeps the bevel consistent. The goal is simple: confirm the damage type, then match it with the right file.
They should first clean the bit so the edge is readable. Wipe off sap and rust, then look along the cutting edge under strong light. A headlamp or a shop light angled across the bevel makes chips and flat spots stand out.
They can assess the edge with three fast checks:
- Visual line check: any shiny “wire” line at the edge usually means it’s rolled or rounded.
- Fingernail test: a nick catches; a roll feels smooth but dull.
- Bevel symmetry: uneven bevel width hints at past sharpening errors or one-sided wear.
Next comes file selection. For most hatchets, a 10–12 inch single-cut mill bastard file is the workhorse because it removes steel quickly but still leaves a controllable finish. If the edge has deep chips, a coarser file (or even a second, rougher mill file) saves time.
A fine file helps when they’re close to the final edge and want fewer deep file marks.
They should also choose the file profile that matches the edge. A flat file suits straight sections; a half-round helps on tighter curves near the heel. A file handle isn’t optional—bare tangs can puncture palms.
Practical example: If a camp hatchet bounced off a rock and now has two 1–2 mm chips, they’ll start with a coarser mill file to re-establish the bevel, then switch to a finer file once the chips fade into a continuous edge line.
Set Up a Safe Work Area and Secure the Hatchet
With the file chosen, they should set up for control and safety. Filing is quiet, but it’s not forgiving. A stable work surface and a locked-in hatchet prevent slips that gouge the bevel—or hands.
They’ll want a bench height that keeps forearms roughly parallel to the floor. Good lighting matters more than people expect; shadows hide the true edge line. They should also put down a mat or cardboard to catch filings and protect the bench.
Before clamping anything, they should gear up. Gloves can reduce minor cuts, but thin gloves still allow feel; bulky gloves usually reduce control. Eye protection is non-negotiable since fine steel dust and chips can flick upward.

To secure the hatchet, they should use a vise if available. Clamp the head, not the handle, and protect the steel with wood blocks or leather jaw pads. Position the bit so the bevel faces up and the edge points away from the body; that angle gives clean file strokes without crossing the danger zone.
If they don’t have a vise, they can still work safely with a field setup:
- Seat the hatchet head on a stump and stabilize it with a knee (edge facing away).
- Use two clamps to pin the head to a heavy board.
- Chock the handle so it can’t pivot during strokes.
Common mistake: clamping the handle and letting the head vibrate. Vibration makes the file chatter, leaving a wavy bevel and wasting effort. They should tighten the setup until the head can’t twist under moderate hand pressure.
Practical example: On a picnic-table bench, they can clamp a 2×8 to the tabletop, then clamp the hatchet head to the 2×8 with jaw pads—stable enough to file evenly without chasing the tool around.
Clean and Mark the Bevel to Guide Consistent Filing
Now that the hatchet is secured and the right file is ready, the next win is control. A clean, clearly marked bevel makes it obvious where metal is being removed and where it isn’t. That keeps the edge angle consistent and prevents “chasing sharpness” with random strokes.
Start by cleaning the bit (the cutting end). Wipe off sap, oil, and grit so the file bites cleanly instead of skating. If there’s heavy resin or pitch, a rag with a small amount of mineral spirits works well; then dry the steel so it doesn’t flash-rust.
Next, inspect the bevel under good light. Look for shiny flats, chips, or a rolled edge. Those clues tell them whether they’re rebuilding the bevel or just refreshing it, and they also show where the edge is uneven from past sharpening.
Mark the bevel to create a simple visual guide. A permanent marker is the fastest option, but layout fluid works too. Cover both bevels from the shoulder down to the edge so every file pass gives immediate feedback.
- Color the entire bevel on each side, not just the edge line.
- Re-mark as needed when the ink disappears.
- Use a bright light to spot any unfiled “ink islands.”
Pro tip: if the bevel is convex from past grinding, mark in two bands—near the shoulder and near the edge. That makes it easier to see whether the file is only hitting the high spot. Common mistake: skipping cleaning and marking, then over-filing one section because it “feels dull” even though the bevel angle is simply inconsistent.
Practical example: if they see marker removed near the cheek but not at the edge after a few light strokes, the file is contacting too high. That’s a cue to slightly adjust the filing angle until the marker disappears evenly down to the edge.
File the Bevels Step by Step to Rebuild the Edge
With the bevel marked, they can file with purpose instead of guessing. The goal is to remove steel evenly until both bevels meet in a clean, straight apex. That’s the core of how to sharpen a hatchet with a file without ending up with a wavy, fragile edge.
Begin on the more damaged side. Set the file on the bevel so it lies flat against the marked plane, then push smooth, controlled strokes away from the body. Lift on the return stroke; dragging back dulls the file and can chatter the edge.
- Take 5–10 strokes on one bevel, using the same angle each pass.
- Check the marker removal and the edge line, then repeat in small sets.
- Switch sides and match the stroke count to keep the bevels symmetrical.
- Continue until a light burr forms along the full length of the edge.
Pro tip: use the full length of the file. Long strokes cut flatter and reduce “dishing” in the bevel. Keep pressure moderate; forcing the file creates deep grooves that take longer to clean up.
Once a consistent burr appears, reduce pressure and alternate single strokes per side to center the apex. This refines the edge and shrinks the burr so it’s easier to remove later with light finishing passes or a stone if they’re using one.

- Watch the ink: uneven removal means the angle or contact point drifted.
- Listen: a smooth hiss indicates good contact; a gritty rasp suggests debris or a clogged file.
- Feel: a continuous burr signals the bevels have met.
Common mistake: staying on one side until it “looks sharp.” That usually shifts the edge off-center and makes the hatchet glance in cuts. A quick real-world check is to sight down the edge; if it leans left or right, they should correct by filing the thicker side in short, even sets.
Remove the Burr and Refine the Edge for Smooth Cutting
Now the bevels are rebuilt, they’ll usually feel sharp—but a thin wire edge (burr) is still hanging on. If they leave it there, the hatchet may seem razor-like for a few swings, then go dull fast. The goal is simple: remove the burr and blend both bevels into one clean apex.
They should start by checking for a burr the right way. With the head still secured, they can lightly drag a fingernail from the cheek toward the edge (never along the edge). If the nail catches on one side, the burr is present and needs to be worked off.
- Flip sides and take light file passes: 2–4 gentle strokes on the opposite bevel often snaps the burr over and weakens it.
- Alternate sides: Short sets of 1–2 strokes per side reduce the burr without over-thinning the apex.
- Feather the pressure: They should ease off on the last inch of each stroke so the file doesn’t “hook” the edge.
Look for consistency. If the file starts skating, the edge may be too polished in spots or the file is loading up; a quick file card clean fixes that. They’ll know they’re close when the burr becomes intermittent instead of continuous.
For a smoother cutting feel, they can refine with a few ultra-light, full-length strokes that follow the existing bevel angle. This isn’t about removing lots of steel; it’s about straightening micro-waves left by heavier filing.
Common mistakes show up here: pressing harder “to finish,” changing angles to chase shiny spots, or filing only one side until it feels sharp. Those habits rebuild a fresh burr and leave a fragile edge.
Practical example: If they’re tuning a camp hatchet for kindling, they should stop as soon as the burr disappears and the edge feels uniform. Over-refining for a mirror edge can make the bit too thin for knotty wood and increase rolling.
Test Sharpness and Protect the Edge to Keep It Sharp
With the burr gone, they should verify sharpness using safe, repeatable tests. Guessing leads to over-filing, and over-filing shortens the hatchet’s life. A good edge should bite cleanly, track straight, and resist chipping in normal use.
- Paper slice test: They should slice printer paper at a shallow angle; a sharp edge cuts without tearing.
- Thumbnail “bite” test: With very light pressure, the edge should grab the nail instead of sliding (use caution).
- End-grain shaving: On dry softwood, the hatchet should take thin curls rather than crush fibers.
If the edge fails any test, they should diagnose before touching the file again. Tearing paper often means a remaining burr or micro-dents; sliding on the nail suggests the apex isn’t fully meeting; crushing wood points to an edge that’s too obtuse or rolled.
Once it’s sharp, protection keeps it that way. They should wipe the bit clean, then apply a thin coat of oil or corrosion inhibitor, especially if the hatchet will be stored in a garage or truck. A dry edge rusts quickly, and rust pits behave like tiny chips.
- Use a sheath or edge guard so the bit doesn’t bang into tools.
- Avoid striking soil or rocks; that’s where most edge damage starts.
- Touch up early: a few light file strokes beat a full reprofile later.
Practical example: After splitting a half-cord of pine, they can wipe sap off with mineral spirits, oil the edge, and sheath it. That five-minute routine prevents sticky buildup and keeps the next sharpening quick instead of corrective.
You’re Ready
Now the hatchet’s edge should feel predictable, clean, and ready for real work. The process they followed for how to sharpen a hatchet with a file wasn’t about brute force; it was about repeatable control. When the edge behaves consistently, cutting becomes safer, faster, and less tiring.
Look, the best results come from treating sharpening as a quick routine, not a rescue mission. They’ll keep performance high by sticking to a few habits:
- Touch up early instead of waiting for a fully dull edge
- Store it protected so the edge doesn’t get nicked
- Check the bite before each job and correct small issues immediately
For example, after splitting kindling at camp, a few light passes can restore the edge before packing up, preventing a frustrating, time-consuming overhaul later. Next step: they should schedule a five-minute touch-up after the next use and note how much easier the hatchet cuts.


2 Comments