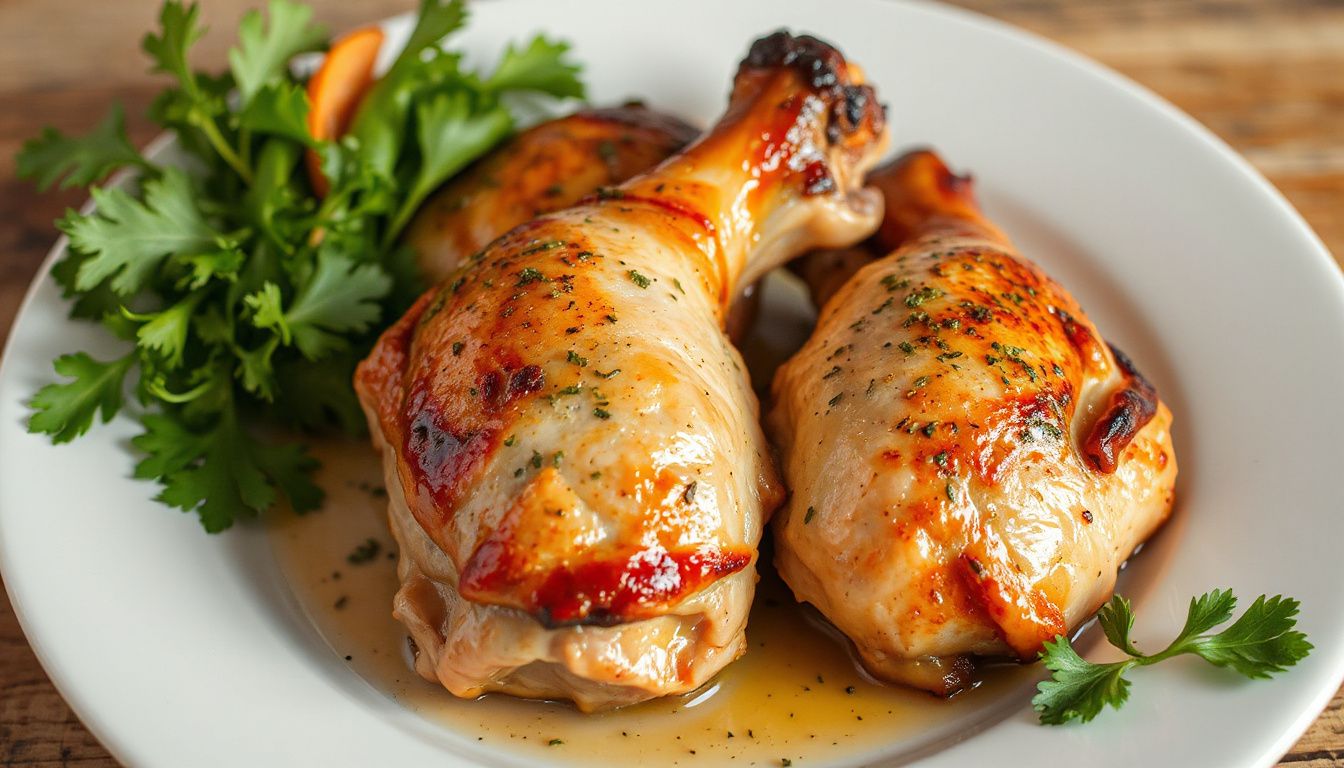
How Long to Grill Chicken Legs and Thighs for Juicy Results
How long to grill chicken legs and thighs is the difference between juicy, pull-from-the-bone meat and dry, rubbery bites. Nobody wants to guess at the grill while everyone’s hungry.
Legs and thighs are forgiving cuts, but they still need the right balance of heat, time, and doneness checks. Their higher fat content helps, yet the bone and uneven thickness can slow cooking and create hot-and-cold spots.
I’ve tested these cuts across gas and charcoal setups, using both direct and indirect heat, and I lean on food-safe internal temps over “looks done.” A reliable method keeps flavor high and stress low.
Here’s what you’ll get: simple timing ranges, the best grill-zone setup, and the exact internal temperatures to target so you can serve confidently. Example: if you’re grilling for a weeknight, start thighs over medium indirect heat, then finish with a quick sear for crisp skin.
Keep these essentials in mind before you light the coals:
- Target temp: 175–185°F for thighs/legs (tender), minimum 165°F (safe).
- Heat plan: indirect first, direct last for color and crunch.
- Rest time: 5–10 minutes so juices stay put.
Ready? Grab your tongs and a thermometer, and let’s lock in the timing you can repeat every cookout.
Grilling Time Chart: Legs vs Thighs by Heat Level
Now let’s get specific with timing, because “medium heat” means nothing without minutes and temperature cues. The chart below assumes bone-in, skin-on chicken, grilled with the lid closed and flipped once or twice for even browning.
Use this as a starting point, then confirm doneness with a thermometer. Pulling chicken at the right internal temp beats guessing every time.
| Heat Level (Grill Temp) | Chicken Legs (Drumsticks) | Chicken Thighs |
|---|---|---|
| Low (300–325°F) | 35–45 min | 30–40 min |
| Medium (350–375°F) | 25–35 min | 22–30 min |
| Med-High (400–425°F) | 18–25 min | 16–22 min |
Thighs usually finish faster because they’re thicker but more uniform, while drumsticks have a narrow end that overcooks while the meaty end catches up. If you’re cooking both, start legs first or park the thin ends farther from the flame.
Practical example: On a gas grill at 375°F, grill 8 drumsticks for about 30 minutes, flipping every 8–10 minutes. If you add 6 thighs at the same time, start checking thighs at 22 minutes; pull them when they hit 175–185°F, then let legs run a few more minutes.
Quick targets: thighs taste best at 175–185°F; drumsticks at 175–185°F in the thickest part without touching bone.
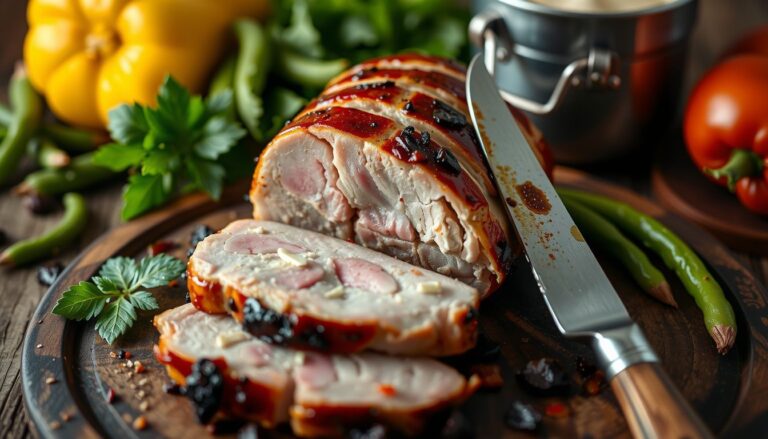
What Changes Cook Time: Bone-In, Skin-On, Size, and Starting Temp
Those chart numbers shift fast once you change the cut or conditions. If you’ve ever wondered how long to grill chicken legs and thighs “for real,” it’s because small variables stack up.
Bone-in vs boneless is the biggest swing. Bone-in pieces take longer because heat must travel through more mass, but they stay juicier and forgive small timing errors. Boneless thighs often finish 6–10 minutes sooner at the same grill temp.
Skin-on vs skinless affects both time and technique. Skin acts like insulation, so it can add a few minutes, and it browns best with a two-stage approach: render over medium heat, then crisp briefly over higher heat.

Size and thickness matter more than weight. Two thighs can weigh the same yet cook differently if one is compact and thick. Plan for longer cook times when pieces are:
- Extra-large or unevenly cut
- Still partially attached at the joint
- Packed with a thick skin/fat cap
Starting temperature also changes the clock. Chicken straight from the fridge can take 3–7 minutes longer than chicken that sat out 15–20 minutes (still safely below room-temp “warm”). Wind and cold weather can extend times too by lowering effective grill heat.
Practical example: If your thighs are boneless, skinless, and thin, on a 400°F grill they may be done in 12–16 minutes total. Swap to bone-in, skin-on thighs from the fridge, and that same cook often lands closer to 18–24 minutes—so probe early and adjust.
Best Grill Setup: Direct vs Indirect Heat for Even Cooking
Now that you’ve got the timing ranges, your grill setup becomes the make-or-break factor for even doneness. Chicken legs and thighs have more fat and connective tissue than breasts, so they benefit from a two-zone fire that renders slowly, then finishes hot.
Set up direct heat on one side for browning and crisping, and indirect heat on the other for controlled cooking through the bone. On a gas grill, leave one burner off; on charcoal, bank coals to one side and keep the other side clear.
Look for a steady grill environment. Aim for a lid-closed cook, vents adjusted for stable heat, and enough headroom so skin doesn’t scorch before the interior is safe.
- Two-zone layout: hot side for sear, cool side for roasting
- Clean, oiled grates: reduces sticking and tearing skin
- Drip management: place a foil pan under the indirect side if flare-ups are common
- Thermometer ready: instant-read for spot checks near the bone
Practical example: On a three-burner gas grill, preheat all burners for 10 minutes, then turn the left burner off and keep the middle/right on medium. Start chicken on the left (indirect) with the lid closed, then move pieces to the hot side for the last few minutes to crisp the skin.
Step-by-Step Method: Grill Chicken Legs and Thighs Without Burning
Here’s the workflow pitmasters use to avoid the classic problem: blackened skin with undercooked meat near the bone. The trick is patience first, heat second, and only flipping when it earns you better color.
- Preheat and stabilize: build a two-zone fire and let the grill hold steady before food hits the grate.
- Start indirect, skin up: place legs/thighs on the cooler side so fat renders and the interior warms evenly.
- Flip once midway: move to skin down briefly on indirect heat to set the skin and begin browning.
- Finish direct: shift to the hot side for short bursts, turning as needed for even color.
- Verify doneness: probe the thickest part, avoiding bone; rest 5 minutes so juices settle.
Keep the lid closed most of the time. Opening the grill dumps heat, extends cook time, and encourages you to overcompensate with higher flame.
Practical example: If you see flare-ups when the skin hits direct heat, slide the chicken back to indirect for 2 minutes, then return to direct for 30–60 seconds per side. You’ll still get crisp skin, without bitter scorch marks.
Safe Doneness: Internal Temperature Targets and Where to Probe
Now that your grill’s running steady, don’t guess doneness by color or “feel.” Chicken legs and thighs can brown fast while the bone area is still undercooked, especially with skin-on pieces.
Use a fast-read thermometer and cook to 165°F (74°C) in the thickest part. For dark meat, many pitmasters prefer pulling at 170–175°F for a more tender bite, but 165°F is the safety line.
Probe placement matters more than people think. Insert the tip into the thickest meat without touching bone, because bone conducts heat and can give a false high reading.
- Thighs: Probe from the side, aiming for the center of the meat near (but not on) the bone.
- Drumsticks: Probe the thick “meaty” end, parallel to the bone, so the tip lands in the center.
- Multiple pieces: Check at least two pieces; one can finish early if it’s smaller or closer to a hot spot.
Practical example: You’re grilling six thighs and two drumsticks for a weeknight dinner. The skin looks perfect at minute 25, but the thermometer reads 158°F near the thigh bone. Keep them on indirect heat 3–6 more minutes, recheck, and pull when the thickest piece hits 165°F.

If you’re basting with sugary sauce, verify temp before the final glaze. That way you won’t overcook chasing a safe number after the sugars darken.
Crispy Skin and Juicy Meat: Flipping, Basting, and Resting Timing
Once you’re confident about internal temp, the next win is texture. Crispy skin comes from steady heat and rendered fat; juicy meat comes from controlled finishing and a short rest.
Start with fewer flips than you think. Let the skin render and set, then turn with purpose to avoid tearing and losing moisture.
- First phase: Keep skin-side down long enough to render (often 6–10 minutes, depending on heat).
- Middle phase: Flip every 4–6 minutes to even out cooking and prevent scorching.
- Finish: Move to indirect heat to coast to temp without burning the skin.
Basting timing is where most grills go sideways. If your sauce has sugar or honey, wait until the last 5–8 minutes, then apply thin layers so it “sets” instead of burning. For butter-based or oil-herb basting, you can start earlier, but keep it light to avoid flare-ups.
Practical example: You want sticky BBQ drumsticks. Cook them mostly dry, then brush sauce at minute 30, flip at minute 33, brush again at minute 36, and pull at 165–170°F. You’ll get lacquered skin without bitter char.
Resting is non-negotiable. Tent loosely and rest 5–10 minutes; juices redistribute, and carryover heat finishes the last degree or two. Cut too soon and the board gets the moisture you wanted in the meat.
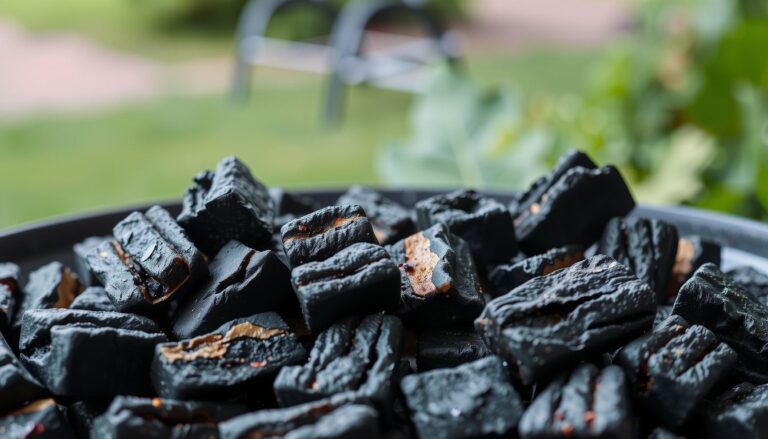
Troubleshooting: Undercooked Near the Bone, Flare-Ups, and Dry Chicken
Now, if your timing looks right but results don’t, it’s usually one of three issues: heat hitting unevenly, fat dripping too fast, or moisture leaving the meat before it’s done.
Undercooked near the bone happens when the outside cooks faster than the joint area. Fix it by moving pieces to a cooler zone, spacing them out, and giving the thick end more time facing the heat.
If you’re seeing pink at the bone but the meat is opaque, keep going until the temperature at the deepest spot stabilizes.
Flare-ups are fuel, not “high heat.” They spike surface temps and turn skin bitter. Use these quick controls:
- Keep the lid closed and shift chicken to indirect heat until flames die down.
- Trim excess skin flaps and blot wet marinades before grilling.
- Clean the grate and empty grease trays so old fat doesn’t ignite.
Dry chicken is usually overcooked lean meat or repeated lid-open checks. Pull pieces as soon as they’re done, then rest them; carryover heat finishes the job without squeezing out juices. Sauces with sugar should go on late so you don’t “lacquer” the surface while the inside lags.
Practical example: you’re grilling six thighs and two keep flaring. Slide those two to the cool side, close the lid for 3 minutes, then return them to finish; you’ll stop the burn without extending total cook time much.
Wrapping Up
Now you’ve got a reliable way to answer how long to grill chicken legs and thighs without second-guessing every flip. The big idea is simple: use time as your roadmap, then let your results guide the finish.
Look for steady browning, clear juices, and meat that loosens from the bone without shredding.
Keep your process consistent so your cook times stay predictable. That means paying attention to a few repeatable cues:
- Uniform sizing (similar pieces cook at similar speeds)
- Dry, seasoned skin for better color and bite
- Rest time so juices stay in the meat
Real-world example: If you’re grilling for a weeknight dinner, start the legs first, add thighs a few minutes later, then pull each piece as it hits your target—no need to serve everything at once.
Next step: grill one batch this week, write down your exact times and results, and use that mini “cook log” to nail it every time.

One Comment