How to Paint a Boat Step-by-Step for a Durable Finish
Many owners think how to paint a boat is mostly about picking a marine paint color and rolling it on fast. That mistake shows up later as peeling, fisheyes, or a chalky finish after one hard season. The real answer is process-driven: surface prep, correct primers, and controlled application matter more than the brand name on the can.
Look, a clean-looking hull isn’t always a paint-ready hull. Salt, oxidation, and old wax can block adhesion, and one skipped step can waste a weekend. A smart plan sequences the work so each layer bonds, cures, and protects the substrate the way it’s supposed to.
- Assess the current coating and repair damage before sanding
- Prep with degreasing, sanding, and proper masking
- Prime and paint using the right tools, temperature range, and recoat windows
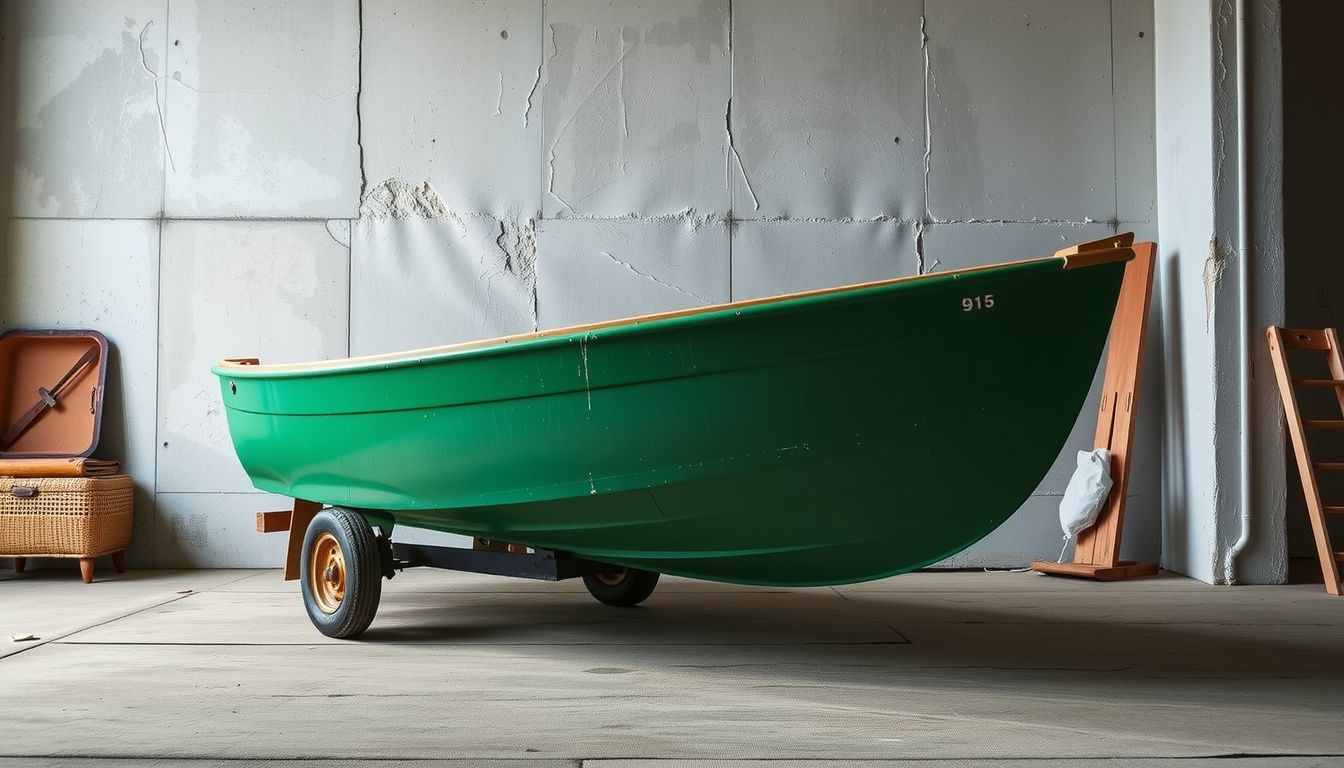
Example: if they’re repainting a 19-foot fiberglass runabout, they’ll often find the “clean” topsides still bead water from leftover polish. Degreasing first, then sanding to a uniform dull finish, prevents the new polyurethane from crawling away into fisheyes. Done right, the finish levels out, lasts longer, and cleans up easier.
Confirm the Paint System and Boat Surface Type
Now the job gets technical. Before any sanding starts, they should match the paint system to the exact boat surface and where it sits in the water.
They begin by identifying the substrate: fiberglass/gelcoat, aluminum, steel, or wood. Next, they confirm whether the area is topsides, deck, or below the waterline, because antifouling, epoxy barrier coats, and polyurethane topside paints aren’t interchangeable.
They should check the existing coating too. A quick solvent rub test and a small sand patch reveal whether the old finish is sound, chalking, or incompatible. When in doubt, they follow the paint manufacturer’s system chart and stay within one brand’s primer-to-topcoat stack.
- Topsides: 2-part polyurethane for durability; 1-part for simpler touch-ups
- Below waterline: antifouling over a compatible primer; barrier coat if osmotic risk exists
- Metal: epoxy primer with proper etch/clean steps to prevent adhesion failure
Example: a fiberglass sailboat with chalky topsides often needs an epoxy primer under 2-part polyurethane, while the bottom gets antifouling—two different systems, same hull.
Gather Tools, Safety Gear, and Materials
With the system confirmed, they can stage everything before mixing paint. That prevents rushed decisions once pot life starts ticking.
They’ll want dedicated surface-prep tools, clean application gear, and the right consumables. Using the wrong roller nap or skipping solvent wipes shows up as orange peel, fisheyes, or early peeling.
- Prep tools: random-orbit sander, sanding blocks, vacuum, tack rags, solvent wipes
- Masking: fine-line tape, plastic sheeting, paper, mixing cups, strainers
- Application: foam rollers (typically 1/8–1/4 nap), quality brushes for “tipping,” paint trays
- Safety: respirator rated for organic vapors, nitrile gloves, eye protection, coveralls
They should buy paint by coverage, not guesswork. A common planning rule is one extra quart for edges, touch-ups, and strain loss, especially on textured nonskid.
Example: if the topsides spec says 400 sq ft/gal, they calculate hull area, add 15% waste, then purchase primer and topcoat accordingly—no mid-coat store run.
Prepare the Workspace and Protect Surroundings
Now the groundwork shifts from product selection to controlling the jobsite. A clean, contained workspace keeps dust out of the coating and prevents overspray or drips from becoming someone else’s problem.

They should pick a sheltered location and manage airflow. Wind carries sanding dust onto wet paint; stagnant air traps solvent fumes. If the boat is on a trailer, chock wheels and confirm stable jack stands before anyone climbs aboard.
- Mask and cover rails, hardware, windows, and non-painted trim with marine tape and plastic sheeting.
- Drop cloth the ground to catch sanding debris and paint chips.
- Set up lighting low and raking across the surface to reveal scratches and pinholes.
- Post a “wet paint” notice and keep foot traffic away.
Pro tip: They should mist the floor lightly to reduce airborne dust before final wipe-downs. Common mistake: using cheap tape that bleeds or lifts, leaving ragged edges.
Example: at a busy yard, they can build a simple “paint bay” with two tarps and spring clamps, leaving a doorway downwind for safer ventilation.
Clean and Degrease the Hull and Topside Areas
With containment handled, surface contamination becomes the next risk. Wax, salt, and sunscreen residue can cause fisheyes, adhesion loss, and dull patches even when sanding looks perfect.
They should start with a thorough rinse, then wash using a marine soap that leaves no gloss enhancers. After drying, they should degrease using a dedicated surface solvent approved for the chosen paint system.
- Work in small sections (3–4 ft) to keep cleaner from evaporating too fast.
- Use the two-rag method: one rag wets and lifts contaminants; a second rag dries before it re-deposits.
- Change rags often, especially around exhaust ports, fuel fills, and scuppers.
Pro tip: They should wipe “top to bottom” so grime doesn’t streak onto cleaned areas. Common mistake: using household degreasers with surfactants that leave a paint-repelling film.
Example: if the topsides show waxy beading after washing, they should repeat solvent wipes until water sheets evenly across the surface.
Sand, Repair, and Fair the Surface for Smoothness
Now the real finish work starts: they’ll earn gloss with surface prep, not extra coats. Sanding removes oxidation and gives the paint a mechanical “tooth” so it can grip.
They should sand in stages, then repair defects before fairing. A longboard or fairing board keeps surfaces flat; hand-sanding alone can leave waves that show in sunlight.
- Sand to a uniform dull finish, feathering edges around chips and old repairs.
- Repair cracks, dings, and blisters with the correct marine filler/epoxy, then re-sand.
- Fair low spots with fairing compound, using guide coat to reveal highs and lows.
Pro tip: wipe with clean rags between grits to avoid grinding dust back into the surface. Common mistake: rushing from coarse grit to paint and “hoping primer fills it.” It won’t.
Example: if they find a 6-inch dock rash on the topsides, they’ll bevel the edges, fill with epoxy fairing compound, longboard it flush, then re-check with a guide coat before moving on.
Mask, Prime, and Spot-Prime for Proper Adhesion
Once the hull is fair, clean masking lines and a compatible primer lock the work in. Masking also prevents overspray or roller spatter from contaminating hardware and nonskid.

They should lay fine-line tape on the paint edge, then back-mask with wider tape and paper. Press tape edges firmly; paint creeps under loose corners.
- Mask waterlines, rub rails, fittings, and through-hulls they can’t remove.
- Apply the specified primer film build and recoat within the manufacturer’s window.
- Spot-prime bare fiberglass, filler, and sand-throughs to prevent “print-through” and flashing.
Pro tip: tint primer slightly to help coverage tracking. Common mistake: priming over sanding dust or skipping induction time on two-part primers.
Example: after fairing a repaired patch, they’ll spot-prime just that area, feather-sand the primer edge, then apply a full primer coat so the patch doesn’t telegraph through the topcoat.
Apply the Topcoat Using Roll-and-Tip or Spray
Now the visible finish happens: how to paint a boat comes down to controlled application and consistent film build. They should mix per the label, strain the paint, and keep a wet edge from start to stop.
For roll-and-tip, one person rolls a thin coat while a second “tips” lightly with a high-quality brush to level bubbles. For spraying, they should dial in fan width and fluid flow on cardboard before touching the hull.
- Work in sections (2–4 ft) and overlap passes by 50%.
- Maintain shop temperature and humidity within the coating’s range.
- Respect recoat windows; don’t “force” coverage with heavy coats.
Pro tip: change rollers often; a loaded roller sheds and textures the finish. Common mistake: painting late-day when dew forms, causing blush and dull gloss.
Example: on a 20-foot fiberglass runabout, they can roll-and-tip the topsides in three lanes per side, then backstep to keep a continuous wet edge at the chine.
Cure, Reassemble, and Maintain the New Finish
Look, cure time isn’t “dry to touch.” They should protect the surface until it reaches handling hardness, then wait longer before heavy loads, covers, or aggressive washing.
During cure, they should keep dust down, avoid tape contact, and prevent lines from rubbing the paint. When reassembling hardware, they should use clean fasteners, new bedding compound, and soft washers to prevent spider cracks.
- Reinstall rails, cleats, and anodes only after full handling cure.
- Torque fasteners gently; let sealant do the sealing.
- Use fender covers and clean dock lines for the first month.
Pro tip: wash with pH-neutral soap and a microfiber mitt; rinse thoroughly. Common mistake: waxing too soon—many topcoats need 30–60 days before wax.
Example: after repainting a sailboat’s topsides, they can schedule reassembly on day 3, launch on day 7, and delay polishing until the manufacturer’s full-cure window passes.
You’re Ready
Now it’s about consistency, patience, and follow-through—the three things that separate a “freshened up” hull from a finish that looks yard-done. They’ve already done the hard part; how to paint a boat successfully comes down to sticking to the system they chose and not rushing the final stretch.
Before calling it finished, they should run a quick quality check and document what worked. Look for uniform gloss, clean cut lines, and hardware that seats without stressing the new coating. A simple phone note with product names and dates saves hours next season.
- Inspect in angled light and fix tiny defects early.
- Log temperatures, cure times, and mix ratios for repeatable results.
- Plan gentle wash-and-wax intervals to keep the shine.
Real-world example: after repainting a 19-foot center console, they waited an extra day before reinstalling rub rail screws, preventing imprint marks and chipped edges. Next step: pick a calm weather window, set a final inspection date, and commit to it.