How to Learn How to Drive a Boat: Step-by-Step Training
Operating a boat isn’t like driving a car. There are no brakes, no lanes, and the “road” is constantly moving under you. But with the right sequence of training, boating becomes a learnable skill. This guide walks through legal readiness, safety gear, helm controls, weather planning, low-speed maneuvering, docking, anchoring, emergencies, and a realistic practice plan.
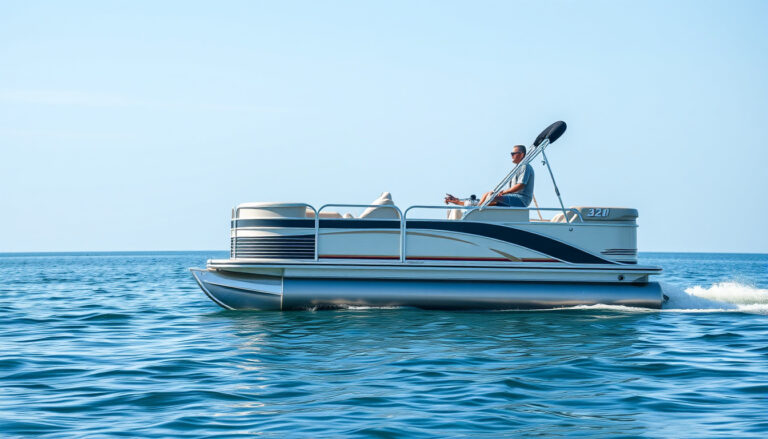
The goal is not speed. It’s control, awareness, and judgment when wind, current, or traffic changes. The U.S. Coast Guard boating safety division consistently recommends formal education combined with supervised on-water practice for new operators. If you’re learning on a pontoon, the controls are similar but the low-speed response is different; handling a pontoon-specific helm covers those nuances in detail.
What It Actually Means to Drive a Boat Well
Most beginners assume that steering straight means they’ve learned to drive. In practice, real competence comes from three layers of skill:
- Legal and administrative readiness: certificate or education card, registration, insurance, and a float plan.
- Mechanical control: starting, shifting, trimming, docking, and anchoring without hesitation.
- Judgment: reading wind, current, traffic, and visibility before they become problems.
A common mistake is practicing only in perfect conditions. That builds false confidence. Instead, gradually add wind, current, tighter slips, and boat traffic by following a written training plan.
Step 1: Confirm Legal Requirements and Assemble Safety Gear
Before you touch the throttle, confirm you are legally and practically ready to operate. Many states require a boater education card for certain ages or horsepower. Always check local rules, weather, and marina requirements before launch.
Stage safety gear so it is immediately reachable, not buried under coolers. Do a quick “walk-and-touch” check from bow to stern. If you can’t grab it fast, it may as well not be there.
- Properly sized life jackets for every person, worn rather than stored
- Throwable flotation device and a charged fire extinguisher
- Sound device (horn/whistle), navigation lights, and a basic first-aid kit
- Anchor with adequate rode, dock lines, and fenders
A pre-departure checklist isn’t formal paperwork. In practice, it is a habit: check the bilge pump, test the kill switch, confirm fuel level, and send a float plan to someone ashore.
Step 2: Learn Boat Terminology and Your Helm Controls
Get comfortable with the helm layout before leaving the dock. Identify ignition, kill switch lanyard, throttle/shift, steering, trim/tilt, bilge blower, and basic gauges. Start the engine only after checking ventilation and clear water around the prop.
Practice in neutral first. Shift deliberately—pause, shift, then apply throttle smoothly. Small inputs matter on water. Overcorrecting is the fastest way to look out of control.
- Bow (front), stern (back), port (left), starboard (right)
- Ahead, astern, and idle/no-wake
- Trim (bow angle) and draft (water depth needed)
 A typical small powerboat helm: wheel, throttle/shift lever, gauges, and engine controls.
The rules of the road begin with keeping a proper lookout and safe speed. Know crossing situations. Example: you approach another boat from its starboard side at a crossing angle—your boat is the give-way vessel, so slow, alter course early, and pass behind.
Understand Your Drive System and Handling Personality
Before practicing drills, know what you are driving. Different drive systems behave differently at idle and reverse:
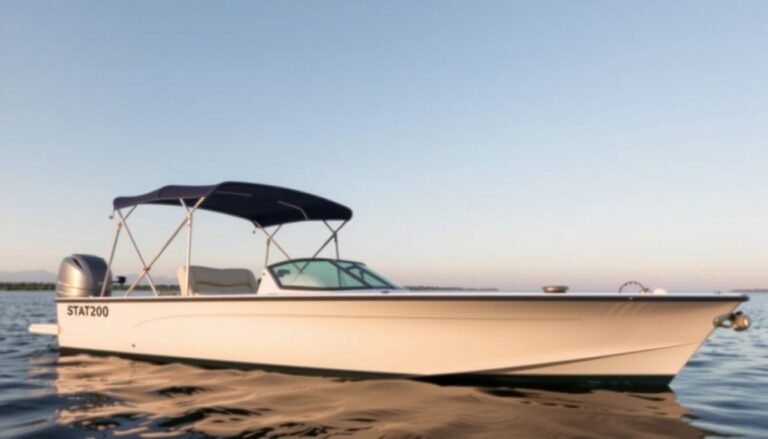
- Outboard: responsive, trims out easily, common on center consoles
- Sterndrive/I/O: heavier, tracks well, less responsive in reverse; requires blower before start
- Inboard direct drive: strong tracking, fixed shaft and rudder; often in ski/wake boats; less maneuverable at idle
- Jet drive: no external prop, relies on thrust; loses steering when throttle is reduced
- Pontoon: flat, stable deck; catches wind easily and moves slowly; requires earlier corrections
In practice, a 19-foot bowrider and a 22-foot pontoon feel completely different in a crosswind. Pontoon sides act like a sail, so you plan docking approaches much earlier and use shorter throttle bursts.
Step 3: Read Weather and Plan a Low-Risk Practice Session
Set yourself up for a calm first outing. Your goal is predictable conditions and an easy “reset” if something feels off.
Check the forecast twice: the night before and right before you leave. Focus on wind speed/gusts, thunderstorm risk, and visibility. Match your plan to your least-experienced person onboard. Use marine forecasts from NOAA weather resources to confirm wind direction and bow waves.
- Weather: Favor light winds and no storm cells; avoid strong offshore winds that complicate returning.
- Water: Pick a wide, low-traffic area with room to turn.
- Timing: Early mornings often mean flatter water and fewer boats.
- Local hazards: Note shoals, no-wake zones, and shallow flats on your chart or app.
File a simple float plan with a trusted contact: where you’ll launch, your route, passenger count, and a “call me if I’m late” time. Keep it realistic and easy to follow. If winds are forecast at 5-10 knots until noon, plan a 90-minute loop in a sheltered bay, then be back on the trailer before the afternoon breeze builds.
Step 4: Pre-Departure and Engine Start
Most new-operator stress happens at idle near the dock. Slow down and treat the first five minutes as a control check, not a performance test.
Before starting, confirm the area is clear, the blower is running if required, and lines/fenders are set for departure. Start the engine, verify cooling water flow if visible, and let it settle at idle.
| Check | Why it matters |
|---|---|
| Bilge blower before gasoline engine start | Prevents fume buildup and fire risk |
| Kill switch lanyard attached to lanyard | Stops engine if you leave the helm |
| Prop clear of swimmers and debris | Prevents injury and damage |
| Gear in neutral before start | Stops sudden movement |
Center the wheel and use brief shifts into forward/neutral/reverse to feel engagement. Use short throttle bumps at idle speed; steering works best with some prop wash. Assign one person to handle lines and call distances: “5 feet… 3 feet… stop.”
Ease out by releasing the last line only when the boat is ready to move. Keep hands and feet inside the boat. Never fends off with a limb.
Step 5: Leave the Dock with Low-Speed Control
Departure drills teach more about control than open water. In a crosswind pushing you onto the dock, start with a gentle reverse bump to pull the stern out, shift to neutral, then a forward bump to glide clear before turning.
A systematic dock departure:
- Start engine and let it idle; check water flow
- Assign line handler and call roles
- Use bump-shift-neutral to create slight movement
- Release bow and stern lines only on command
- Glide away at idle/no-wake speed until clear of slip and other boats
A frequent failure is trying to steer before the boat has enough way. At idle in neutral, the wheel does nothing. Prop wash over the rudder or lower unit provides steering authority, so stay in gear at low speed.
Step 6: Master Steering, Trim, Speed Control, and Turning
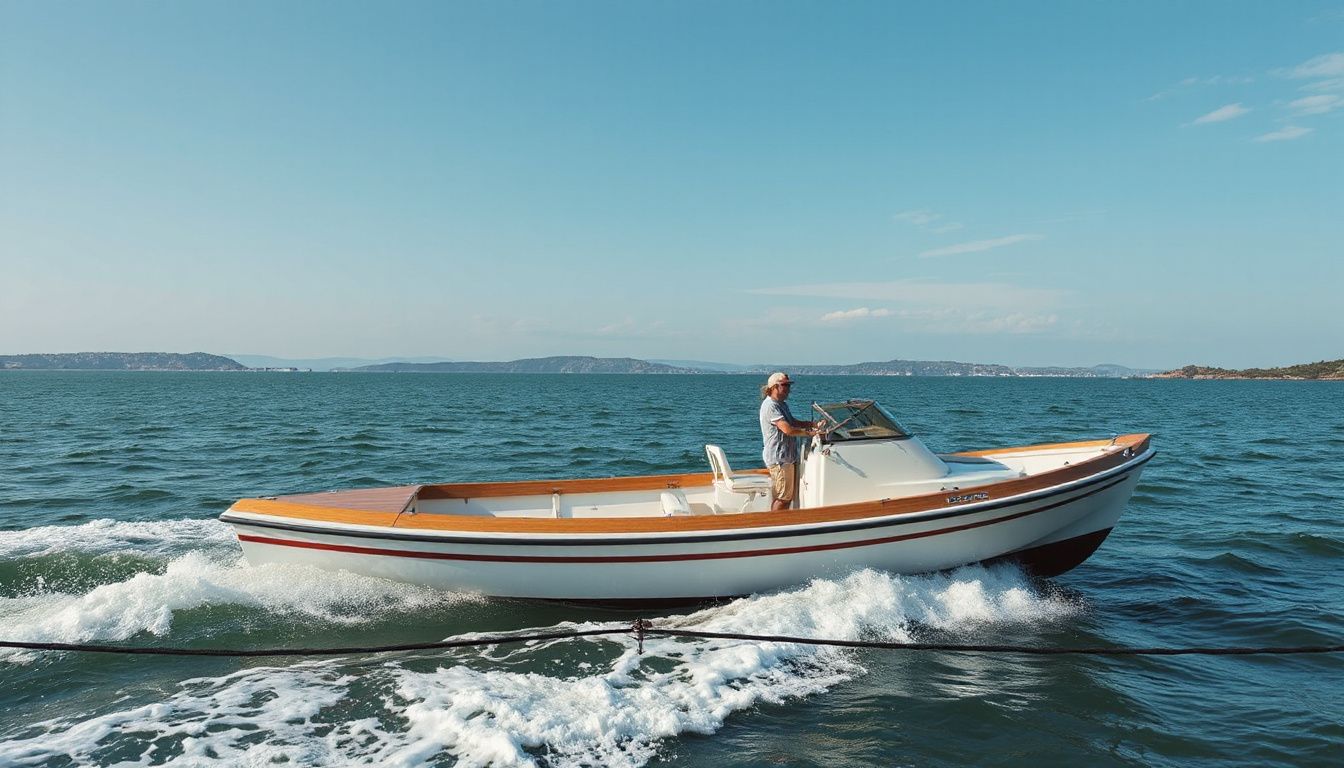
Now you are moving safely in open water. Make the boat obey you on purpose. Start with slow, deliberate inputs and watch how the hull responds before adding speed.
Hold a steady heading at idle, then at moderate cruise. Use small wheel or tiller corrections; over-steering creates a “snake” and wastes distance.
- Steering: Pick a shoreline reference and keep it centered off the bow for 60 seconds.
- Speed control: Increase throttle in small bumps, pause, feel the acceleration lag.
- Trim: Trim out until the bow lifts and speed improves, then trim in slightly to stop porpoising.
- Turning: Make wide S-turns first, then tighten while keeping passengers seated and balanced.
 Practice steady-speed trim and wide turns on uncrowded water before attempting close-quarters work.
Pro tip: Isolate one variable per session. A common mistake is trimming aggressively in a turn, which can pull the bow down and widen your arc.
Step 7: Dock and Departure with a Repeatable System
Close-quarters handling builds confidence. Your goal is repeatable approaches, not “saving it” at the last second. Set up early and go slow enough to stop. Use brief gear shifts, not throttle, to control momentum.
- Dock approach: Aim 20–30° toward the dock, shift to neutral, bump into gear to correct.
- Stop and secure: Neutral, engine centered, then line handling—bow line first in current, stern line first in wind.
- Anchor: Idle into wind/current, lower (don’t throw) the anchor, then back down gently to set.
- Mooring: Approach into wind/current, pick up the pennant with a boat hook, secure to a bow cleat, add a backup line.
An example: in crosswind, approach the dock slightly upwind, then use a short reverse bump to stop drift before stepping off with the bow line.
Step 8: Anchor, Moor, and Abort Zone
Anchoring is not just drop and go. Lower, don’t throw, the anchor. Pay out rode equal to 5–7 times water depth in calm weather, more in wind or current. Back down gently to set. Watch for drift by checking fixed reference points on shore.
Mooring under power requires approach into wind or current, whichever is stronger. Approach slow enough to stop, use a boat hook, and secure to a bow cleat with a backup.
Every docking or anchoring approach needs an abort: if the angle is wrong, shift to neutral, drift, then throttle away and reset. Better to go around twice and look controlled than to force a bad landing.
Step 9: Emergency Drills You Should Practice Before Needing Them
Emergency procedures are learnable skills, not just theory. Practice them in calm water with an experienced person onboard.
- Man overboard: Shout “crew overboard,” assign a spotter, throw flotation, circle back slowly from downwind, and approach into wind/current.
- Engine failure: Shift to neutral, anchor if drifting toward hazard, call for help, and use oar or radio backup.
- Taking on water: Locate source, reduce speed, use bilge pump or bailing bucket, and head to shore if safe.
- Fire: Shut off fuel supply if possible, aim extinguisher on base, not flames, and prepare to abandon if it spreads.
A common mistake is drilling man overboard only once. Rehearse regularly because wind direction and person-in-water position change the approach.
Step 10: Build Skill and Confidence: Training Options, Checklists, and Next Steps
Now you can handle the boat. But learning how to drive a boat becomes a repeatable training plan. Your goal is consistency: same setup, same drills, measurable improvement.
Choose a training path matching your risk tolerance and timeline. Options include:
- State-approved boating safety course for rules, liabilities, local requirements
- On-water instruction with a licensed captain for maneuver coaching and docking feedback
- Mentored practice with an experienced boater using a written session plan
Before every session, use this quick checklist:
- Skill focus: one primary and secondary
- Practice area boundaries and no-go zones
- Hand signals and crew roles
- Post-run notes: what improved, what to repeat
Watch out: don’t “practice” while friends distract you. Treat early sessions like flight training.
Example: Book a two-hour lesson, spend 30 minutes on slow-speed control, then repeat five docking approaches, logging wind direction and outcomes.
Common Mistakes That Slow New Boat Operators Down
- Over-steering in close quarters: Fix with short throttle bumps, not constant wheel work.
- Trimming too high on choppy water: Causes porpoising and less control. Trim back in two taps.
- Coming to dock too fast: Slow feels awkward, but slow keeps gelcoat and fingers intact.
- Skipping pre-departure gear checks: Unreachable safety gear fails when needed.
Identify the mistake, isolate it, and drill the correction in a quiet area. The difference between nervous and smooth operators is usually how many times they repeated a definitive maneuver.
Equipment Setup and Routine Care Between Sessions
A boat that is clean and well-maintained gives clearer feedback. After each session, rinse gear, check the bilge, and inspect膀 for new stress. If you are inheriting or buying a used trainer boat, consider whether the hull, engine, and trailer are worth the investment. Sometimes parting with an older vessel is smarter than repairing it. If you keep it, routine hull and deck upkeep prevents gelcoat damage and slips. For boats with carpet, keeping onboard carpeting sound prevents mold and loose fibers. On aluminum hulls, coating an aluminum hull protects against corrosion and improves appearance. If you want a stable trainer platform, budget-friendly pontoon platforms provide forgiving low-speed handling.
Conclusion
Learning to drive a boat is a sequence of small, repeatable skills: safety gear, legal readiness, helm control, weather awareness, low-speed maneuvers, docking, anchoring, and emergency drills. Consistency on matter less than perfect conditions. Each session should have one primary objective and a written post-run note.
Your next step: pick a date for your next practice run, write down one objective—such as “five crosswind docking approaches,”—and commit to it. If you haven’t taken a state-approved boating safety course, schedule that first; it builds the rules knowledge that makes every on-water drill safer and more meaningful.
Frequently Asked Questions
Do I need a license to drive a boat?
In every U.S. state, you do not need a federal “boat license.” But most states require a boater education card or certificate for certain ages, horsepower, or vessel types. Always check your state’s current requirements before launching. The card is often accepted reciprocally between states.
How long does it take to learn to drive a boat?
Most beginners can handle basic steering in a few hours of calm-water practice. Reaching safe, independent confidence—docking in wind, anchoring, and handling traffic—typically takes several outings with an instructor or mentor. Plan for 10–15 sessions, not one weekend.
Can I teach myself to drive a boat?
You can learn some basics alone, but self-teaching risks building bad habits in close quarters and emergencies. In many areas, supervised practice with a certified instructor or experienced boater is faster and safer. A formal boating safety course plus mentored on-water sessions gives you a proven pathway.
What is the hardest part of boat driving?
Low-speed maneuvering near docks, slips, and other boats is consistently the hardest. Wind and current push you around, steering response is minimal at idle, and overcorrection creates clashes. Practice short throttle bumps, early approaches, and go-arounds until close-quarters work feels boring.
Do I need to know how to swim to drive a boat?
You do not need to be a strong swimmer to operate a boat, but wearing a properly fitted life jacket is essential. If you cannot swim, stay within reach of flotation and never boat alone. Many boating courses recommend basic water comfort for emergencies.
What should I do if the engine dies while boating?
Shift to neutral, note wind direction, and anchor if drifting toward a hazard. If you have a backup radio or phone, call for help with your position. Do not repeatedly crank a flooded engine without checking fuel and ventilation first. Practice this drill in calm water.