How to Keep Mice Out of Camper for Winter: Step-by-Step
Many owners assume that how to keep mice out of camper for winter is as simple as tossing in a few mothballs or setting one trap and calling it done. That mistake usually shows up in spring as chewed wiring, shredded insulation, and a sour smell that won’t leave.
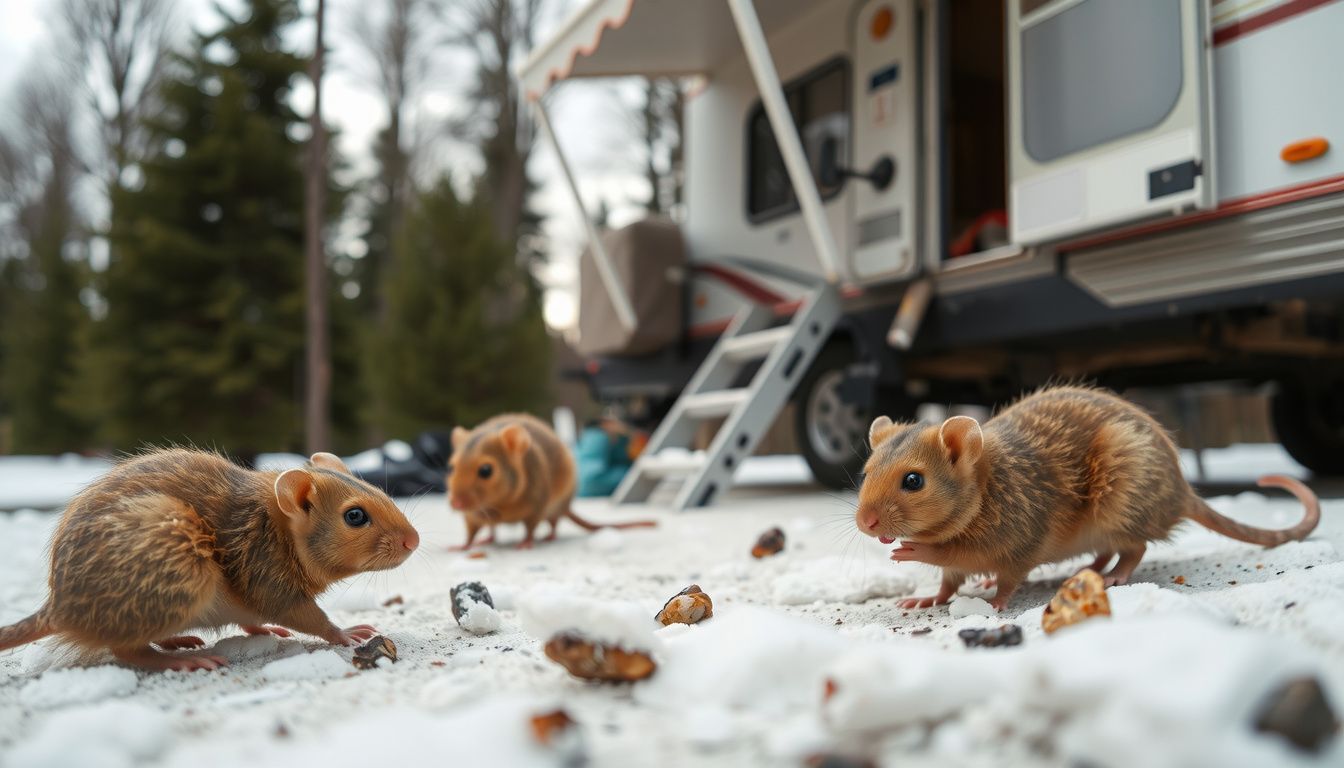
The real answer is less about “repellents” and more about blocking access, removing attractants, and keeping the rig unfriendly to nesting. Mice don’t need a door; they need a gap the width of a pencil. Once they’re in, warmth and soft materials do the rest.
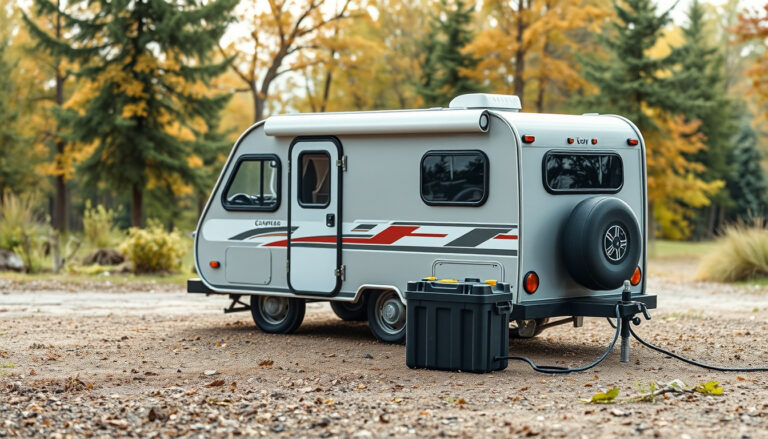
Look, a practical example makes it clear: one camper stored near a woodpile stayed mouse-free only after the owner sealed the propane line entry with steel wool and foam, removed all food crumbs, and placed snap traps along the floorline before covering it.
Expect the process to focus on a few high-impact moves:
- Seal every opening (utility penetrations, under-sink voids, slide-out edges).
- Sanitize and store anything scented (food, paper goods, pet items) offsite.
- Monitor with traps and regular checks, especially after temperature drops.
Assess the Camper and Gather Supplies Before You Start
Now they’ll want to treat the camper like a building inspection, not a quick spray-and-pray. A structured walkthrough shows where mice can enter, what they’re using as runways, and which areas need sealing before winter storage.
They should start outside, then move inside, then finish underneath. Mice can squeeze through gaps about the size of a dime, so anything that looks “small enough” still counts. A bright headlamp helps spot daylight leaks, rub marks, and chewed edges.
During the assessment, they should document every suspect opening and the material needed to close it. A phone photo next to a coin works well for sizing. Look for these common entry points:
- Utility penetrations: water lines, electrical inlets, propane lines
- Slide-out corners, wiper seals, and torn gaskets
- Floor penetrations under sinks, shower pans, and furnace cabinets
- Undercarriage gaps near tanks, coroplast seams, and frame pass-throughs
- Vents and access doors with warped or missing screens
They’ll also need the right supplies staged before sealing begins. Running to the store mid-job usually leads to skipped gaps and rushed work. A basic kit should include:
- Steel wool or copper mesh (for stuffing voids), plus pest-resistant foam or sealant
- Aluminum flashing or hardware cloth for larger openings
- Gloves, respirator, headlamp, mirror, and a utility knife
- Snap traps (for monitoring), bait stations where legal, and zip ties
Practical example: a tech inspecting a 24-foot travel trailer often finds a 1/2-inch gap around the shore-power inlet. They’ll pack copper mesh, then cap it with exterior-grade sealant so it can’t be pulled out by rodents or weather.
Remove Food, Odors, and Nesting Materials That Attract Mice
Once access points are identified, they should eliminate what keeps mice interested: calories, scent, and soft nesting material. Even if the camper looks “clean,” trace crumbs and lingering odors can still pull rodents in during cold snaps.
They should empty every food zone and clean for scent, not appearance. Mice follow odor trails along edges and corners, so detail work matters. Focus on:
- Pantry, spice racks, and “forgotten” snack bins
- Stove drip trays, oven drawer, toaster crumb trays
- Fridge seals, floor edges, and under the dinette cushions
- Pet food, bird seed, and drink mixes stored for trips
Next, they should remove nesting supplies. Paper goods and fabrics are premium bedding in winter. They’ll want to take home or store in sealed tubs:
- Paper towels, napkins, cardboard, and spare manuals
- Blankets, throw pillows, and extra clothing
- Seat foam scraps, yarn, and cleaning rags
Pro tip: they should wipe hard surfaces with a mild degreaser, then vacuum with a crevice tool along baseboards and inside cabinets. Common mistake: leaving “sealed” snacks in thin plastic or cardboard; mice chew through both quickly.

Practical example: an owner winterizing a fifth wheel finds sunflower seed shells under the recliner from summer trips. After vacuuming and wiping, they store all dry goods in gasketed bins, reducing odor cues that trigger repeat visits.
Seal Entry Points and Vulnerable Gaps Around the Exterior
Now that the attractants are handled, they’ll want to treat the camper’s exterior like a weatherproofing job. Mice don’t need much space; a gap the width of a pencil can be enough. The goal is simple: remove easy access and force them to move on.
They should start low and work up, because most entry points are near the ground. A bright headlamp and a mirror help spot hidden openings under slide-outs, steps, and skirt edges. Any place a pipe, wire, or hose passes through a wall deserves a close look.
They’ll get the best results by using the right materials in the right places. Steel wool alone isn’t a permanent seal; it rusts and can be pulled out. Pair it with a durable barrier and a sealant that matches the surface.
- Copper mesh + exterior-grade sealant for small cracks and irregular gaps
- Rodent-resistant expanding foam for voids behind panels (finish with mesh if exposed)
- Metal flashing or hardware cloth for larger openings and chewed edges
- Door sweeps and gasket replacement for entry doors and baggage doors
Look for common “missed” zones: furnace and water-heater access doors, refrigerator vents, the shore-power hatch, and the underbelly coroplast seams. If the camper has a generator compartment, they should inspect around the exhaust routing and cable pass-throughs.
Practical example: A storage-bay corner shows daylight where the frame meets the floor. They pack copper mesh into the seam, apply a bead of polyurethane sealant, then cover the edge with a thin strip of aluminum flashing screwed into the frame. That layered approach stays put through freeze-thaw cycles.
Pro tip: they should recheck seals after the first hard freeze. Common mistake: sealing over wet or dirty surfaces, which causes early failure and reopens the entry route.
Protect Interior Hotspots, Wiring, and Soft Materials From Chewing
Once the exterior is tightened up, they’ll want to make the inside hard to nest in and risky to chew. Mice prefer quiet, warm, undisturbed zones. In campers, that usually means hidden cavities and soft storage areas.
They should focus on “hotspots” first: under the sink, behind the refrigerator, around the furnace, inside bed platforms, and behind drawers. These areas often contain wiring looms, PEX lines, and insulation—exactly what rodents use for tunnels and nests.
- Bundle and elevate wiring with clips or loom clamps to reduce slack and hiding space
- Add split-loom conduit or rodent-resistant wrap to exposed wire runs
- Store textiles in sealed bins (sleeping bags, towels, curtains, seat cushions)
- Use hardware cloth barriers over large interior voids (bed bases, cabinet backs) where practical
They should also protect soft materials that get destroyed fast. Foam seat bases, paper towels, and even furnace duct insulation can become nesting stock. If removable cushions must stay inside, they’ll do better standing them upright to reduce “cave-like” pockets.
Practical example: They find a wiring bundle running along the pantry base with chew marks on the loom. They disconnect shore power, inspect for damage, then re-sleeve the run with split-loom conduit and secure it every 8–12 inches with screw-in clamps. Finally, they close the pantry toe-kick gap with a strip of hardware cloth so rodents can’t reach the run again.
Pro tip: they should keep traps staged inside during storage, even after sealing, because one missed gap can still allow a single mouse in. Common mistake: using loose poison bait inside a camper; it can lead to odor problems and secondary exposure to pets or wildlife.
Set Traps and Deterrents Strategically for Ongoing Control
Now that the camper is sealed and the interior is protected, they’ll want a control layer that catches the few mice that still test the perimeter. Traps aren’t a one-and-done task; they’re a monitoring system. The goal is fast capture, minimal odor, and clear evidence of activity.

They should start by placing traps where mice naturally travel: along walls, behind appliances, inside cabinet toe-kicks, and near plumbing or electrical chases. Traps work best when the trigger end is tight to a wall, because mice “hug” edges. They should avoid placing traps in the open center of the floor where mice rarely run.
- Snap traps for quick kills and easy verification (best for most campers).
- Enclosed bait stations to keep traps protected from pets and reduce mess.
- Electronic traps where access is tight and quick disposal matters.
For bait, they should use tiny amounts so mice commit and don’t steal it. Peanut butter mixed with a few oats works well, but a pea-sized dab is enough. They should wear gloves to reduce human scent and keep traps clean.
Deterrents can support traps, but they shouldn’t replace them. Peppermint oil, dryer sheets, and ultrasonic devices may help in small areas, yet results vary. If they’re used, they should be treated as “bonus coverage,” not primary control.
Practical example: A pop-up camper owner places four snap traps: two under the galley near the water line, one inside the front storage bench, and one by the rear electrical access panel. After one week, one trap shows activity near the water line, so they add two more traps along that wall for the next 10 days.
Common mistakes: using too much bait, setting traps only in the middle of the camper, and checking traps too infrequently. Weekly checks are usually the minimum during early storage.
Inspect Monthly and Reopen Safely After Winter Storage
Look, winter storage is long, and conditions change. A monthly inspection keeps small issues from turning into a full infestation. It also helps them verify that their plan is working without tearing the camper apart.
During each monthly visit, they should do a quick exterior walk-around first. They’ll look for fresh gnaw marks, disturbed seals, new gaps, or droppings near access doors and the hitch area. Then they should open the camper briefly and focus on high-risk zones rather than wandering aimlessly.
- Check traps and replace any that are sprung, dusty, or contaminated.
- Scan for droppings, shredded material, and urine staining in corners and cabinets.
- Listen and smell: scratching sounds and a sharp ammonia odor can signal activity.
- Inspect wiring runs and soft goods near heaters, plumbing, and battery compartments.
If they find signs, they should avoid sweeping or vacuuming dry droppings. They’ll ventilate, wear gloves, and use a disinfectant to wet the area first, then wipe and bag waste. Any heavily contaminated insulation or nesting material should be removed and sealed in a trash bag before disposal.
When reopening in spring, they should “stage” the process. Open vents and windows, then inspect food-storage areas, bedding, and the electrical bay before powering anything on. If they see chewed wiring, they should stop and have it repaired to prevent shorts or fire risk.
Pro tip: they can log each inspection date, trap count, and findings in a phone note. Patterns—like repeat activity near one corner—often reveal a missed entry point that needs attention.
What to Do Now
Now they’ll want to shift from “setup mode” to a simple routine that keeps protection consistent. The goal is how to keep mice out of camper for winter without turning storage into a weekly project. A quick check-in schedule and a short reset process prevent small lapses from becoming a springtime cleanup.
They should lock in a repeatable plan:
- Set calendar reminders for monthly checks and a pre-trip reopening inspection.
- Restock consumables (bait, deterrents, replacement traps) before supplies run low.
- Document results with a few photos so changes are obvious next visit.
Example: A family storing a travel trailer at an outdoor lot snaps photos of trap placements and the sealed areas, then matches them during each monthly visit—if anything shifts, they correct it in minutes. Next step: they should schedule the first inspection date now and stage a small “mouse-control kit” inside the camper for fast follow-through.