How to BBQ Right Beef Ribs for Tender, Smoky Results
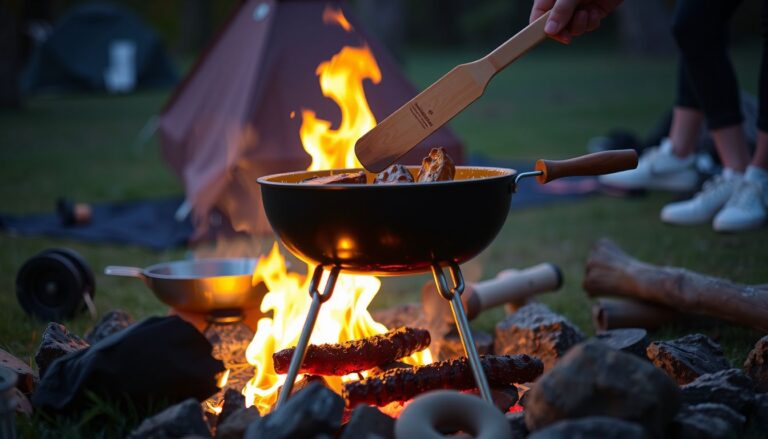
how to bbq right beef ribs can feel simple—until the backyard’s full, the coals are hot, and the ribs come off tough or scorched. Someone’s watching the clock, the smoke’s drifting, and the pitmaster is guessing whether the meat’s actually tender. That’s when good intentions turn into dry bites and a rushed second round.
This guide shows a reliable path to how to bbq right beef ribs with repeatable results. It focuses on the decisions that matter: picking the right cut, building steady heat, managing smoke, and knowing when to wrap, rest, and slice. No mystery.
Just clear steps that work on common backyard grills and smokers.
Look at a practical example: a cook runs beef plate ribs at 275°F, spritzes after bark sets, then wraps when the color’s right and finishes until probe-tender. The payoff is a deep bark and a clean pull from the bone, without shredding or drying out.
- Cut selection: plate ribs vs. chuck ribs and what to expect
- Fire control: holding a stable pit temperature for hours
- Doneness checks: tenderness cues that beat “time per pound”
- Resting: keeping juices in the meat, not on the board
Choose the Right Cut and Plan the Cook
Now the focus shifts to choices that decide everything later: the cut, the timeline, and the temperature target. Beef ribs aren’t interchangeable, and a smart plan prevents chasing heat while guests wait.
Start by selecting a cut that matches the cook method. For classic low-and-slow barbecue, plate ribs (Dino ribs, 3-bone) are the most forgiving because they carry thick meat and rich fat. Chuck ribs can work but vary more.
Back ribs are leaner, cook faster, and won’t deliver the same sliceable bite.
When buying, look for even thickness and good marbling. Avoid racks with large, bare bones and thin meat caps; they’ll dry out before collagen breaks down.
- Plate ribs: best bark, highest fat, longest cook
- Chuck ribs: flavorful, inconsistent thickness
- Back ribs: faster, lighter smoke profile, less meat
Plan the cook around tenderness, not the clock. A typical target is 250–275°F, cooking until probe-tender between 200–210°F internal. Build in time for a rest; it improves slice quality and keeps juices where they belong.
Practical example: If they’re serving 8 people at 6:00 p.m., they can start plate ribs at 8:00 a.m., check tenderness around 1:00–2:00 p.m., then hold wrapped ribs in a warm cooler for 1–2 hours. That buffer saves the meal when the rack runs long.
Gather Tools, Fuel, and Food-Safe Setup (Before You Start)
Look, the cleanest barbecue sessions start before the fire’s lit. The goal is simple: stable heat, accurate readings, and a workflow that keeps raw meat away from finished ribs.
They should stage tools within arm’s reach of the cooker. A dependable thermometer matters more than any gadget; beef ribs can look done early while still chewing tough.
- Thermometer: instant-read plus a leave-in probe
- Tongs and heat gloves: safe, controlled handling
- Foil or butcher paper: for wrapping and holding
- Spritz bottle: optional, for surface control
- Two trays: one raw, one cooked (no cross-contact)
Fuel choice should match the cooker. For charcoal grills and offsets, use a stable base of briquettes or lump, then add wood chunks for clean smoke. Avoid green wood and heavy white smoke; it turns bark bitter.
Food safety is a setup issue. They should keep sanitizer or soapy water nearby, use separate cutting boards, and rest finished ribs on a clean tray. If using a cooler hold, pre-warm it with hot water, dump it, then add towels and the wrapped ribs.

Common mistake: using the same tongs on raw packaging and cooked ribs. One pair stays “raw-side,” one pair stays “finished-side,” every time.
Trim and Prep Beef Ribs for Even Rendering
With the cut chosen and the pit staged, the next win happens on the board: clean trimming and smart prep. Beef ribs don’t need “competition-style” shaping, but they do need enough cleanup to render evenly and bite clean.
They should start by patting the rack dry, then inspecting the surface fat and edges. The goal is simple: remove what won’t render, keep what will baste. Over-trimming is the common mistake; it exposes lean meat that dries before the collagen melts.
They can follow this quick trim checklist:
- Square off thin, dangling flaps that will burn.
- Shave hard fat caps down to roughly 1/4 inch where possible.
- Remove silverskin on the meat side if it’s thick and tight.
- Leave intramuscular fat and softer surface fat intact.
Membrane handling depends on the rack. If the underside membrane is papery and already split, they can leave it; smoke and heat will relax it. If it’s thick and waxy, they should peel it for better seasoning contact and cleaner slicing.
Now the practical part: a cook prepping plate ribs for a Saturday cookout trims one heavy fat “kernel” near the center and squares the thin end. That single change prevents one side from lagging behind while the other side overcooks.
Before seasoning, they should let the ribs sit 10–15 minutes after trimming to dry again. Dry surfaces brown faster, helping bark form without needing extra sugar or heavy sauce.
Season Beef Ribs to Build Bark and Balance Flavor
Once the surface is clean and dry, seasoning becomes the main lever for bark and balance. Beef ribs can carry bold rubs, but they still need restraint so the smoke and beef stay in front.
They should decide first whether to use a binder. A light coat of water or hot sauce works, but it’s optional; the rub will stick if the meat is tacky. The bigger priority is even coverage across the top, sides, and between bones.
A reliable base formula is simple and repeatable:
- Kosher salt for deep seasoning (start light; beef concentrates as it cooks).
- 16-mesh black pepper for texture and bark.
- Garlic powder for savory depth.
- Paprika or ancho for color without excessive sweetness.
They should apply rub from 10–12 inches above the meat to avoid clumps, then press lightly—no rubbing hard, which can smear and create patchy bark. A common mistake is heavy sugar; it can scorch on long cooks and turn bitter.
For a real-world example, a pitmaster cooking three racks for a family party uses a 2:1 pepper-to-salt base, then adds a small pinch of paprika for color. The ribs come out with a dark, pepper-forward bark that still tastes like beef, not candy.
After seasoning, they should rest the ribs 20–30 minutes while the pit stabilizes. That short rest hydrates the rub, helping it fuse into a cohesive crust instead of falling off during the first spritz.
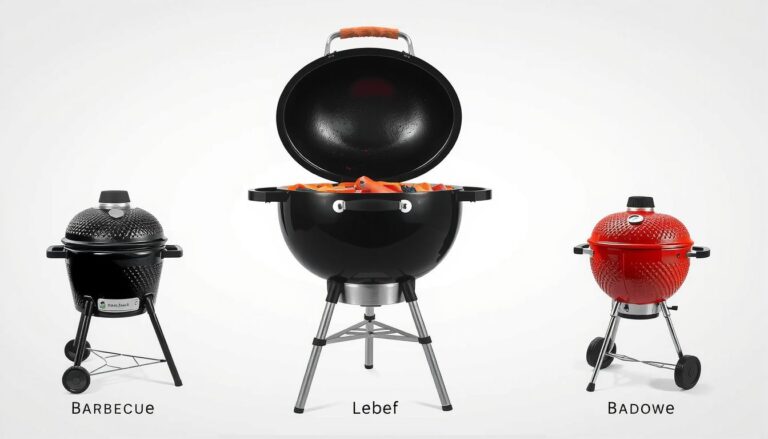
Set Up the Grill or Smoker for Steady Indirect Heat
Now the seasoning’s on and the ribs are ready, the cook becomes a heat-management job. Beef ribs reward steady indirect heat and punish big swings. The goal is a clean fire, predictable airflow, and a stable cooking zone.

Start by building a two-zone setup. On a kettle or gas grill, keep all heat on one side and place ribs on the other. On an offset, build a small, hot fire and feed it consistently rather than loading the box and choking it down.
Target 250–275°F at grate level. Use a probe placed where the ribs will sit, not on the lid. Keep the exhaust vent wide open; control temps primarily with the intake and the size of the fire.
- Fuel: seasoned hardwood splits (offset) or charcoal with wood chunks (kettle/WSM).
- Airflow: open exhaust, adjust intake in small moves, wait 10–15 minutes between changes.
- Moisture: a water pan can soften swings, but it won’t fix a dirty fire.
Pro tip: preheat the cooker for 20–30 minutes so metal and grates stabilize before meat goes on. Common mistake: chasing temperature every few minutes, which creates oscillations and sooty smoke.
Practical example: if a backyard kettle runs hot at 310°F, they can remove a few lit coals, open the lid for 60 seconds, then settle the intake to a pencil-width gap to hold 265°F for the next hour.
BBQ the Ribs Step-by-Step: Smoke, Spritz, and Manage Temps
With the pit stable, the cook becomes a repeatable loop: smoke early, protect the bark, and manage internal progress. Beef ribs don’t need constant fussing, but they do need consistent decisions.
- Smoke (first phase): place ribs bone-side down in the indirect zone. Run 250–275°F and keep smoke thin and blue.
- Spritz (after bark sets): start spritzing only when the surface looks dry and mahogany, typically after 90–120 minutes.
- Manage temps: hold cooker temp steady; let the meat climb through the stall without panic.
For spritzing, use a light mist, not a wash. Good options: water, 50/50 water and apple cider vinegar, or beef stock. Spray every 45–60 minutes; too often cools the surface and slows bark formation.
Pro tip: track two numbers—grate temp and internal temp in the thickest section. Common mistake: wrapping too early “to speed it up,” which can soften bark and leave fat under-rendered.
Practical example: if ribs stall around 165°F and the bark is set, they can stay the course at 265°F, spritz once per hour, and wait until the probe slides in with little resistance (often 200–210°F) before resting.
Rest, Slice, and Serve for Maximum Juiciness
Now the cook’s done, how to bbq right beef ribs comes down to what happens off the heat. Resting isn’t optional; it’s the step that keeps juices in the meat instead of on the cutting board. Treat the ribs gently from this point forward.
Move the rack to a tray and rest it uncovered for 10 minutes to stop carryover cooking from steaming the bark. Then loosely tent with foil and rest 20–40 minutes, aiming to serve when the meat is still hot but settled. If they’re held longer, keep them in a dry cooler or warm oven around 150–170°F.
- Don’t wrap tight right away; it softens bark and can push fat back onto the surface.
- Don’t slice immediately; hot muscle fibers squeeze out moisture under the knife.
- Use the right knife; a long slicer reduces sawing and prevents shredded edges.
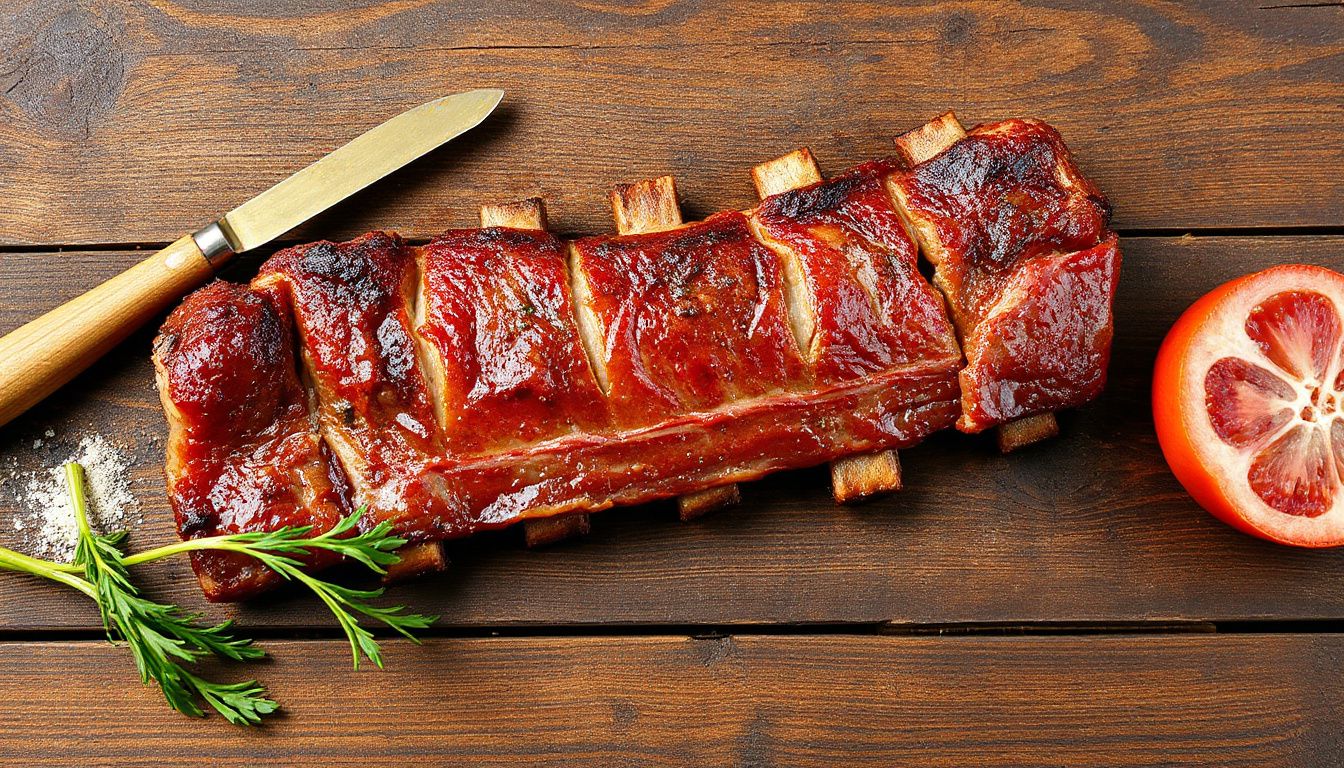
For slicing, flip the rack bone-side up so the bones are easy to see. Cut between bones with smooth strokes, then rotate each rib and trim any thick fat cap edge-by-edge rather than hacking through. If the meat pulls from the bone cleanly but doesn’t fall apart, they’re in the sweet spot.
Practical example: a cook pulls beef plate ribs at 203°F internal, rests 10 minutes uncovered, then 30 minutes tented. When sliced bone-side up, each rib shows a glossy, moist cut face and a firm bark, and the board stays mostly dry.
Serve with a light sprinkle of finishing salt and warm sauce on the side so the bark stays crisp. Look for steady smoke flavor, clean slices, and juices that stay in the meat.
Next Steps
Now the fundamentals are in place, how to bbq right beef ribs becomes a repeatable system rather than a one-off win. The strongest results come from staying consistent and letting small, measured adjustments do the work. Look for steady improvement, not constant tinkering.
Before the next cook, they should lock in a simple feedback loop:
- Log the cook: time, pit temp range, weather, and fuel used.
- Pick one variable to change next time (rub level, pit temp target, or spritz timing).
- Define “done” in one sentence (tenderness feel and slice quality), then judge against it.
Real-world example: if last weekend’s ribs tasted great but the bark ran salty, they should keep the same cook plan and reduce salt in the rub by 20% on the next run, noting tasters’ feedback. Next step: schedule the next rib cook, print a one-page log sheet, and commit to changing only one variable.